Long story short, this car was kept outside under a car cover for over a year. This car is one of my favorites from my friends collection. It's all original and has 11xxx miles. I had washed it for him before the winter and bugged him into letting me rescue it from the elements. I got it around January and has been a side project in my spare time. The paint had severe oxidation, ghosting, marring and RIDS. The interior was starting to show a few signs of neglect, but nothing major. So let's start the show!
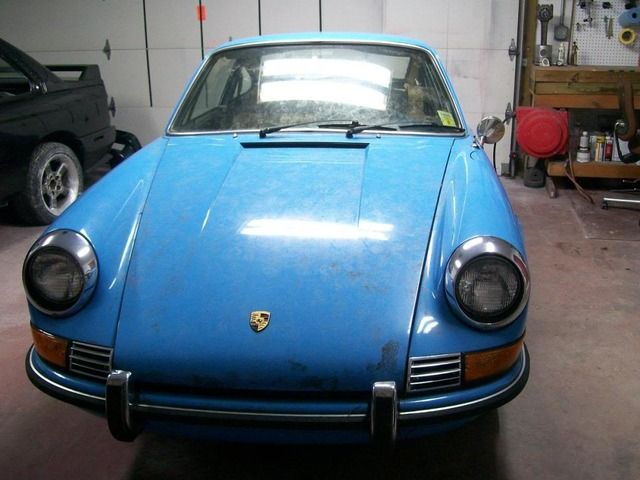
This was the state the car arrived in. As you can see, it was well neglected and needed serious rehab. I washed the car at night, so didn't take any pictures. I didn't do anything special, just pressure washed the seals and seams the best I could, then continued with the 2 bucket method. After the wash, the car was clay barred with Megs Clay kit.
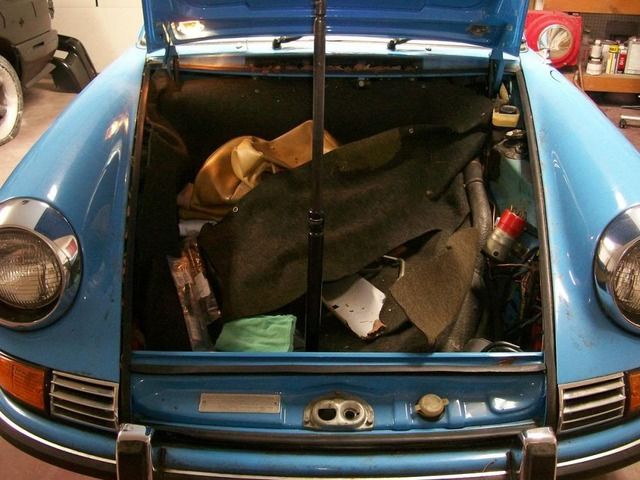
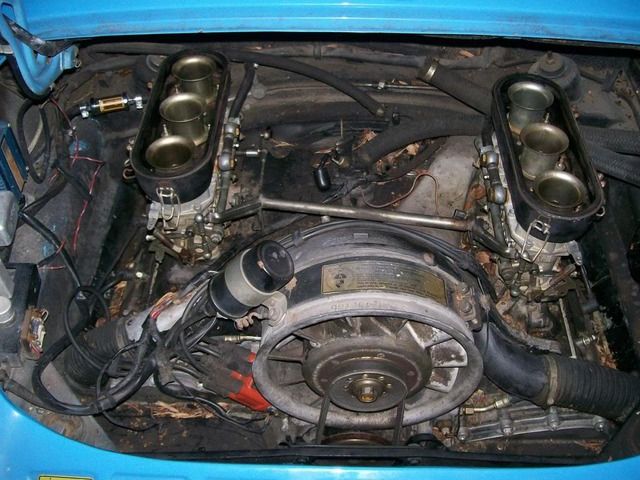
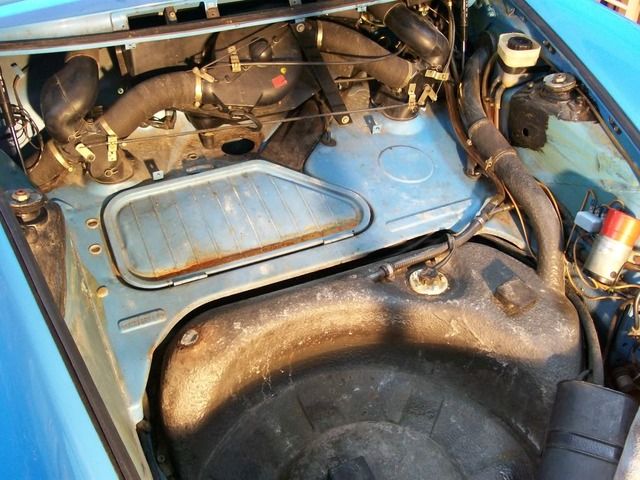
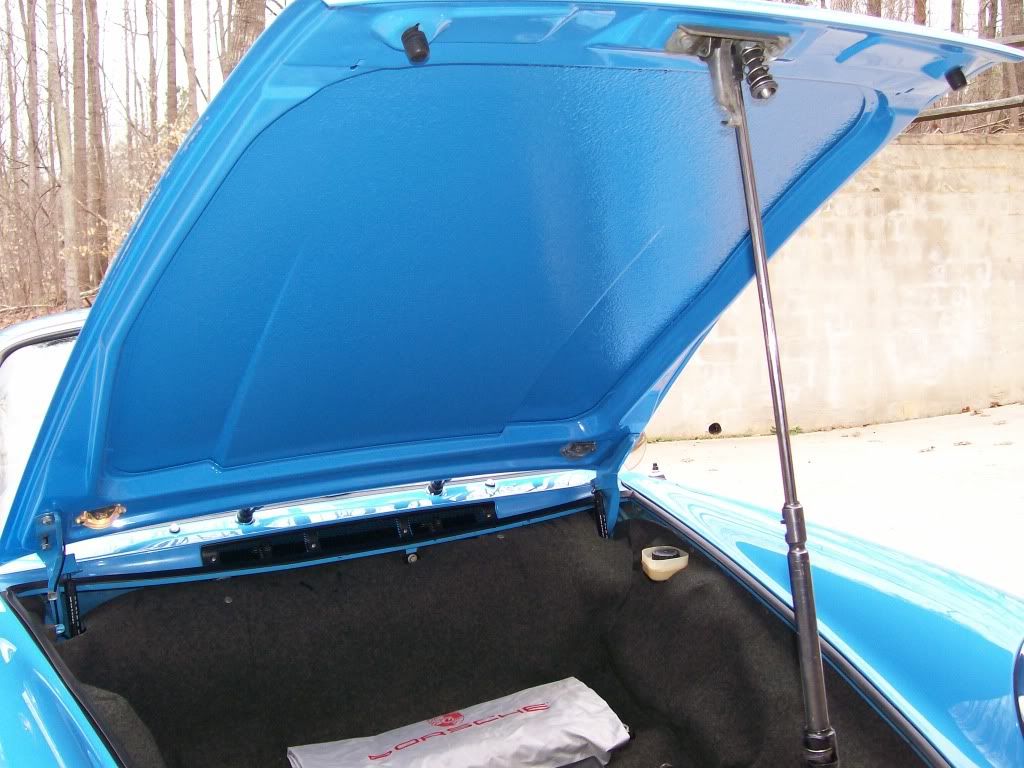
Here's a few before pics of the boot and engine bay.
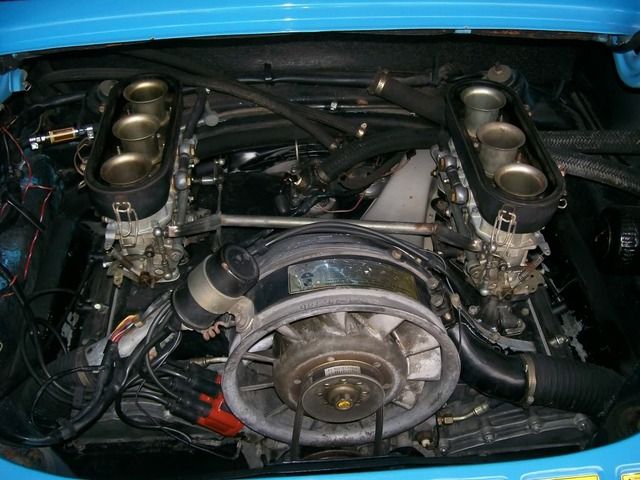
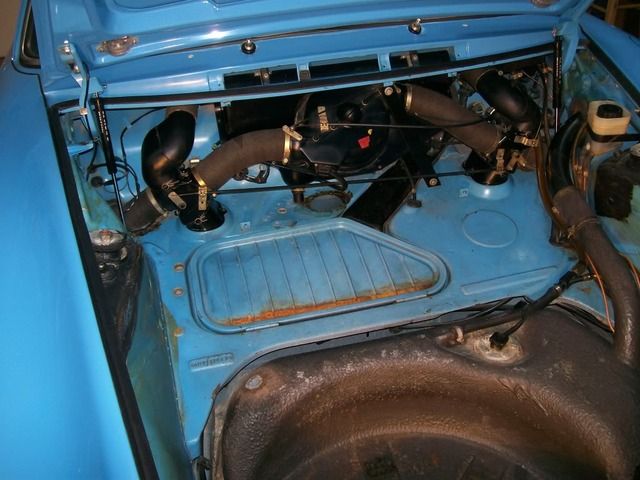
Engine bay cleaned up
Here's the cleaning before and after of the boot. The seals were seriously caked with leaves and dirt. Everything was cleaned out with dawn wash on microfiber. The rubber and lines were dressed with M40. Sorry for the differences in lighting, but you can still compare the differences.
Now for the fun part, Corrections.
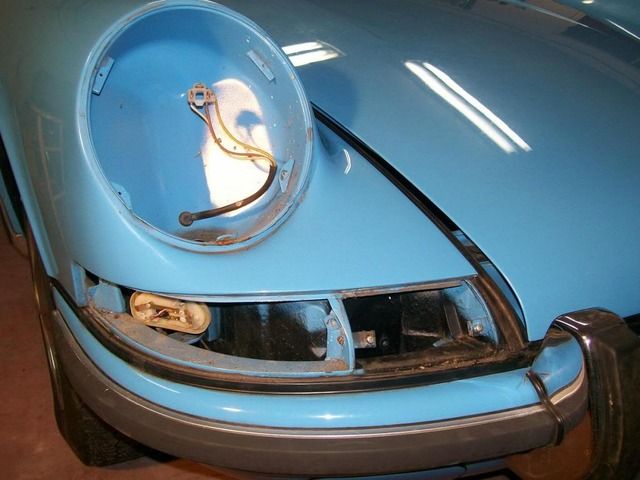
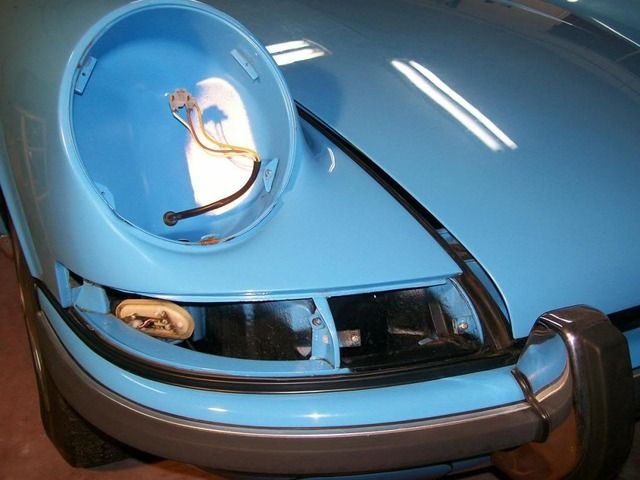
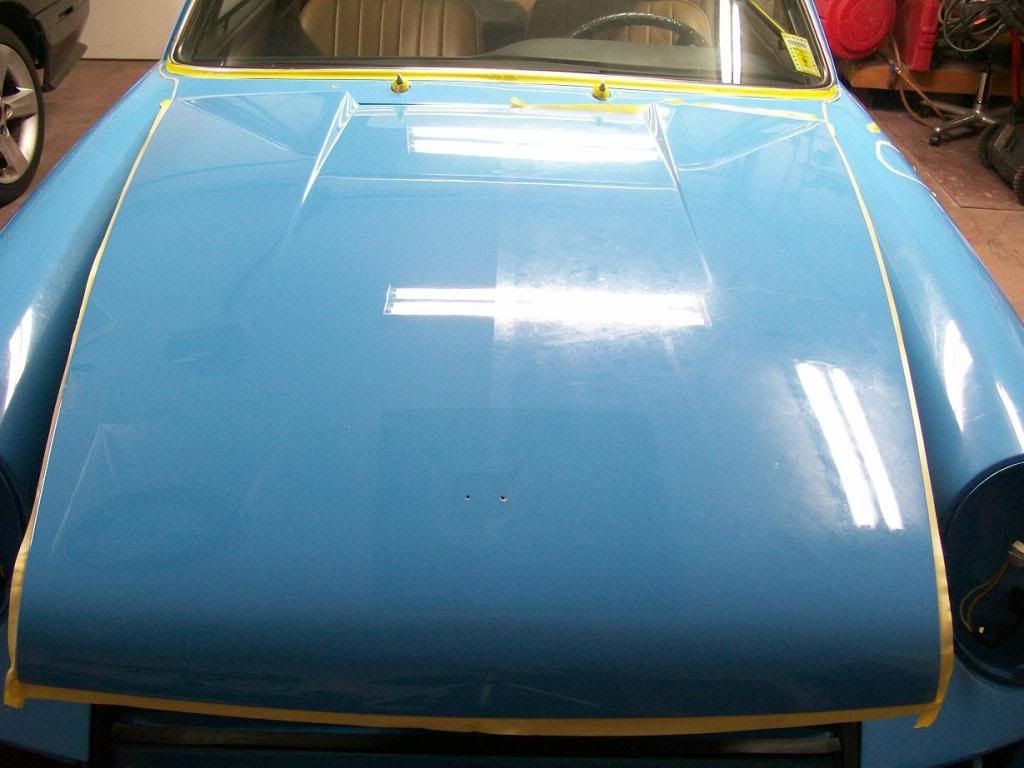
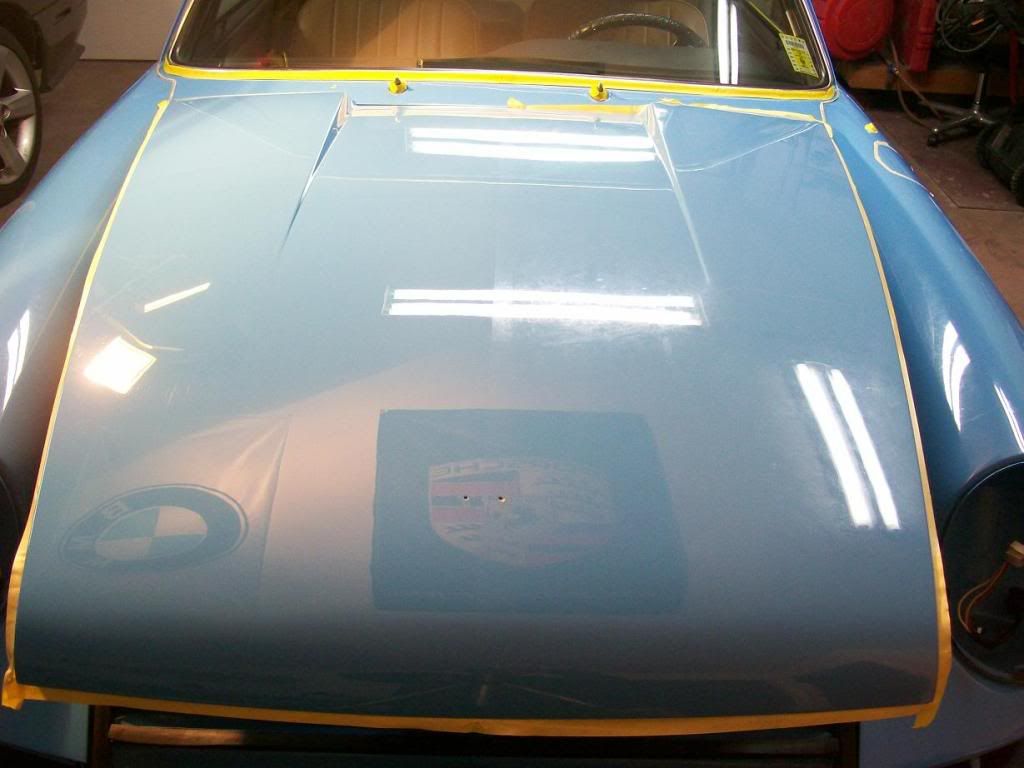
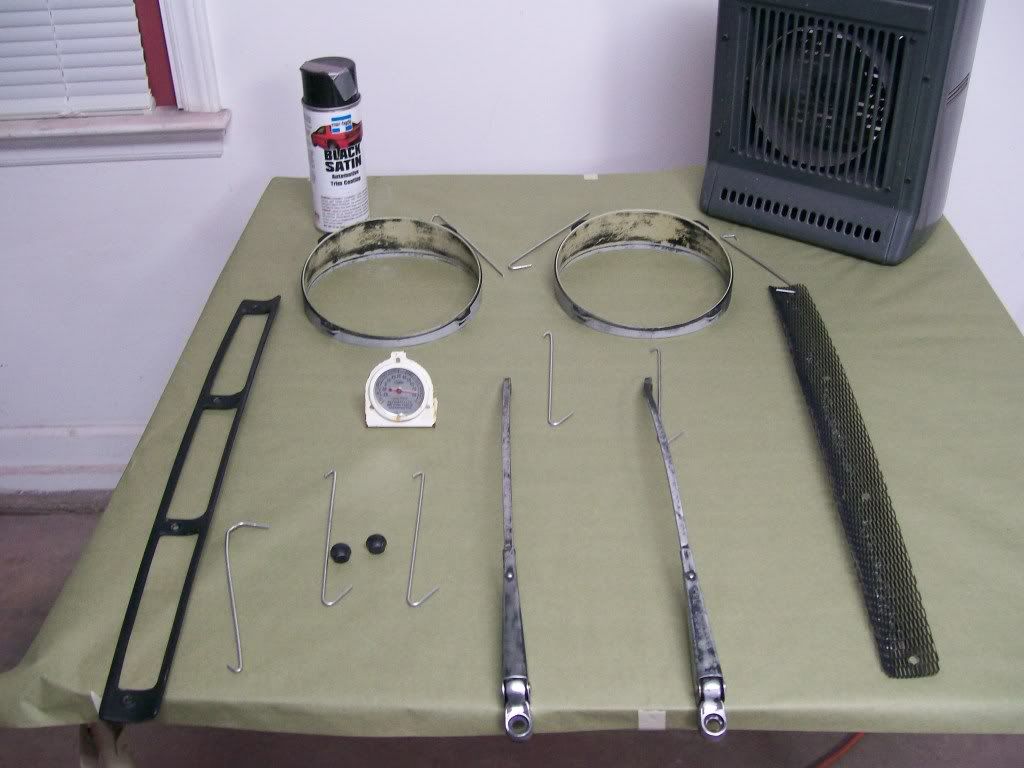
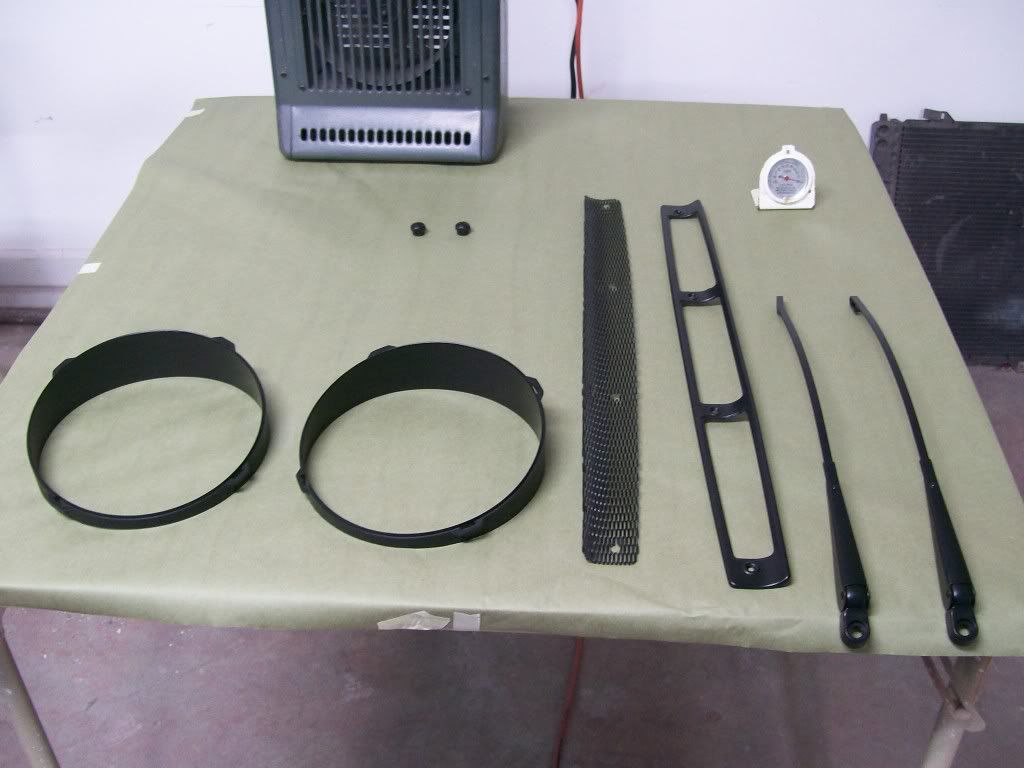
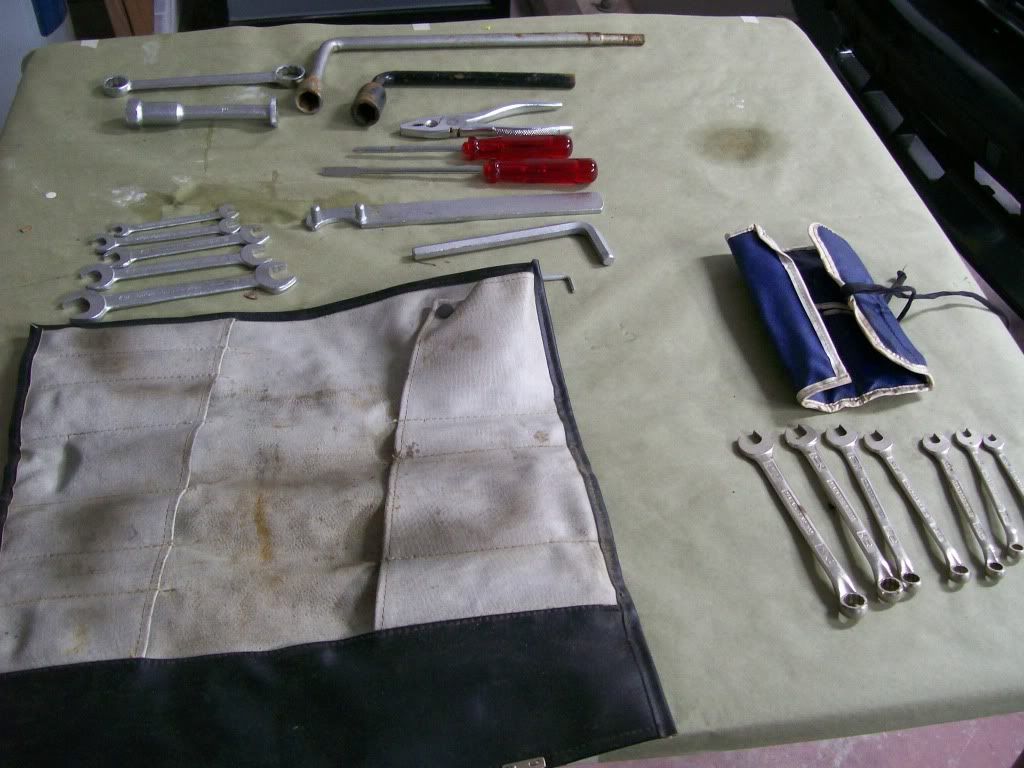
Here's the shot after removing the headlights, turn signals, badge, side mirror, antenna, wipers and any trim that could be removed.

Here you can see one of the problem areas where dirt likes to build up and started to rust. This was cleaned out with dawn and water combo and sealed with opti-seal.
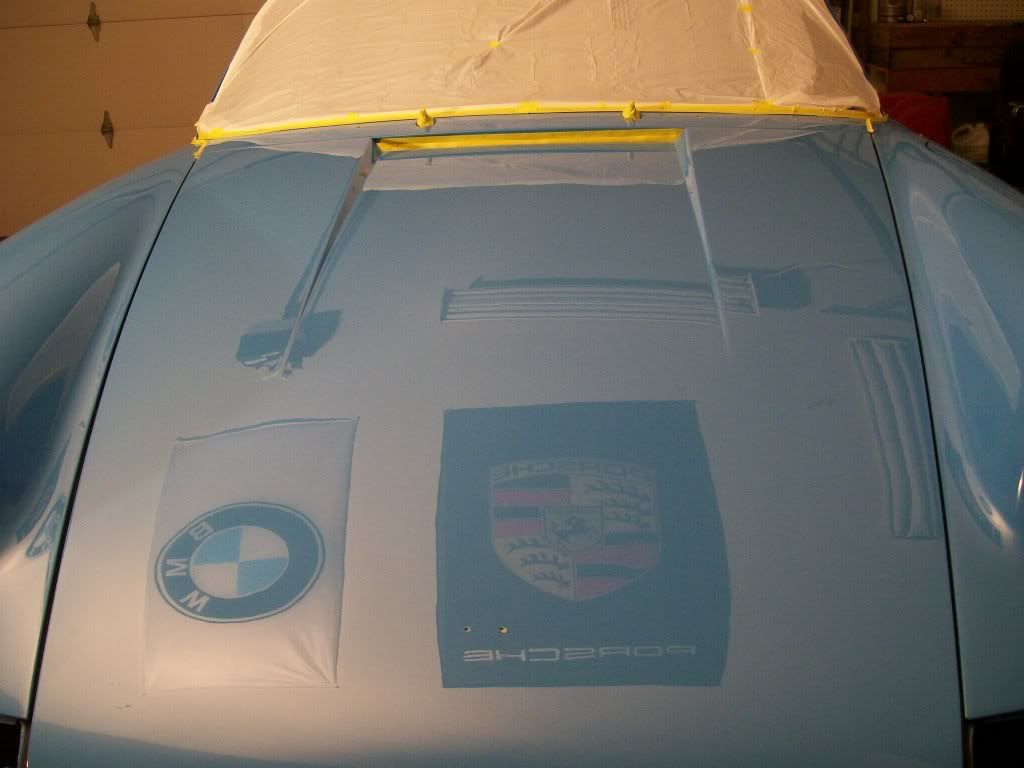
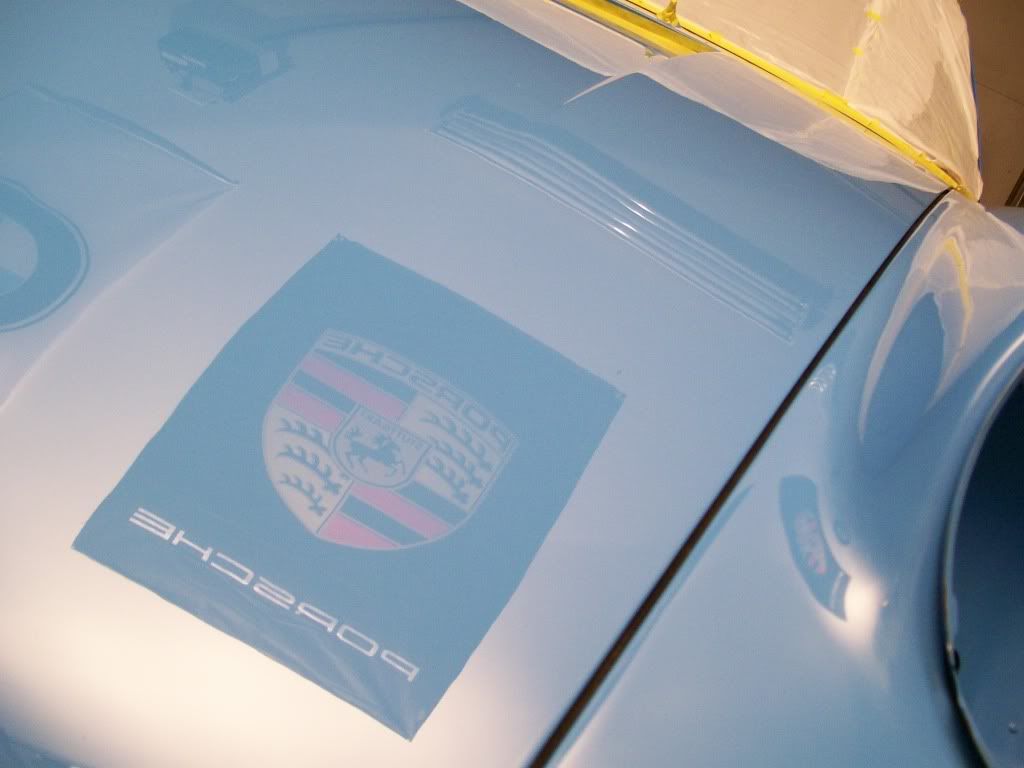
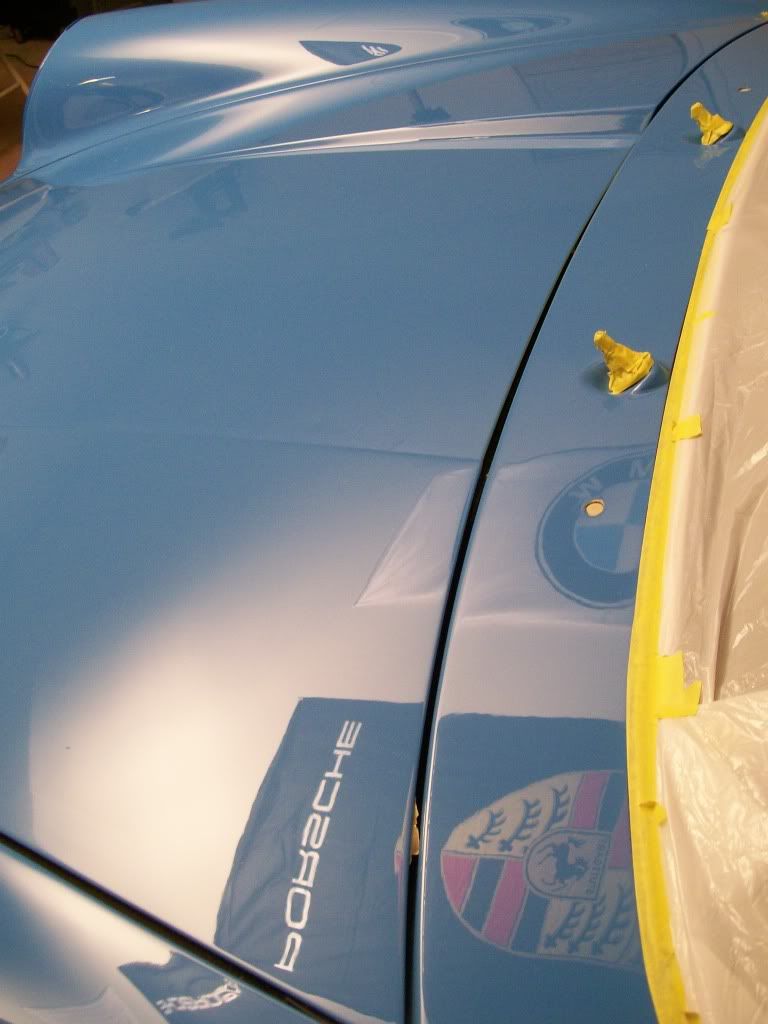
Here's the boot all taped up and ready for action.
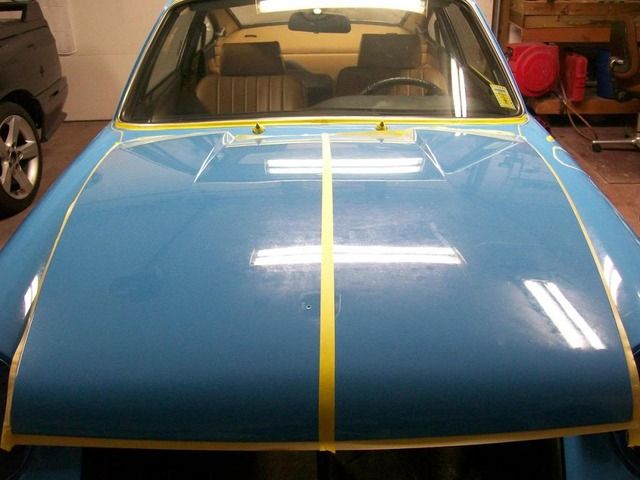
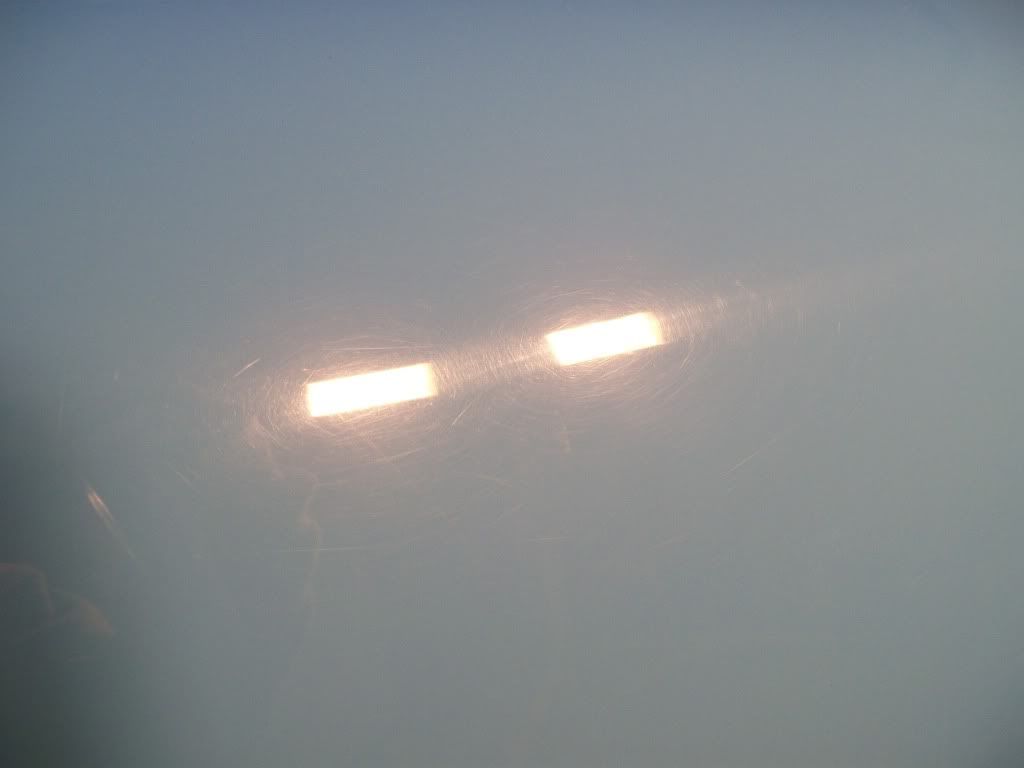
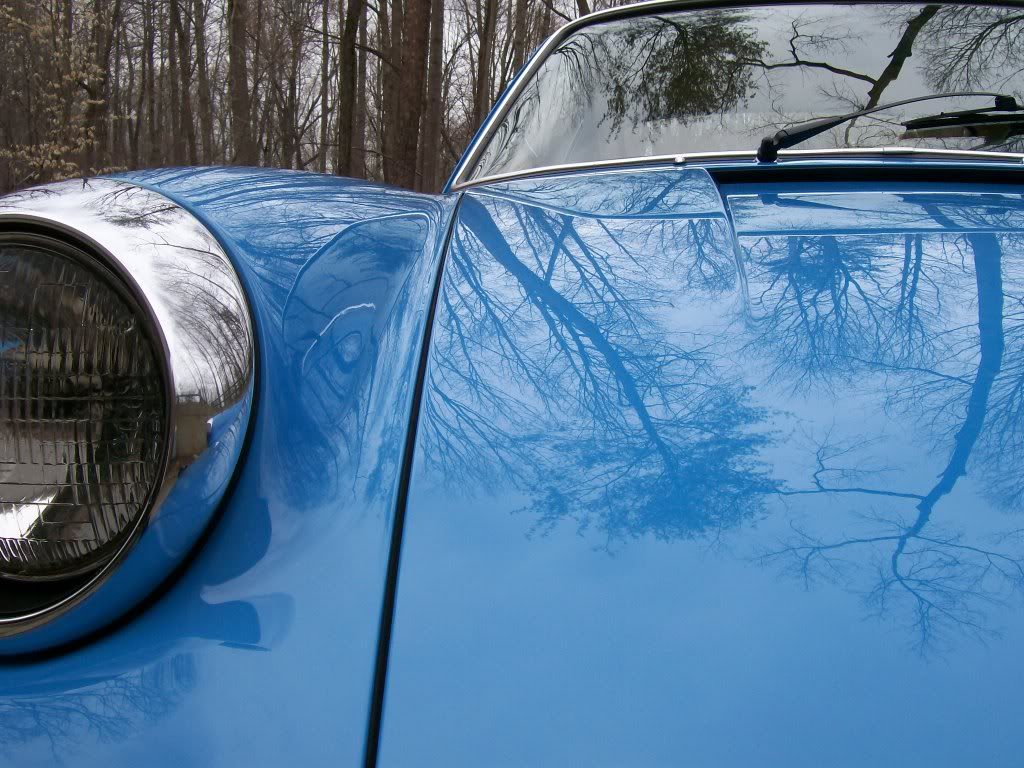
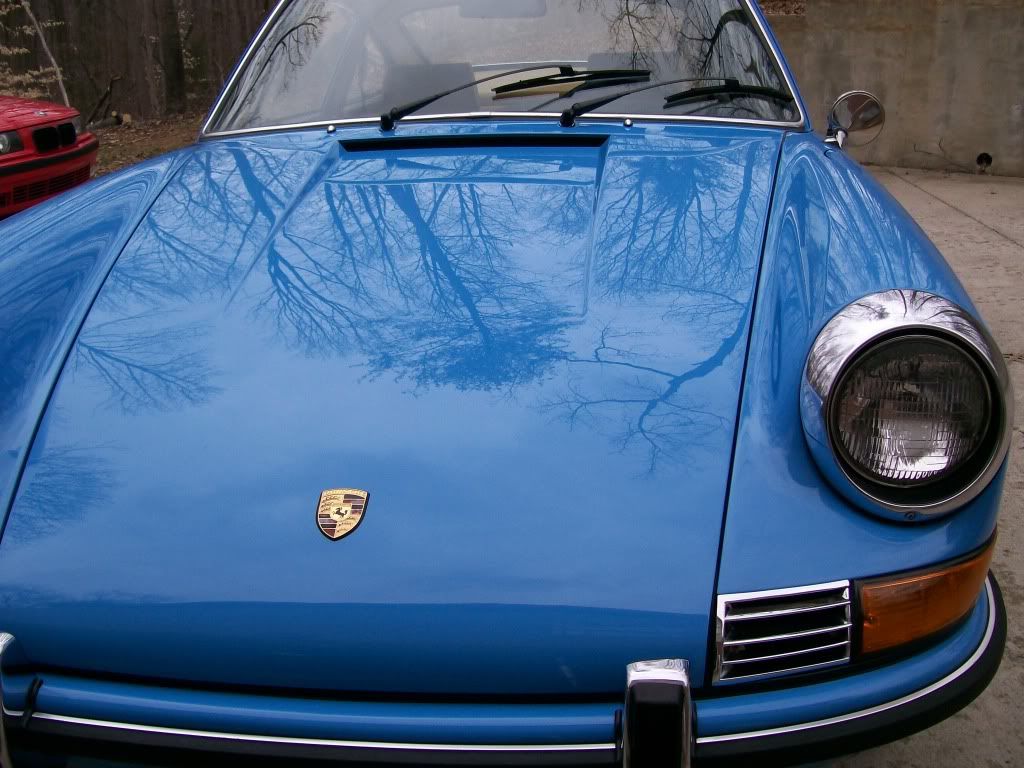
Here's a 50/50 shot under regular 6500k lighting. I'll make these pictures larger to show the corrections better.
Under Halogen lights, before and a 50/50.

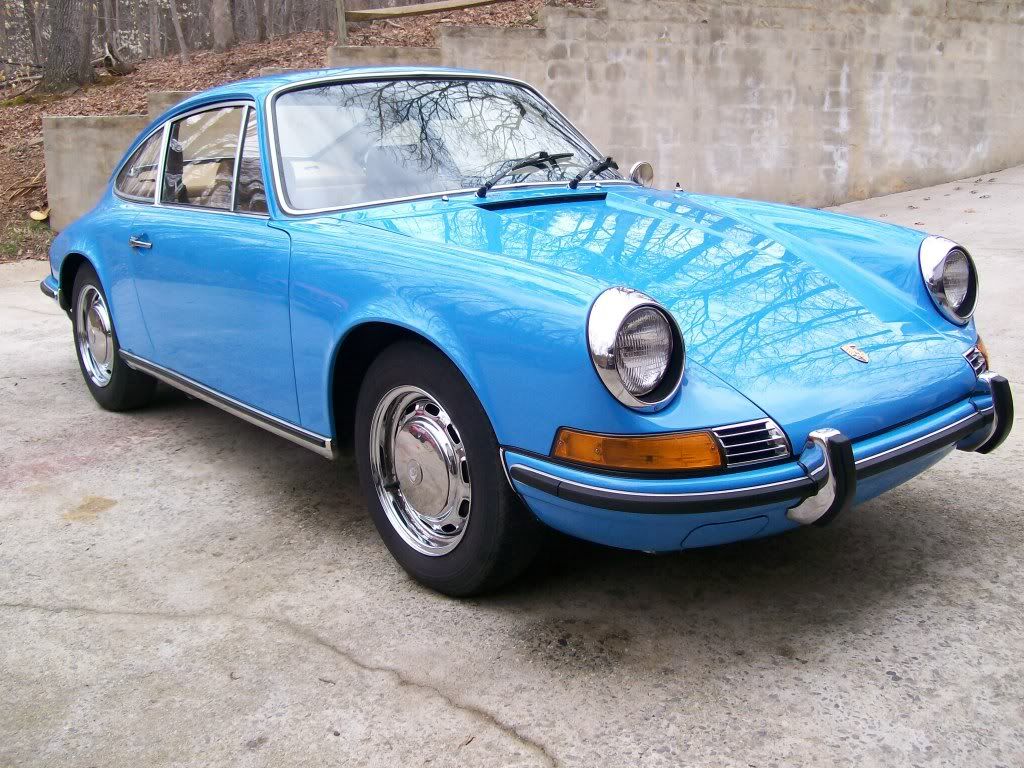
The process that I found worked best was 2 passes of M85 via Megs Burgundy pad, followed by M01 via LC CCS Orange pad, M09 2.0 via Megs Polishing pad and 3M black pad(worked a bit better than the Polishing pad), then Glazed with M03 via LC CCS blue pad. I continued that process for all of the panels and was all done via rotary.
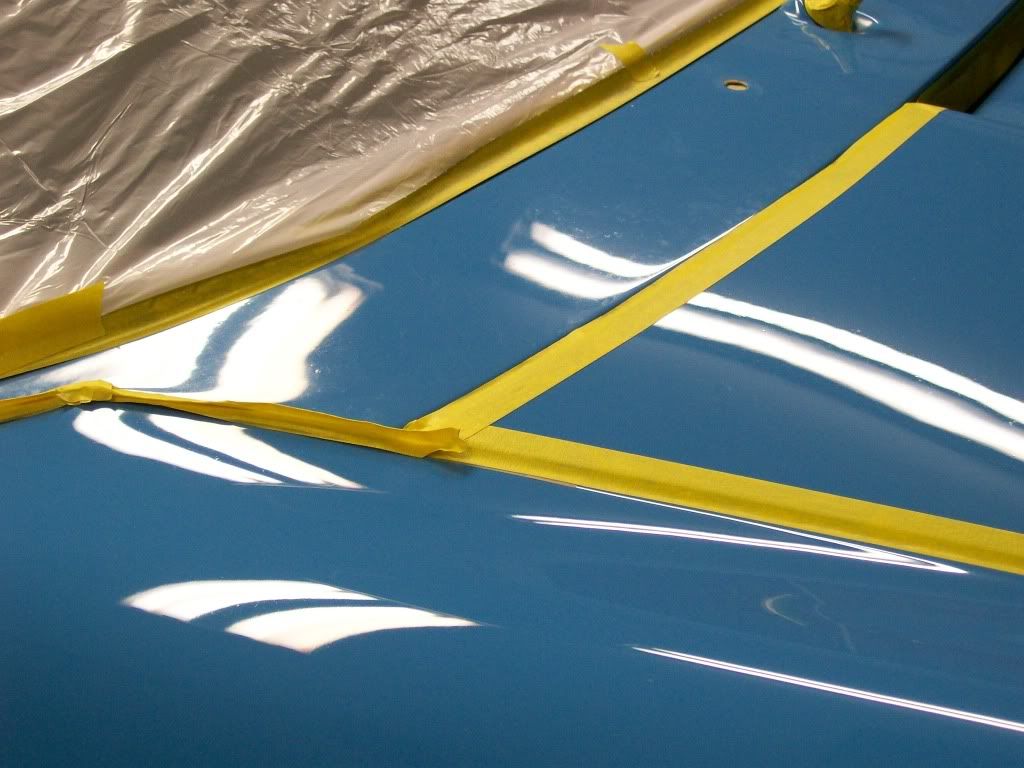
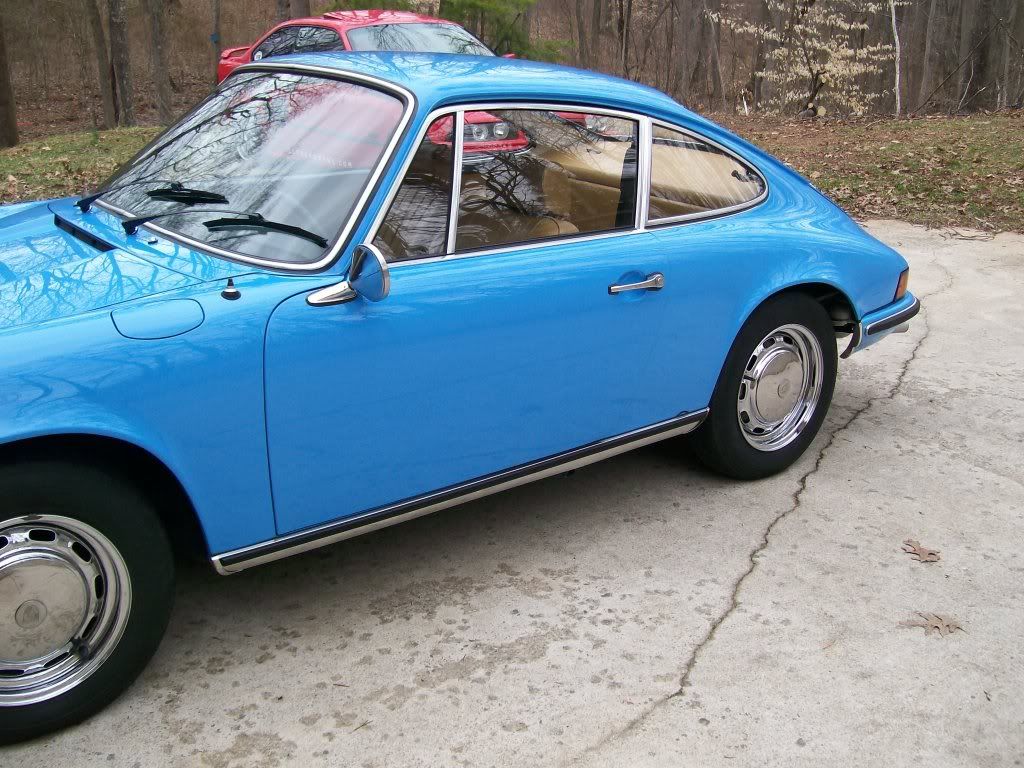
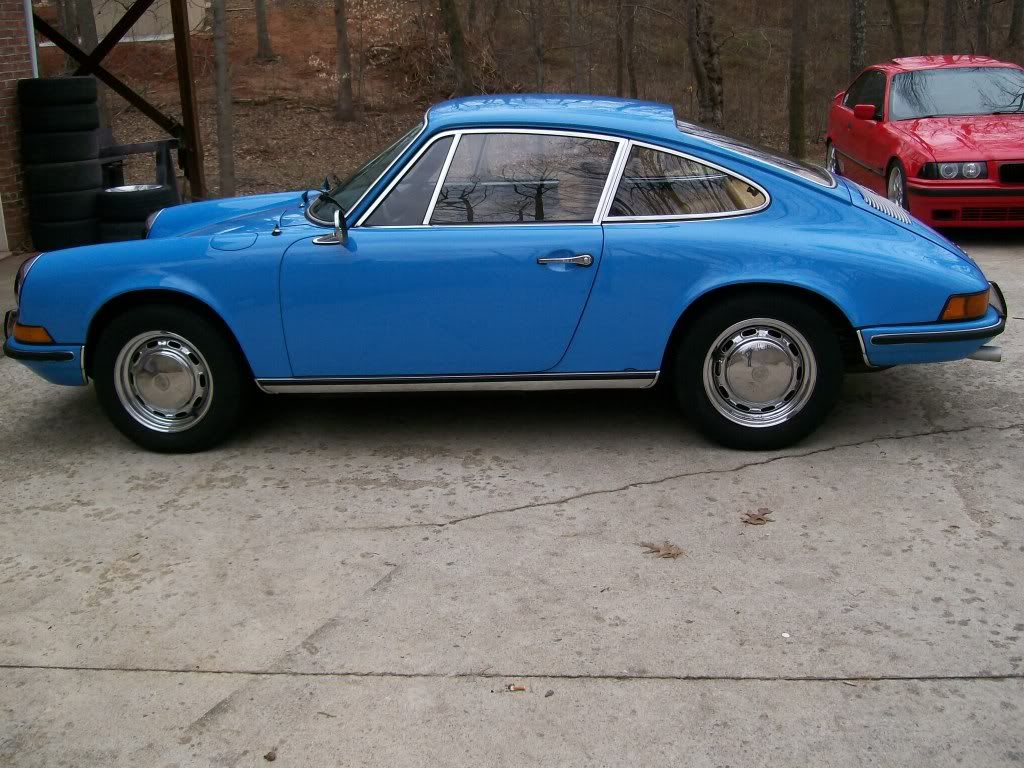
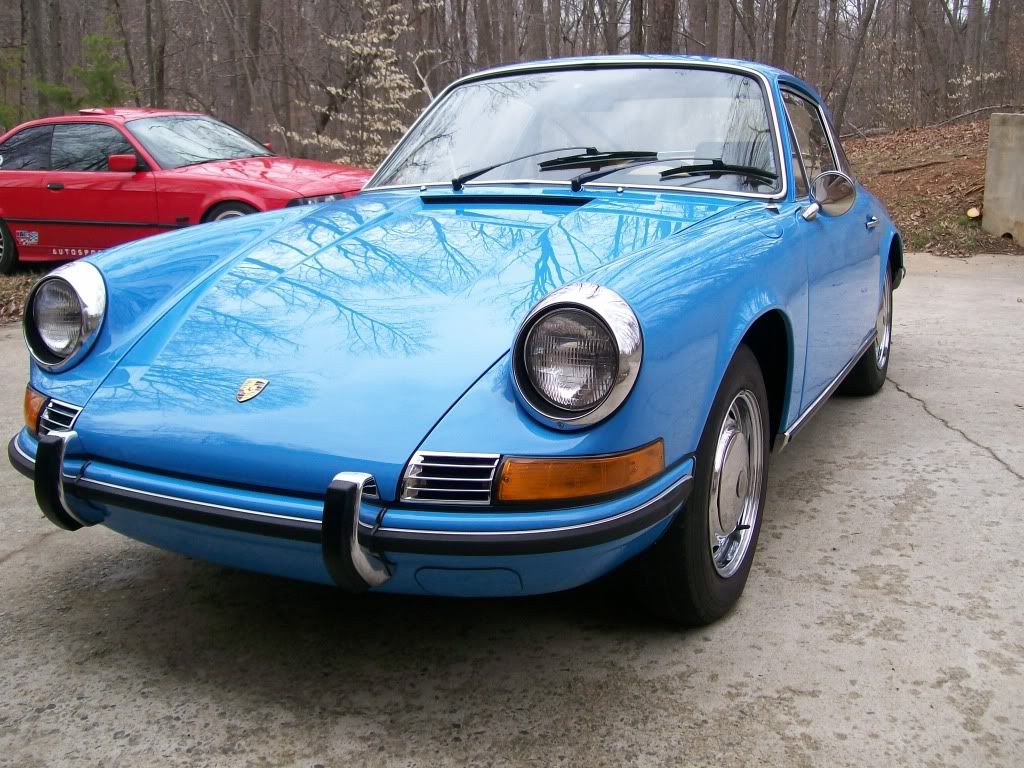
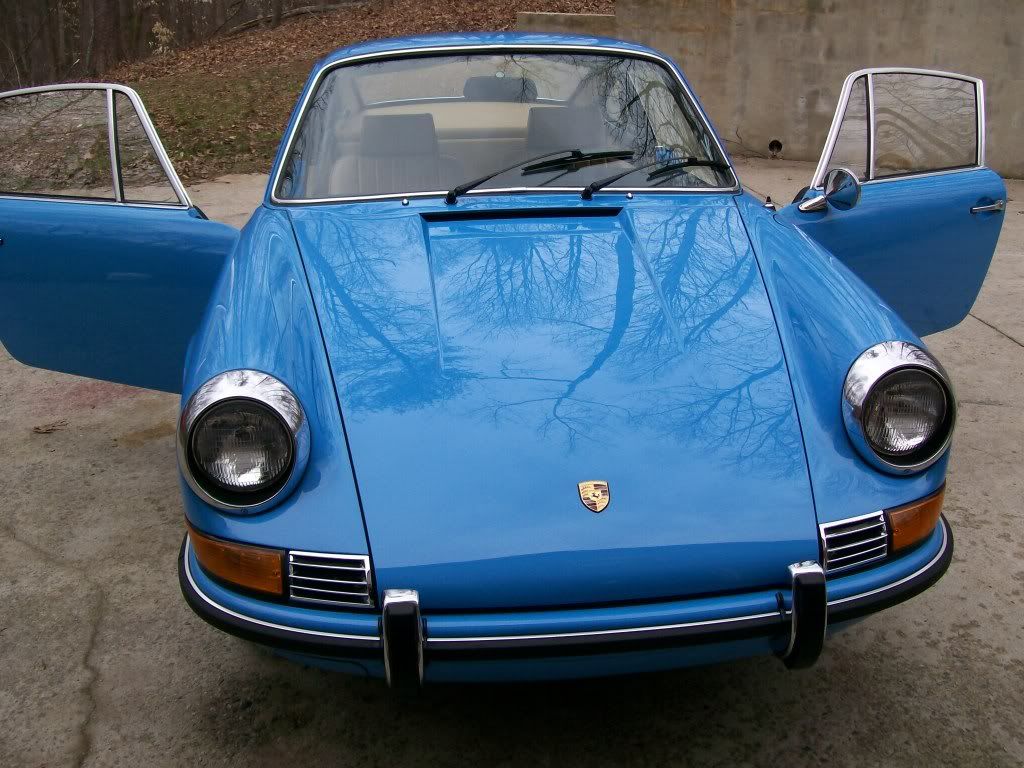
Here's a continuation of the eye candy.
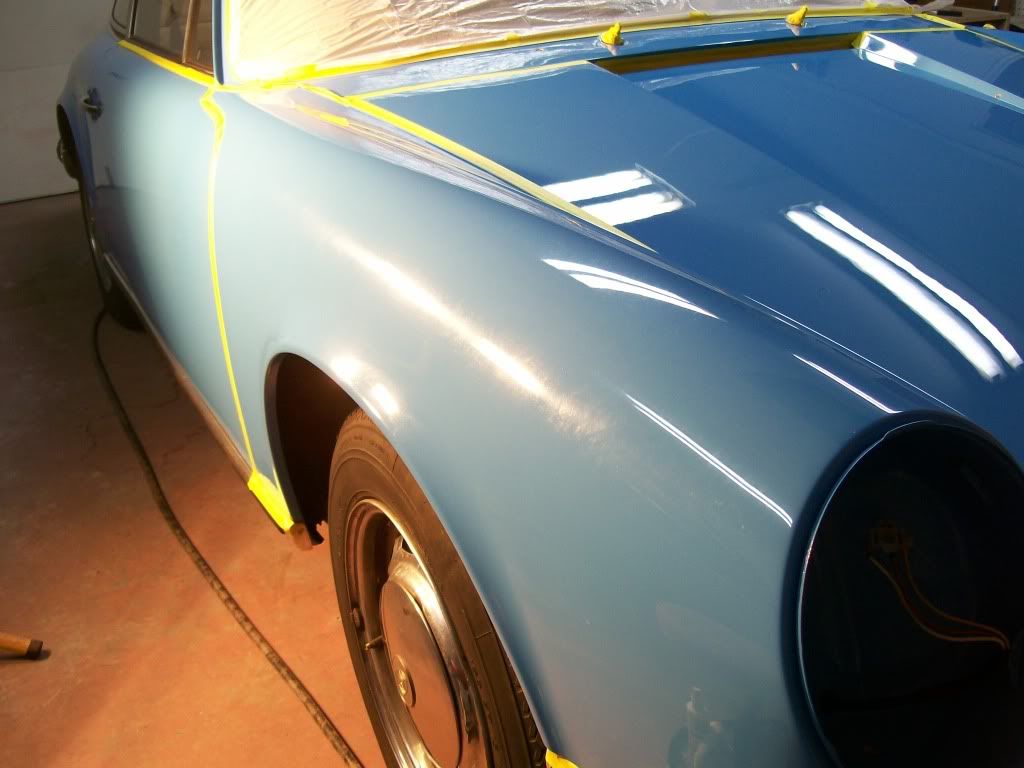
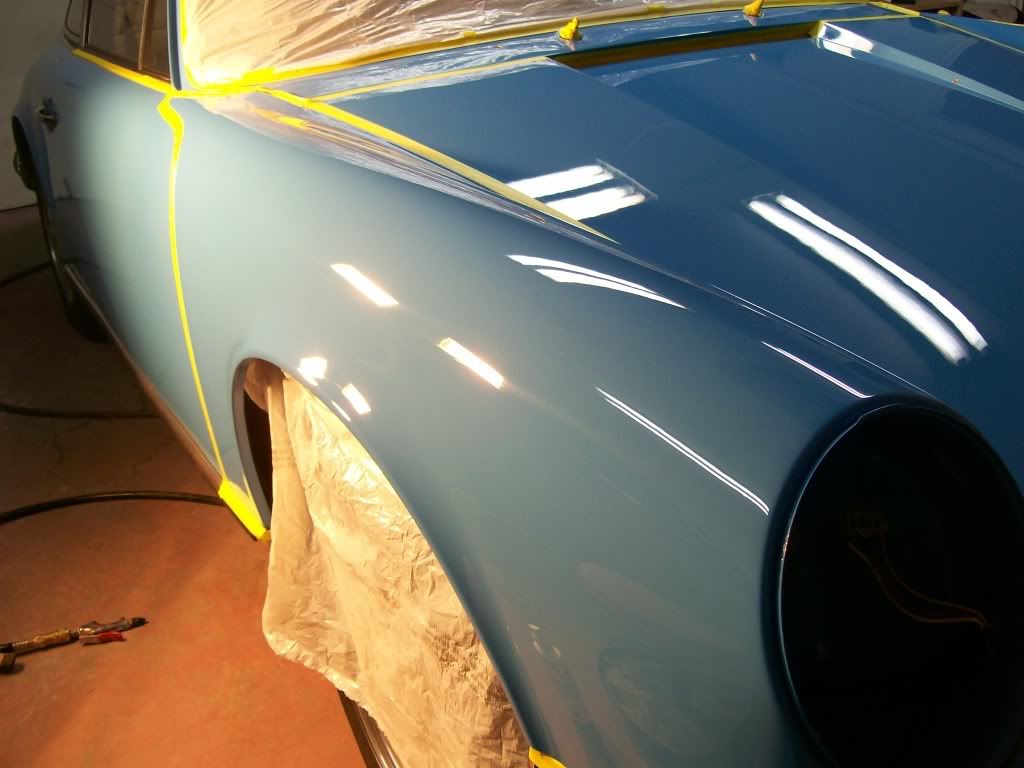
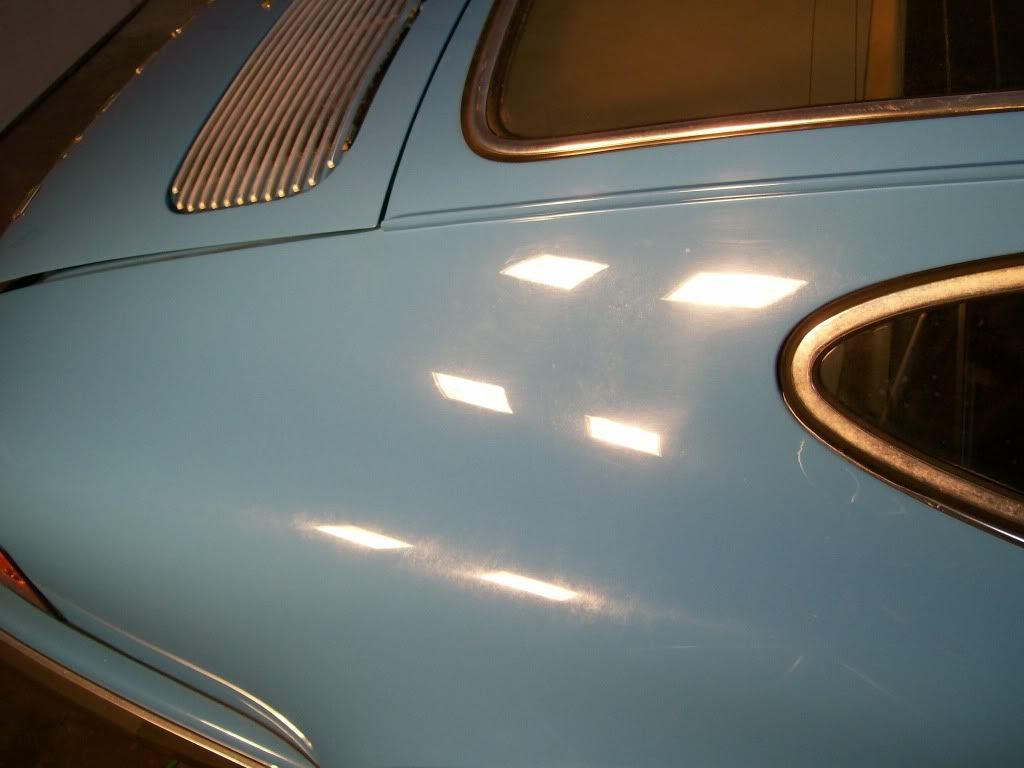
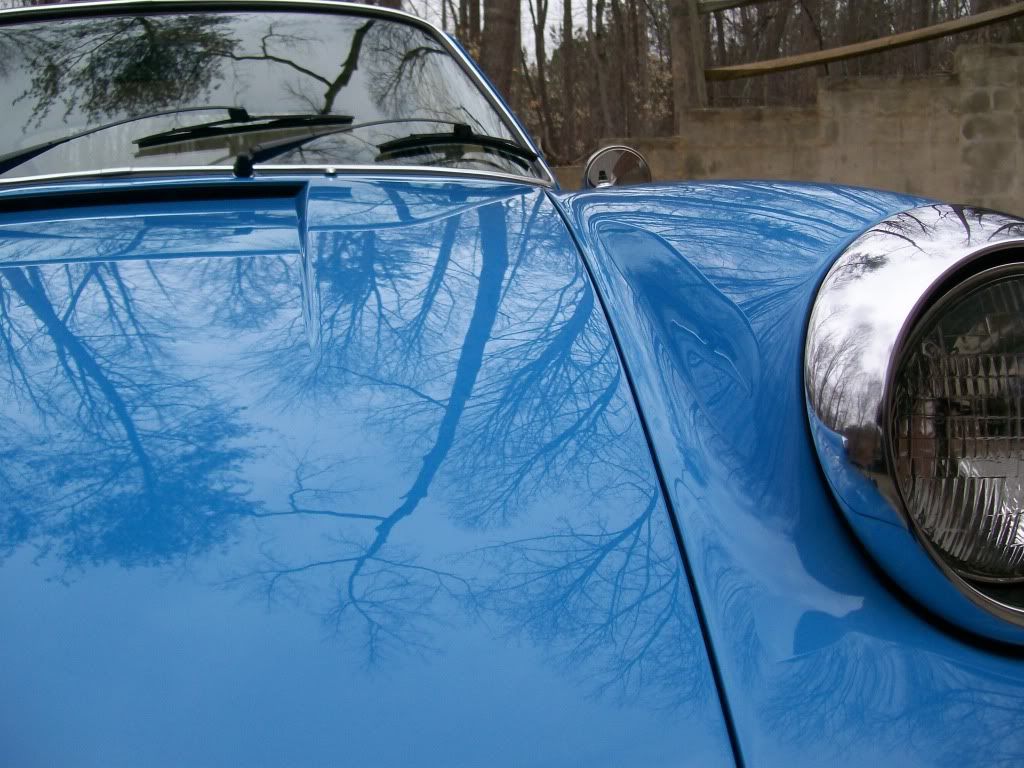
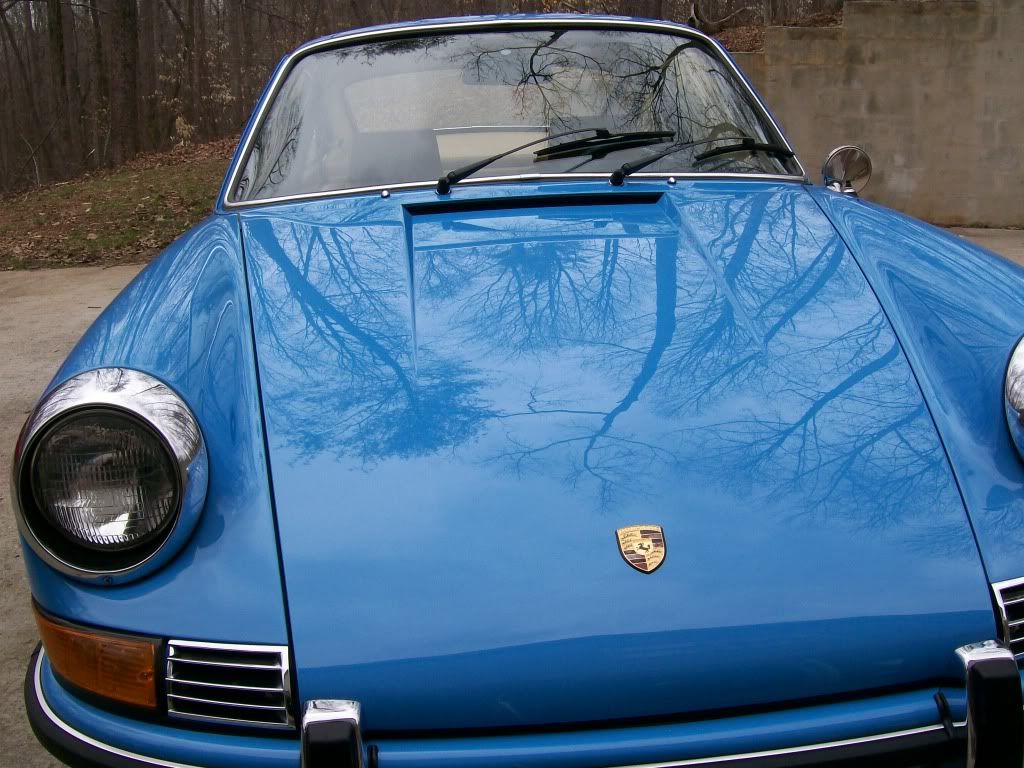
Here's a comparison of the hood and fender corrected vs. the cowl.
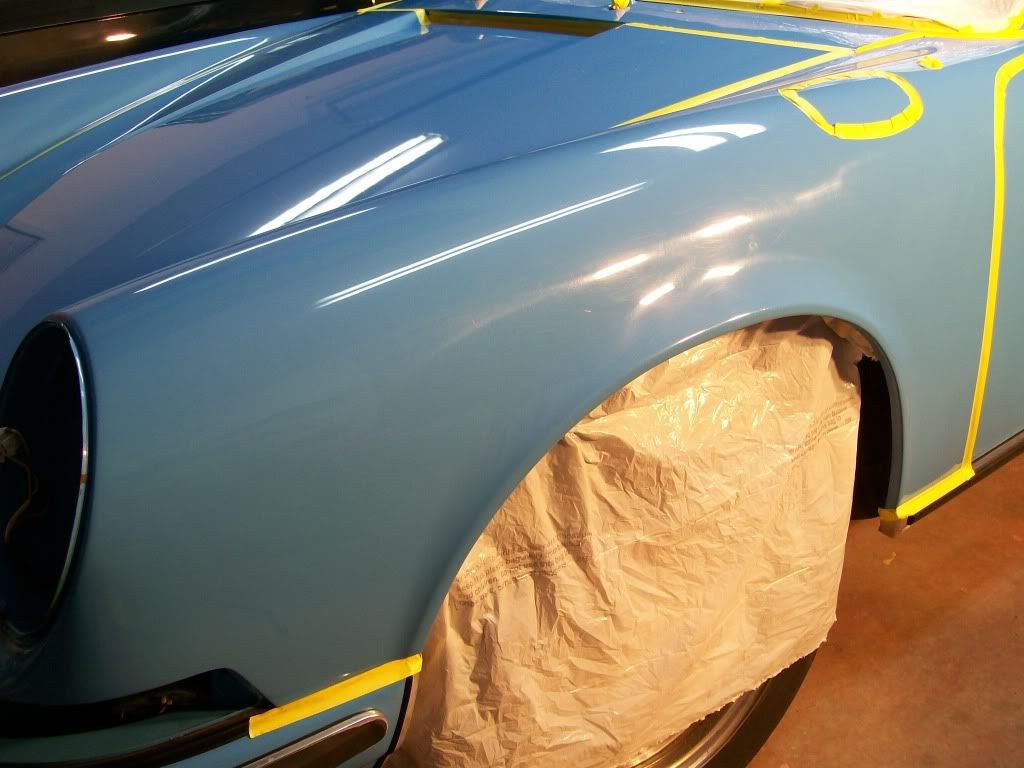
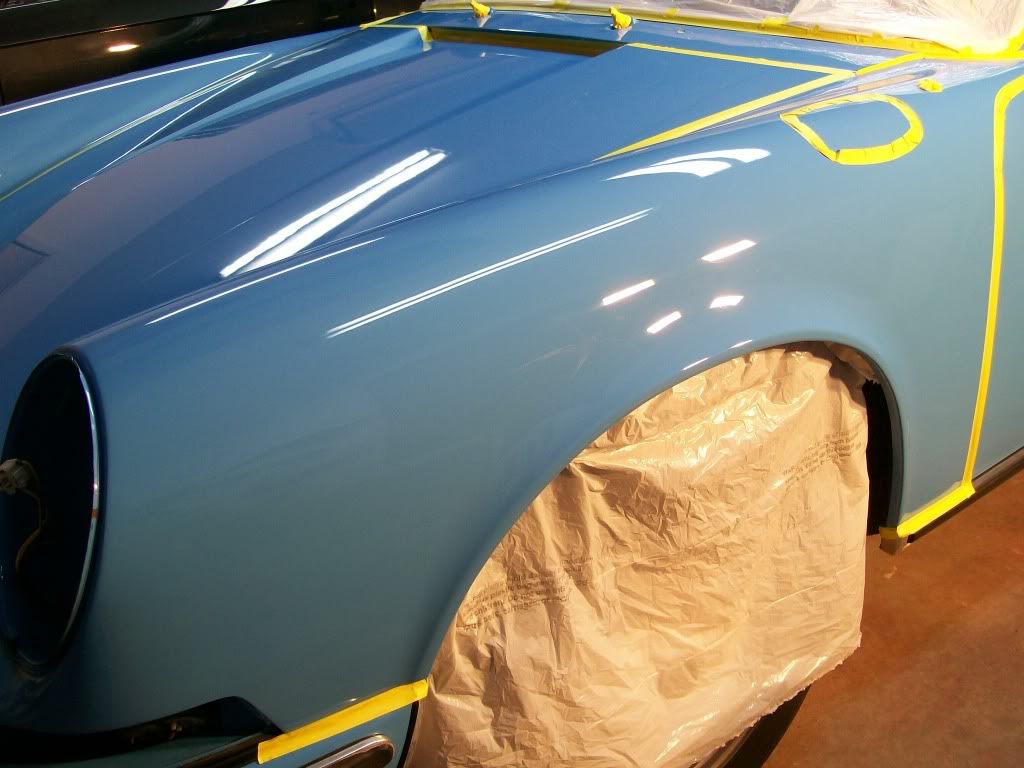
Onto the other fender.
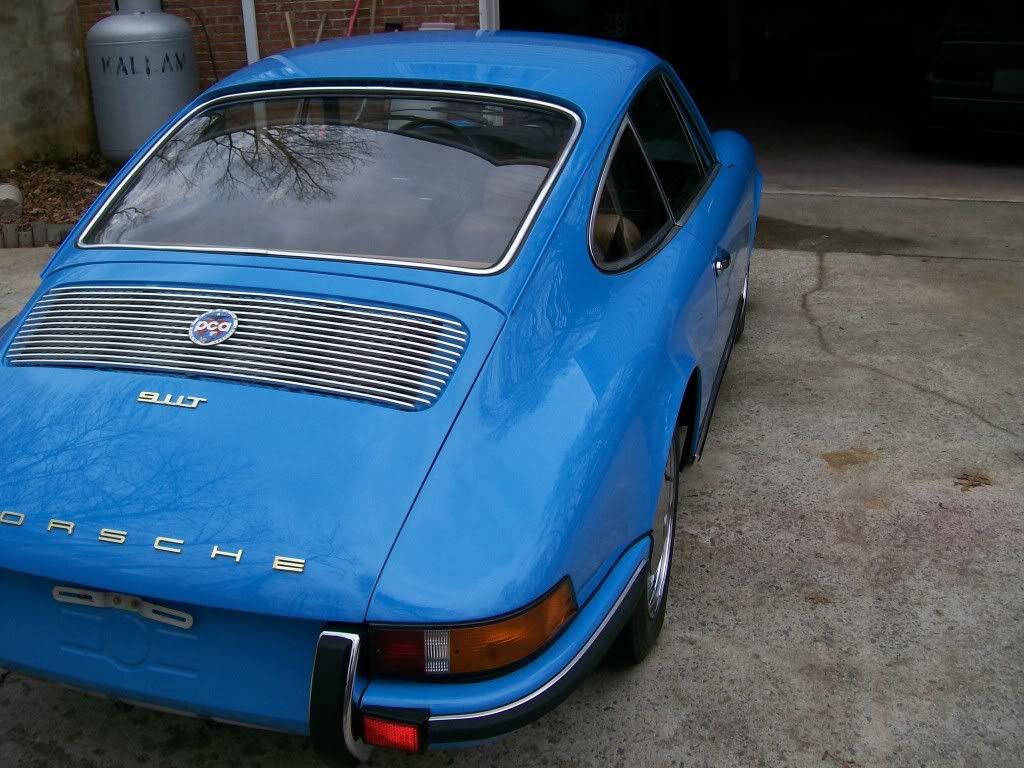
Here's the back quarter, the close up was to show the marring, a few RIDS and ghosting of a leaf.

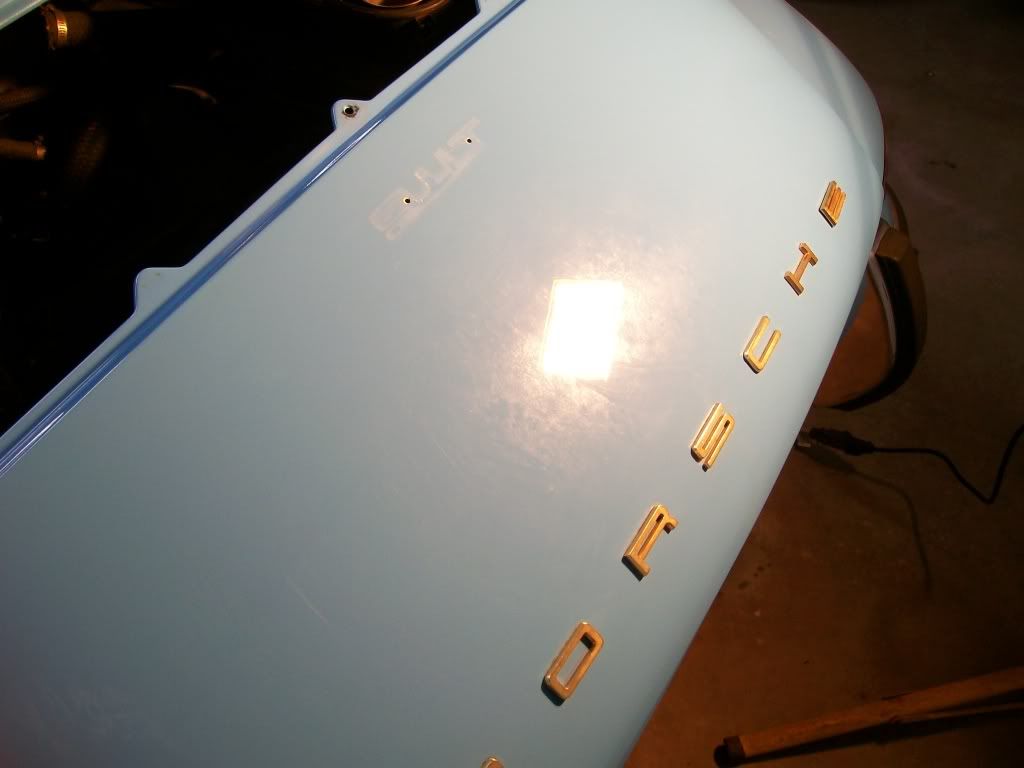
Here's the rear deck lid. I removed the grill covering and badge for polishing and to clean, compound and polish underneath of those. A trick I figured out for polishing around the lettering, and where the grill sits: I cut up an old burgundy pad into a 2in. wide strip, then doubled it over 2 fingers, and secured it with a rubber band around my second knuckle. I was a little iffy on taking a picture of that rigged up, but I term it "the french tickler" or in this case, German.

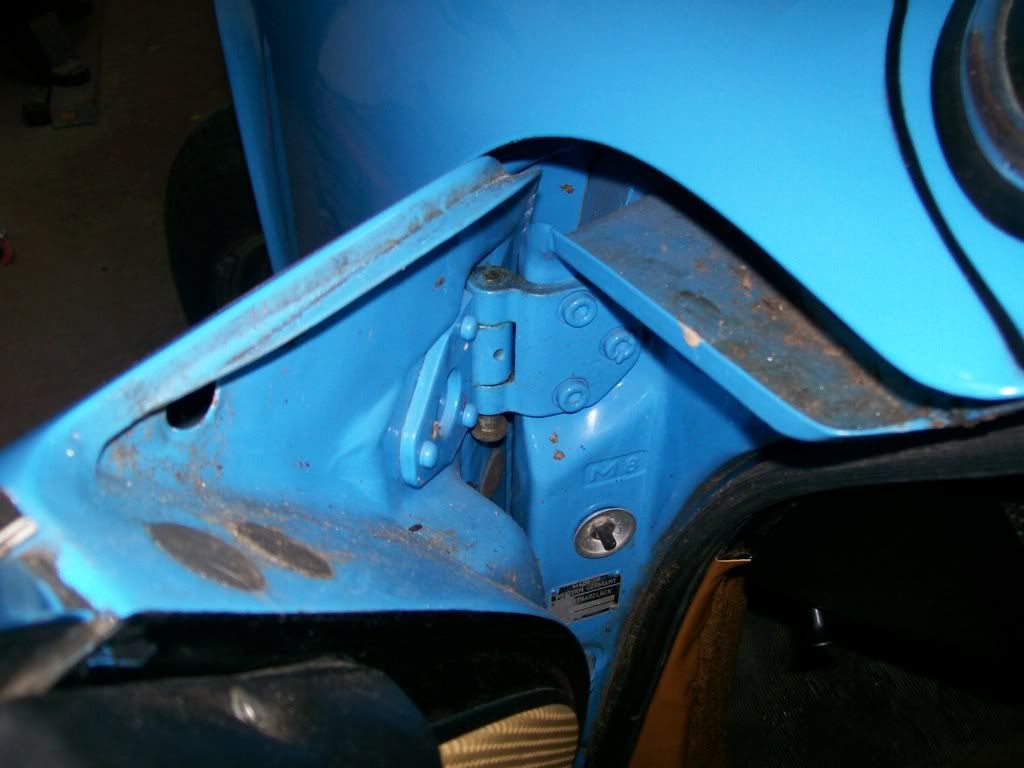
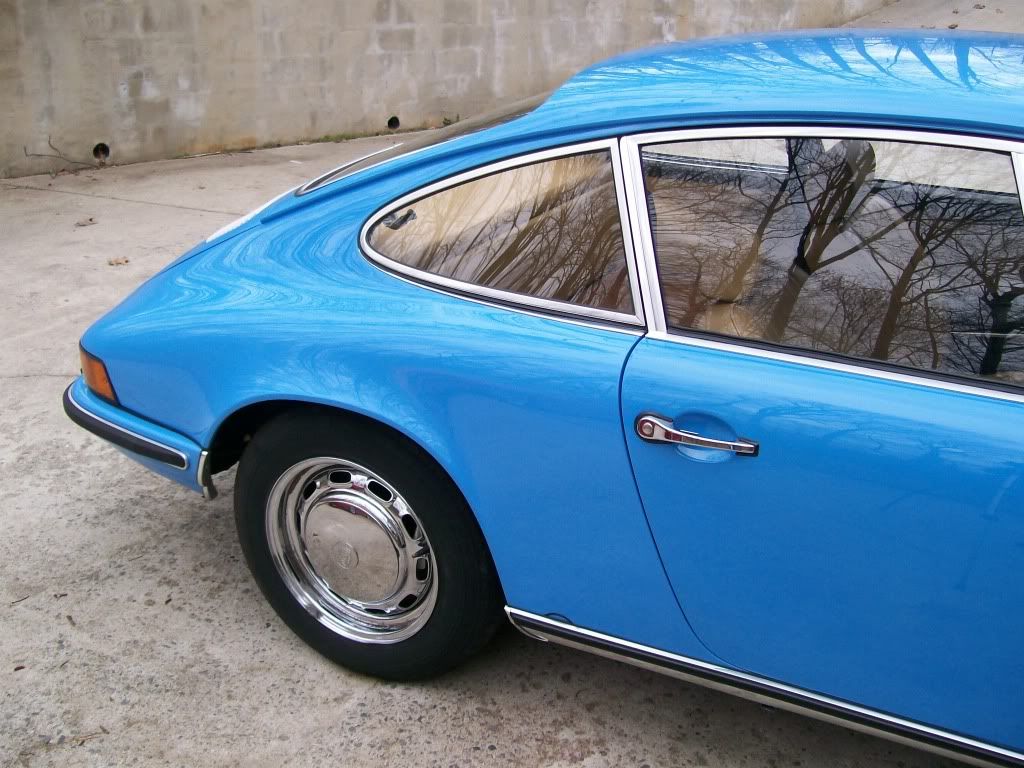
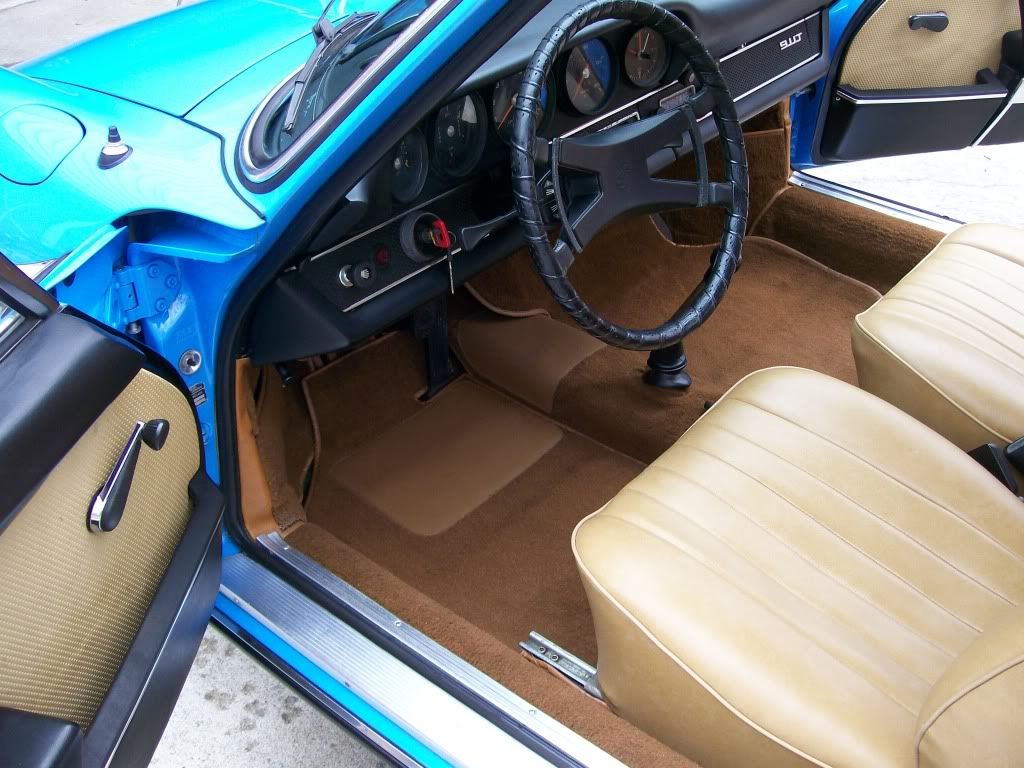
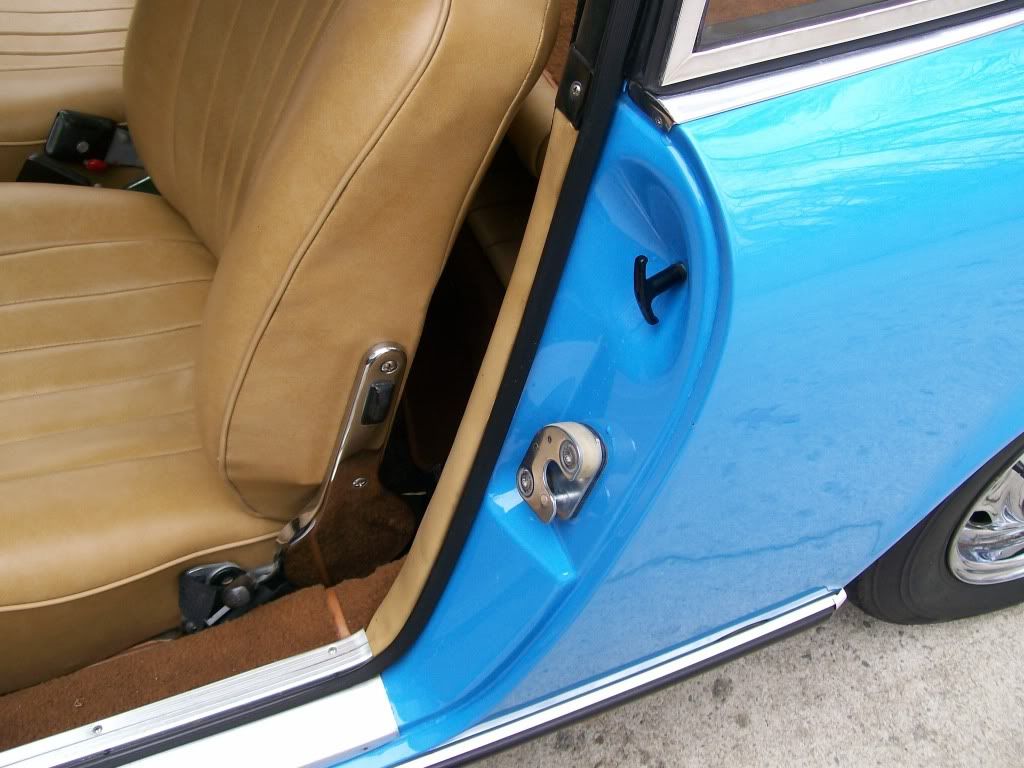
Here's one of the door jambs. They were the worst I've ever seen by a long shot. I cleaned them up with the dawn wash via microfiber, I followed that up with "the french tickler" method with M105, and topped it off with hand polishing with 3M Finesse-it II Finishing Material via MF. They were then sealed with opti-seal. This side in particular took easily 3 1/2 hours. I removed the lower metal scuff plates for polishing and cleaned the excess dirt under them. The door catches were also caked with grease and dirt. After cleaning those, I proceeded to polish those by hand and bring out the full potential of the aluminum. So, hopefully all that time shows and wasn't in vein.

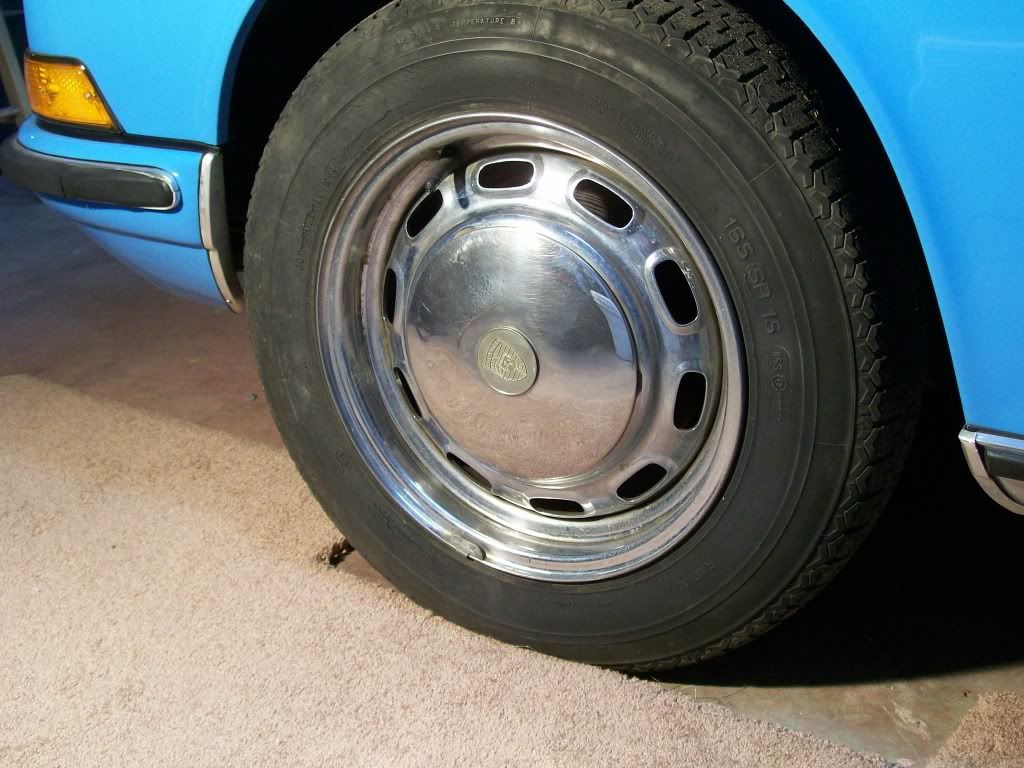
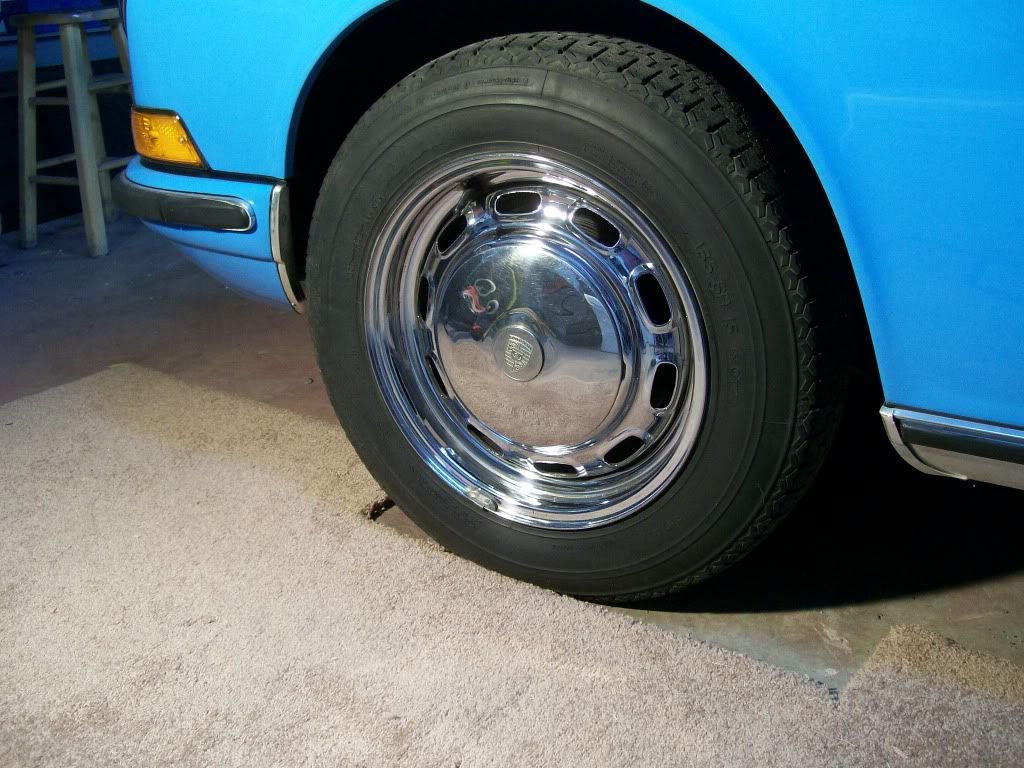
Here's a pic of how the wheels turned out. The chrome plating was flaking off and they were plagued with large amounts of rust. I expressed my concern to the owner and he told me they were to be re-plated, so I did my best to just clean them up while not spending a large amount of time. This one took me ruffly 2 hours and still had deep marring, but my concern was pretty much for the rust.
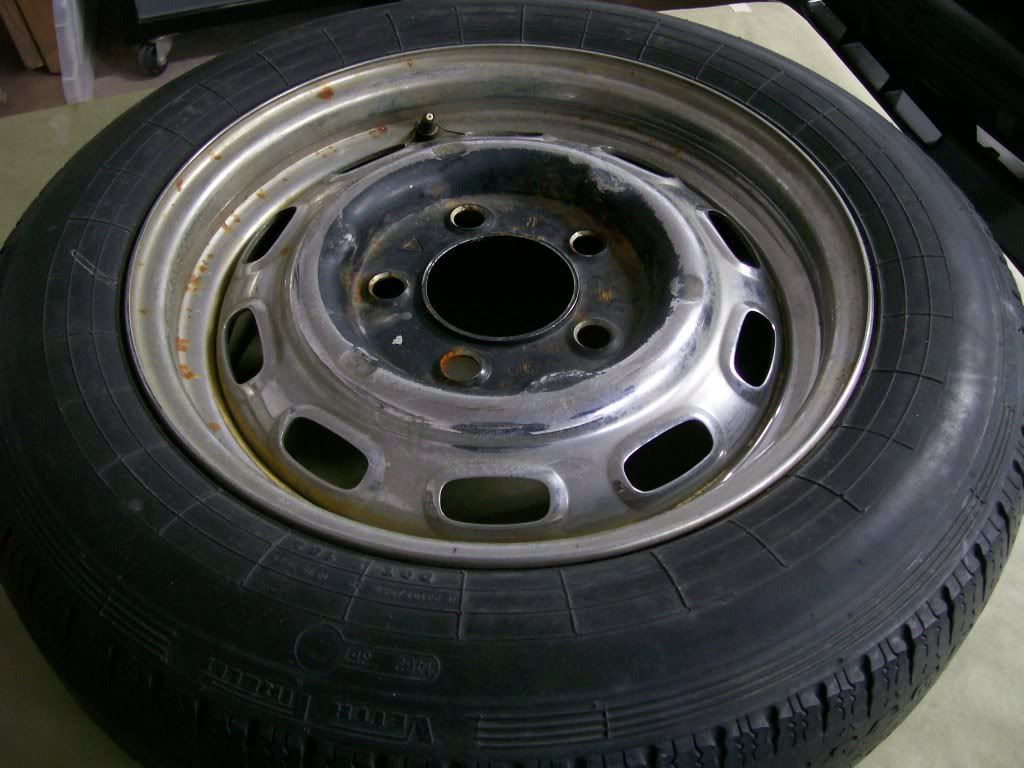
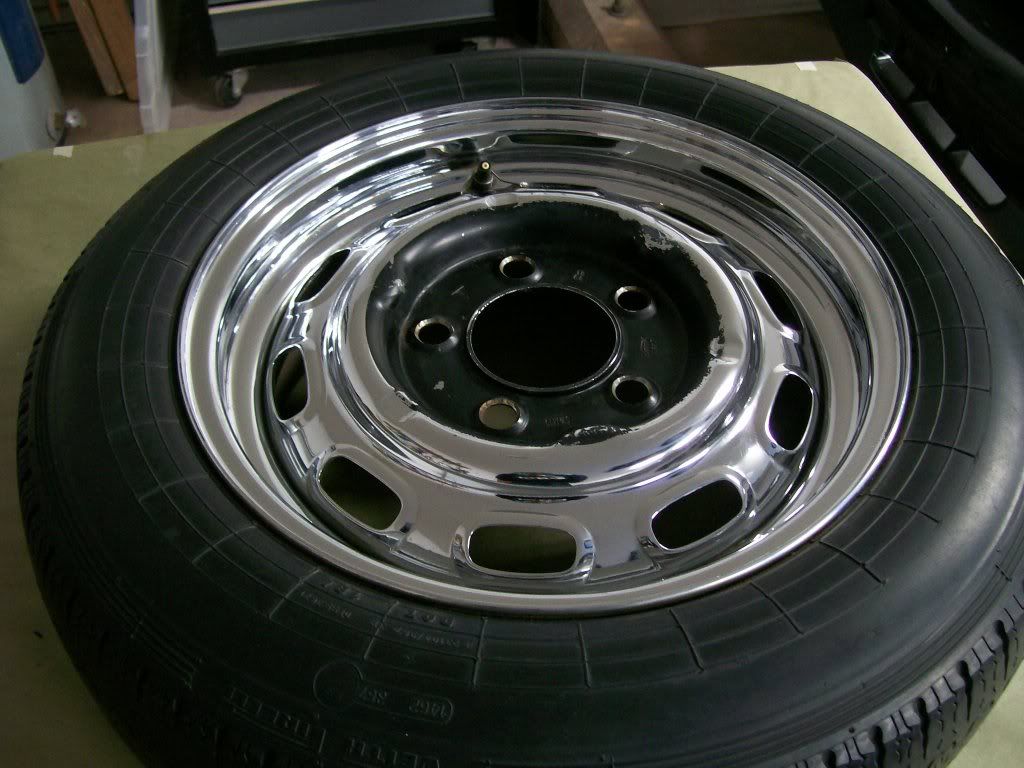
Here's the spare that goes under the boot, I spent about 2.5 hours on it since the plating was still largely intact and polished out very well. On these wheels, I used a combo of Eagle one-Neverdull, Brasso and mothers metal polish.
This was the state the car arrived in. As you can see, it was well neglected and needed serious rehab. I washed the car at night, so didn't take any pictures. I didn't do anything special, just pressure washed the seals and seams the best I could, then continued with the 2 bucket method. After the wash, the car was clay barred with Megs Clay kit.
Here's a few before pics of the boot and engine bay.
Engine bay cleaned up
Here's the cleaning before and after of the boot. The seals were seriously caked with leaves and dirt. Everything was cleaned out with dawn wash on microfiber. The rubber and lines were dressed with M40. Sorry for the differences in lighting, but you can still compare the differences.
Now for the fun part, Corrections.
Here's the shot after removing the headlights, turn signals, badge, side mirror, antenna, wipers and any trim that could be removed.
Here you can see one of the problem areas where dirt likes to build up and started to rust. This was cleaned out with dawn and water combo and sealed with opti-seal.
Here's the boot all taped up and ready for action.
Here's a 50/50 shot under regular 6500k lighting. I'll make these pictures larger to show the corrections better.
Under Halogen lights, before and a 50/50.
The process that I found worked best was 2 passes of M85 via Megs Burgundy pad, followed by M01 via LC CCS Orange pad, M09 2.0 via Megs Polishing pad and 3M black pad(worked a bit better than the Polishing pad), then Glazed with M03 via LC CCS blue pad. I continued that process for all of the panels and was all done via rotary.
Here's a continuation of the eye candy.
Here's a comparison of the hood and fender corrected vs. the cowl.
Onto the other fender.
Here's the back quarter, the close up was to show the marring, a few RIDS and ghosting of a leaf.
Here's the rear deck lid. I removed the grill covering and badge for polishing and to clean, compound and polish underneath of those. A trick I figured out for polishing around the lettering, and where the grill sits: I cut up an old burgundy pad into a 2in. wide strip, then doubled it over 2 fingers, and secured it with a rubber band around my second knuckle. I was a little iffy on taking a picture of that rigged up, but I term it "the french tickler" or in this case, German.
Here's one of the door jambs. They were the worst I've ever seen by a long shot. I cleaned them up with the dawn wash via microfiber, I followed that up with "the french tickler" method with M105, and topped it off with hand polishing with 3M Finesse-it II Finishing Material via MF. They were then sealed with opti-seal. This side in particular took easily 3 1/2 hours. I removed the lower metal scuff plates for polishing and cleaned the excess dirt under them. The door catches were also caked with grease and dirt. After cleaning those, I proceeded to polish those by hand and bring out the full potential of the aluminum. So, hopefully all that time shows and wasn't in vein.
Here's a pic of how the wheels turned out. The chrome plating was flaking off and they were plagued with large amounts of rust. I expressed my concern to the owner and he told me they were to be re-plated, so I did my best to just clean them up while not spending a large amount of time. This one took me ruffly 2 hours and still had deep marring, but my concern was pretty much for the rust.
Here's the spare that goes under the boot, I spent about 2.5 hours on it since the plating was still largely intact and polished out very well. On these wheels, I used a combo of Eagle one-Neverdull, Brasso and mothers metal polish.


") Both, you and Scott are my top favored detailers, so hearing the positive reinforcements from the both of you goes miles for my inspiration! Many thanks again.
Both, you and Scott are my top favored detailers, so hearing the positive reinforcements from the both of you goes miles for my inspiration! Many thanks again.