Im applying my second coat of SG this weekend and was wondering if you are suppose to apply so little, that on a on white it wont haze almost transparent layer=I could feel the SG but could not really see it. Or are you suppose to apply it and you would be able to see it. When I applied SG the first time I applied a very thin coat=transparent really could not see it under florecent light on my white car. waited 20 min and it came off very easily, only prob I had is a spot I missed on the hood and had to buff a couple times to get it off.
Navigation
Install the app
How to install the app on iOS
Follow along with the video below to see how to install our site as a web app on your home screen.
Note: This feature may not be available in some browsers.
More options
Style variation
You are using an out of date browser. It may not display this or other websites correctly.
You should upgrade or use an alternative browser.
You should upgrade or use an alternative browser.
1967 Plymouth Satellite Paint Correction
- Thread starter db2
- Start date
imported_killerjg
New member
Thin layers for all layers. Did a white Odyssey was hard to see it on there!
imported_Intermezzo
New member
C240, I've applied Klasse on a silver car before and it was pretty much invisible after I applied it, even after 30 minutes.
I would only be able to see hints of it here and there if I really really strained and looked at my car under various angles under flourescent lights. I solved that problem by using a 1,000,000 candle spot light to make sure I didn't miss any spots when applying or buffing. Needless to say, that was pretty annoying. I'm sure a lot of people here wouldn't approve, but if I were to do it over again, I'd apply thicker coats that were actually visible, let it dry for an hour, then remove with an MF damped with just a few drops of water.
I would only be able to see hints of it here and there if I really really strained and looked at my car under various angles under flourescent lights. I solved that problem by using a 1,000,000 candle spot light to make sure I didn't miss any spots when applying or buffing. Needless to say, that was pretty annoying. I'm sure a lot of people here wouldn't approve, but if I were to do it over again, I'd apply thicker coats that were actually visible, let it dry for an hour, then remove with an MF damped with just a few drops of water.
G
Guest
Guest
I buff it off with Sonus QD. I have a black car and I KNOW it all gets off with one swipe of sonus. The klasse must be dry though.
Jngrbrdman
New member
With Klasse more time is better. I have a white car with over a dozen coats of SG and I feel your pain when you say you can't see it. The rule with Klasse is that if you can see it, then you are using too much. Using too much isn't really a bad thing. It just wastes it and is a little harder to buff off.
The shortest time I would let Klasse sit would be 45 mins. It really looks good if you can put it on in garage, or something, and then buff it off in the morning. :xyxthumbs The longer the better. Love that shine though!! Make sure you wear though, when you drive it out in the sun. I found out that Klasse won't pay for reconstructive surgery when the shine blinds you and your face is disfigured in a perpetual squint.
 ")
The shortest time I would let Klasse sit would be 45 mins. It really looks good if you can put it on in garage, or something, and then buff it off in the morning. :xyxthumbs The longer the better. Love that shine though!! Make sure you wear
though, when you drive it out in the sun. I found out that Klasse won't pay for reconstructive surgery when the shine blinds you and your face is disfigured in a perpetual squint. Jngrbrdman
New member
<blockquote class='ipsBlockquote' >
<em class='bbc'>Originally posted by kreativ [/i]
<strong class='bbc'>Jngrbrdman - Wow, over a dozen coats of SG! How long do you wait in between layers of SG, and is there a point when a white car no longer gets any shinier/glossier with additional layers? [/b]</blockquote>
For a long time I could still see the difference in the layers. I would wait a day or two between coats. Toward the end it was like 2 coats per weekend. I stopped the SG when I was pretty satisfied with the shine. I really could tell the difference with each layer. Now I just put a layer of Pinnacle Paste Glaz carnuba wax on once a month or so just to keep it glowing.") I'm stripping it all off soon and hitting it with Blackfire though. Can't wait! :bounce
I'm stripping it all off soon and hitting it with Blackfire though. Can't wait! :bounce
<em class='bbc'>Originally posted by kreativ [/i]
<strong class='bbc'>Jngrbrdman - Wow, over a dozen coats of SG! How long do you wait in between layers of SG, and is there a point when a white car no longer gets any shinier/glossier with additional layers? [/b]</blockquote>
For a long time I could still see the difference in the layers. I would wait a day or two between coats. Toward the end it was like 2 coats per weekend. I stopped the SG when I was pretty satisfied with the shine. I really could tell the difference with each layer. Now I just put a layer of Pinnacle Paste Glaz carnuba wax on once a month or so just to keep it glowing.
I'm stripping it all off soon and hitting it with Blackfire though. Can't wait! :bounce<blockquote class='ipsBlockquote' >
<em class='bbc'>Originally posted by kreativ [/i]
<strong class='bbc'>Won't there be contaminants and what not on the car if you wait a month in between SG applications? [/b]</blockquote>Will I be sealing in contaminents or will I be alright just making sure I do a good wash prior to SG applicarion?
A week or month after you detail your car, sit down and stare at the paint closely. I like to keep my eyes 4-5 inches away from the paint. Search the paint carefully for any speckled dots that have formed from the airborne pollutants. If you cannot see any, then you’re lucky to live in such a nice place… and it’ll be safe to add an additional layer without worrying about sealing over the contaminates.
If you do see ‘em, like me, I like to clay before each new layer to prevent this from happening. It really isn’t needed as I highly doubt there will be any harm from sealing them, though… just make sure you start with a fresh beginning a few times in the car’s lifetime. Or perhaps I’m too much of a perfectionist wasting time out of my life staring to see if there are any dots… 
Good luck and try to have some fun!
~bw
EDIT: If you have a metallic colored car then it should be even less noticable meaning the claying wouldn't be as necessary. Argh... I think I'm too paranoid.
If you do see ‘em, like me, I like to clay before each new layer to prevent this from happening. It really isn’t needed as I highly doubt there will be any harm from sealing them, though… just make sure you start with a fresh beginning a few times in the car’s lifetime. Or perhaps I’m too much of a perfectionist wasting time out of my life staring to see if there are any dots…
Good luck and try to have some fun!
~bw
EDIT: If you have a metallic colored car then it should be even less noticable meaning the claying wouldn't be as necessary. Argh... I think I'm too paranoid.
Leadfootluke
New member
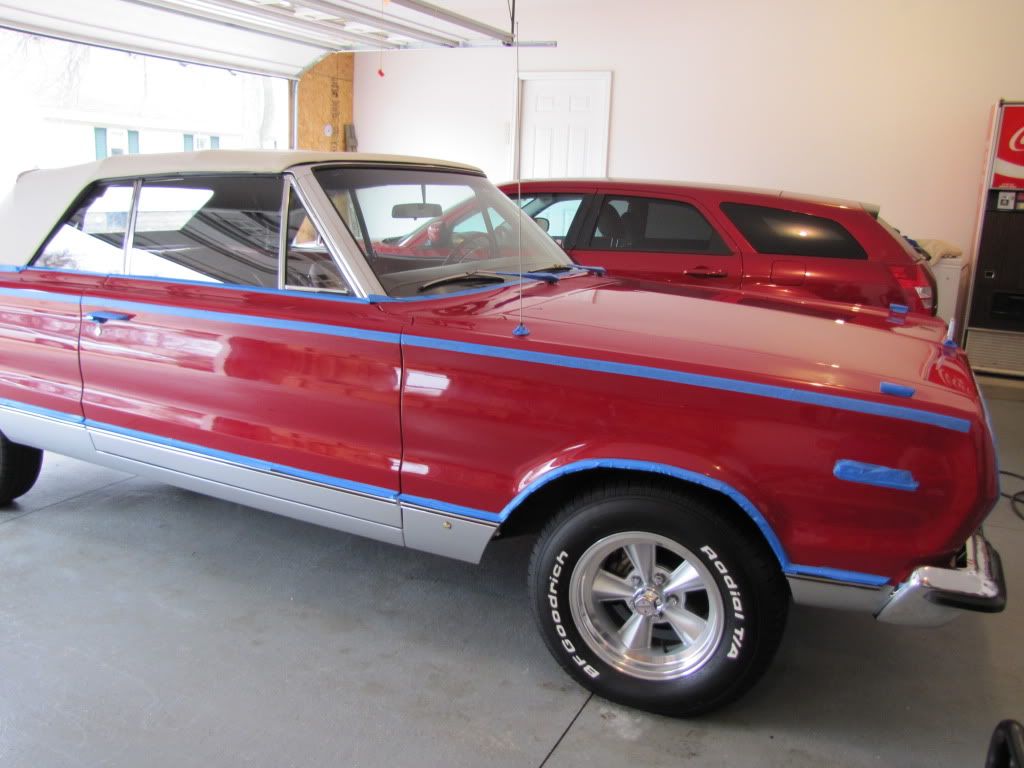
This car was purchased from California and brought to Michigan. It sees maybe 100 miles a year during the summer months. The wheels and tires are new to the vehicle, and the convertible top is new, and was still in great shape/beading water well. The car was also repainted about 5 years ago, and now has clearcoat :cornut:
I thought the low miles and new paint would be a good thing, but the paint turned out to be a mess. There was no sunlight over the course of the detail, so please excuse the lack of sun pictures.
There was a copious amount of chrome on the car, all of which had waterspots.
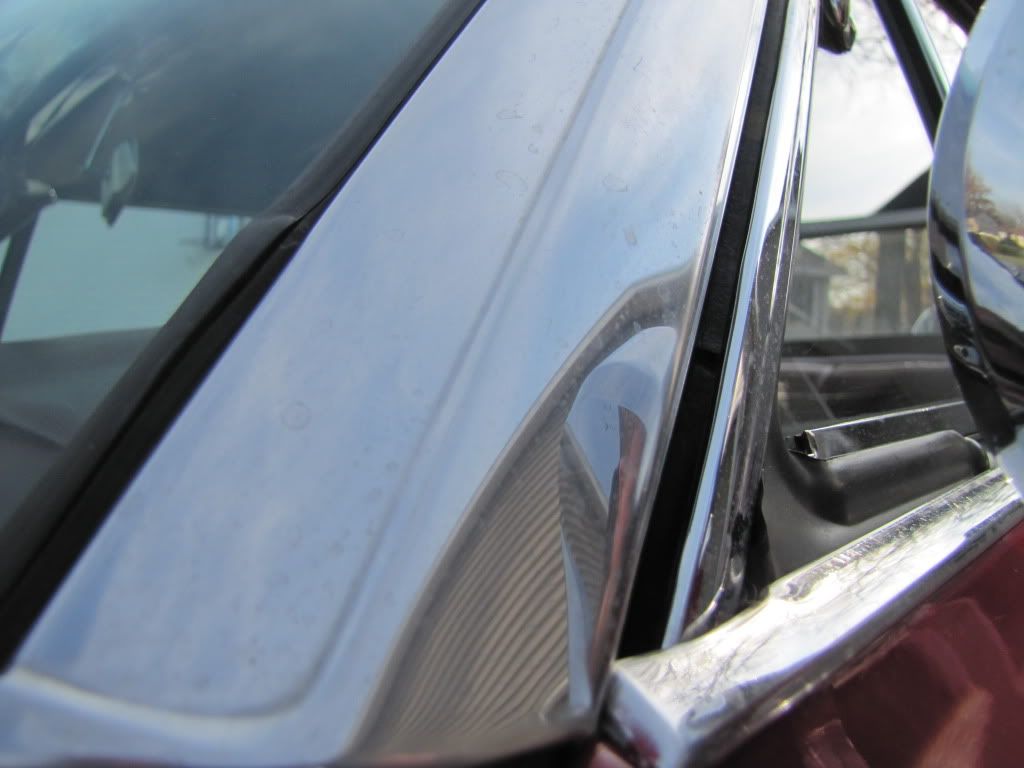

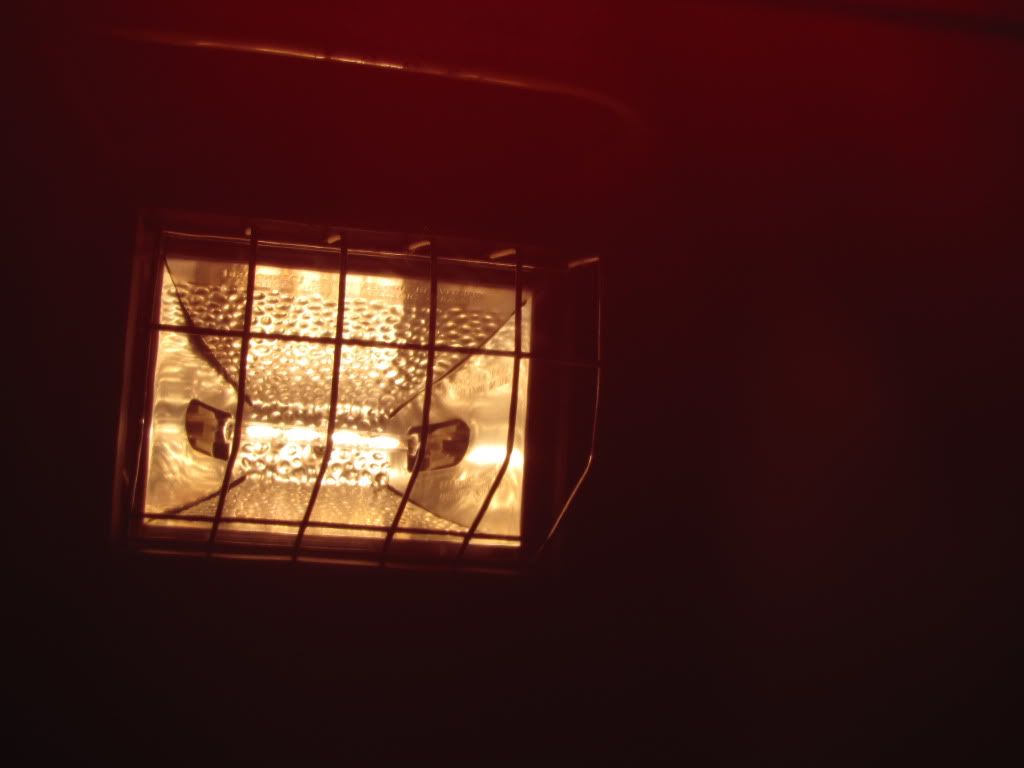
The day of arrival is when it was lightest, so I tried to capture some of the defects.
There were also generous amounts of wax left on from previous years.
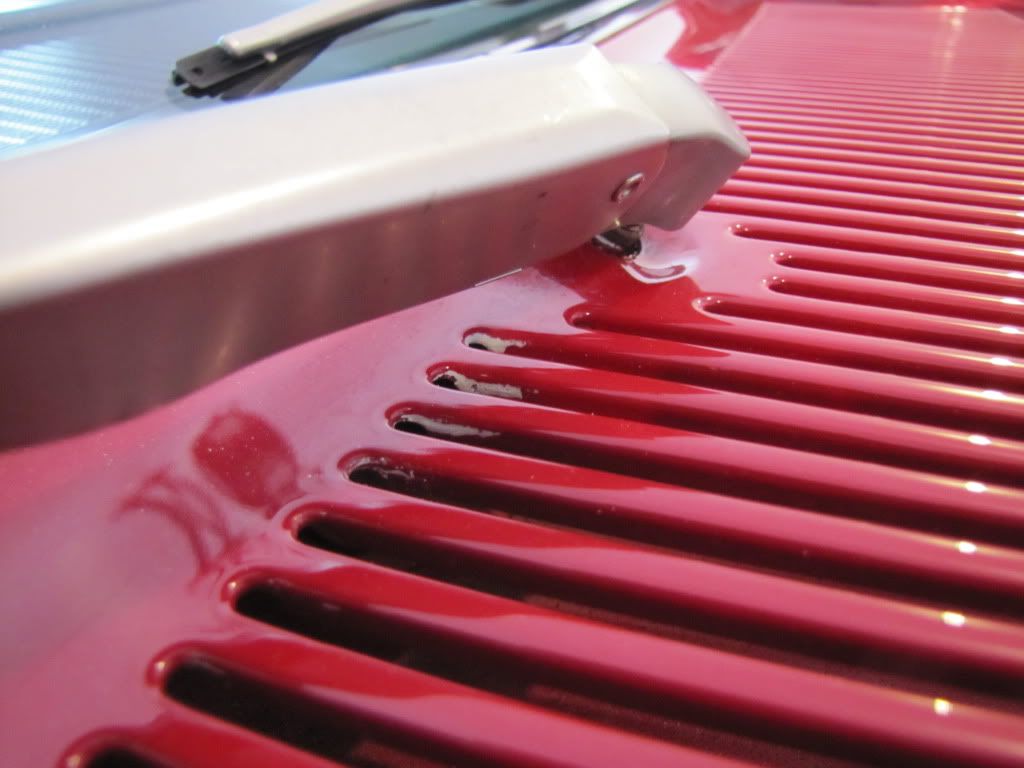
Windows were dusty, or had waterspots on them.
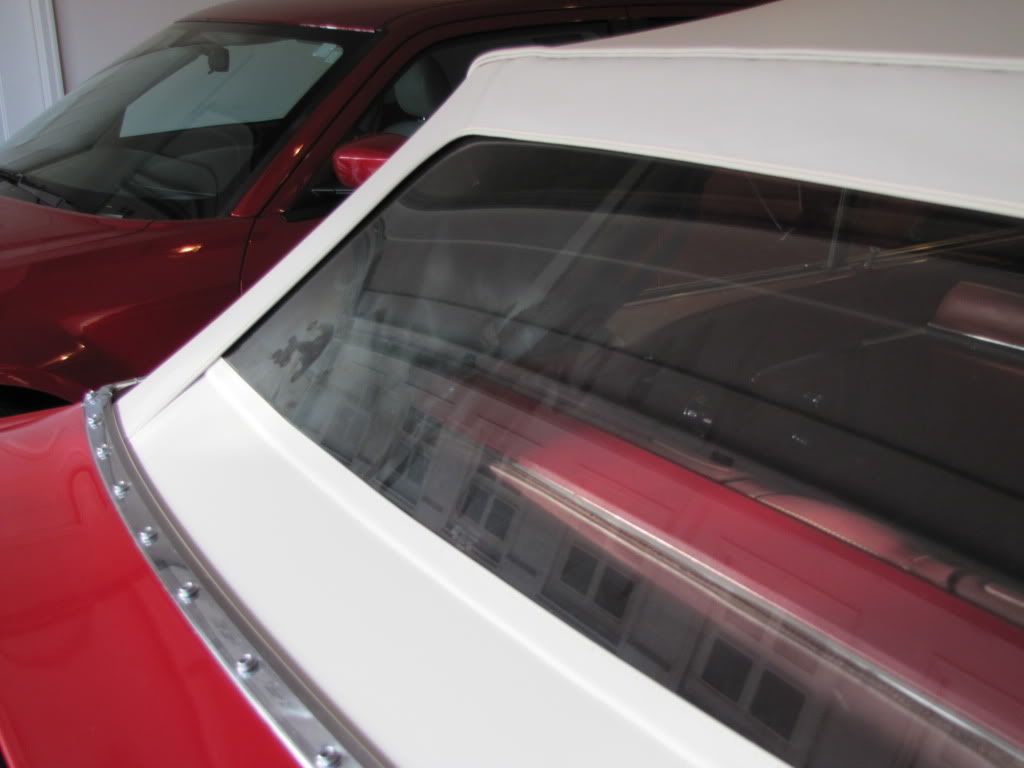
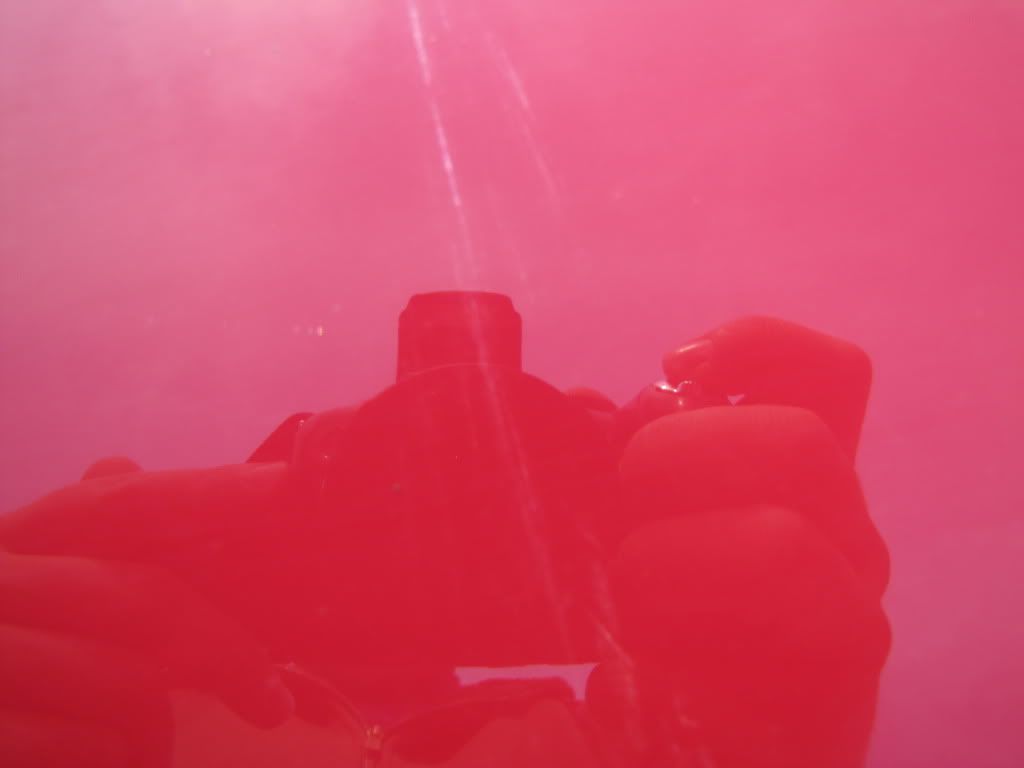
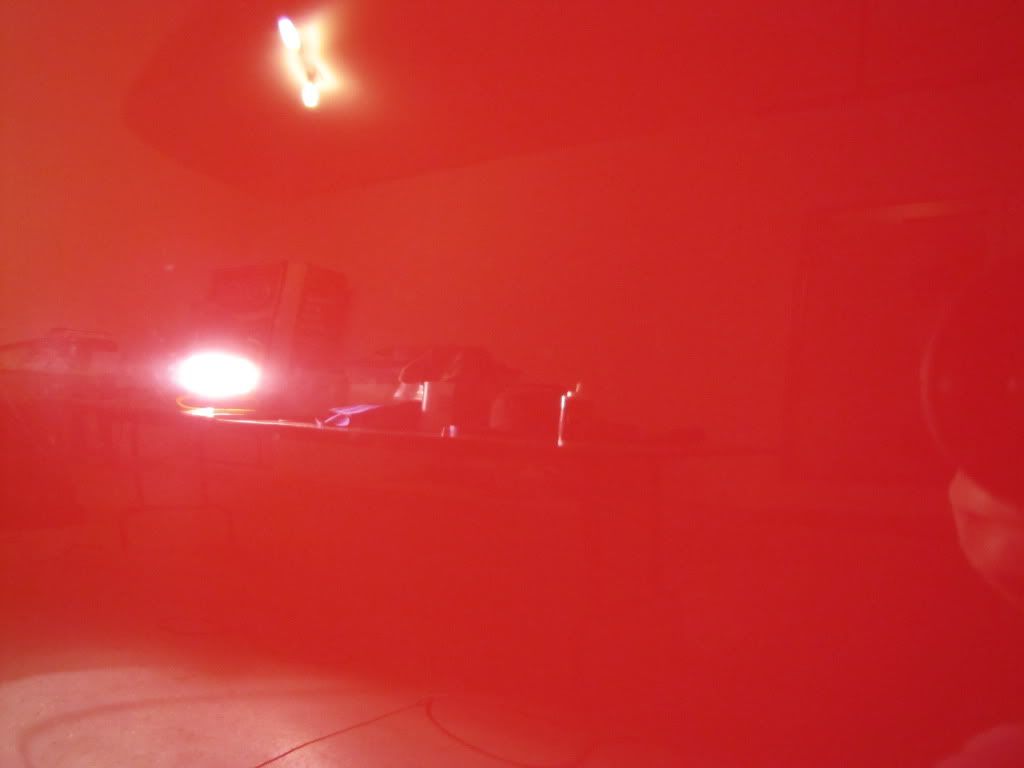
With a little light you can see some of the defects starting to appear.

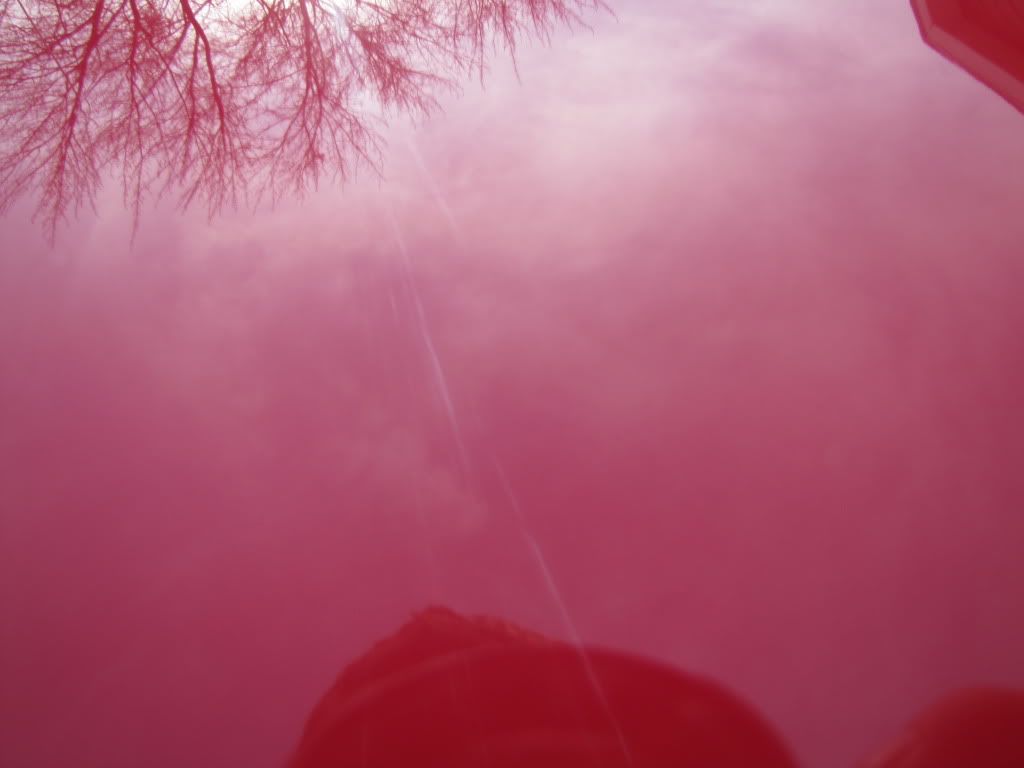
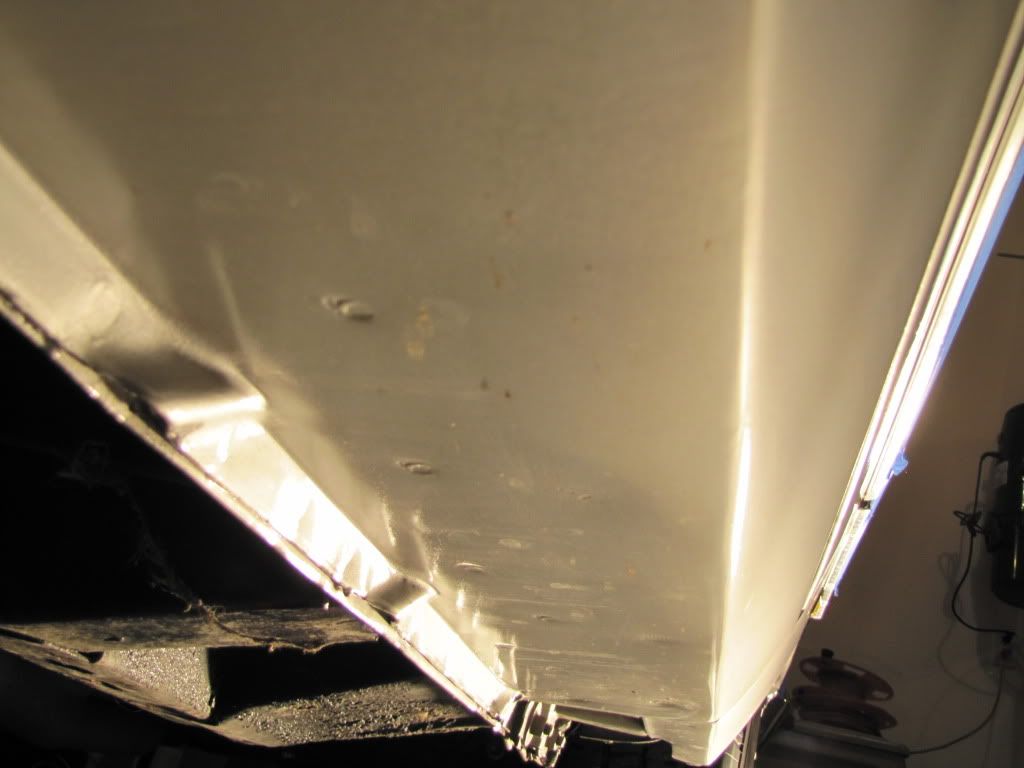
With more light, you can start to see the true condition of the paint. This was also were I tested different combinations

After tapping up the car, and covering the convertible top [not shown] it was ready for correction
After initial compounding with M105 and Tangerine via PCXP and M205 and Tangerine
I kept that combination for the remainder of the car. Cyan + M105 was getting almost the same results with more micromarring.
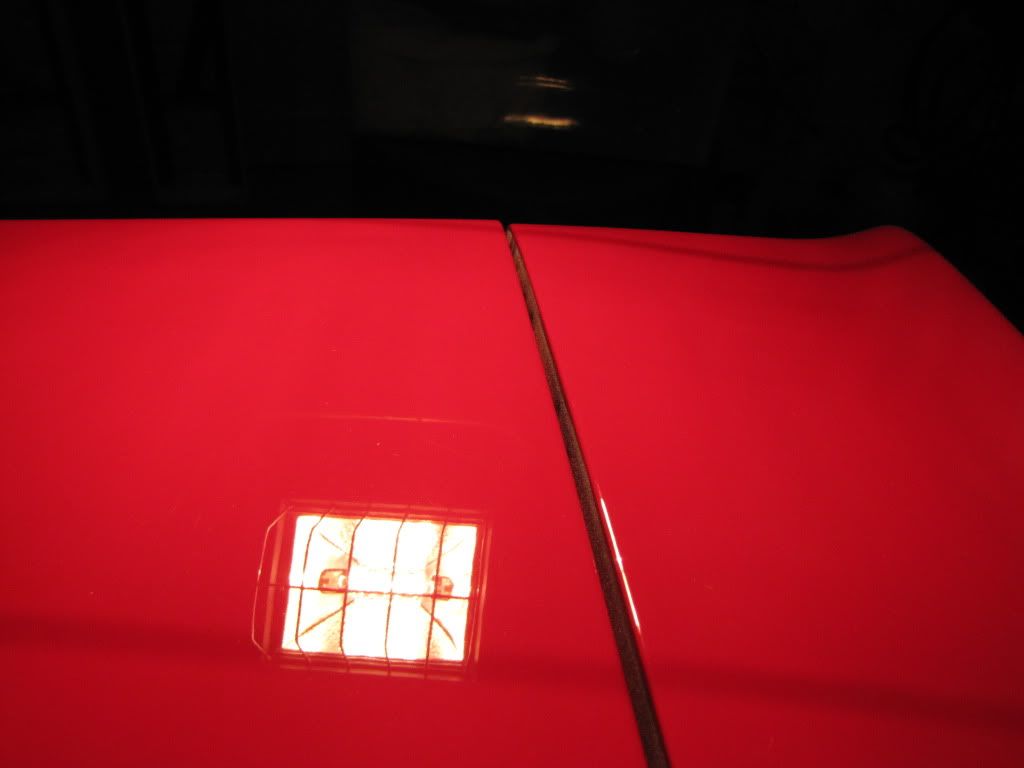
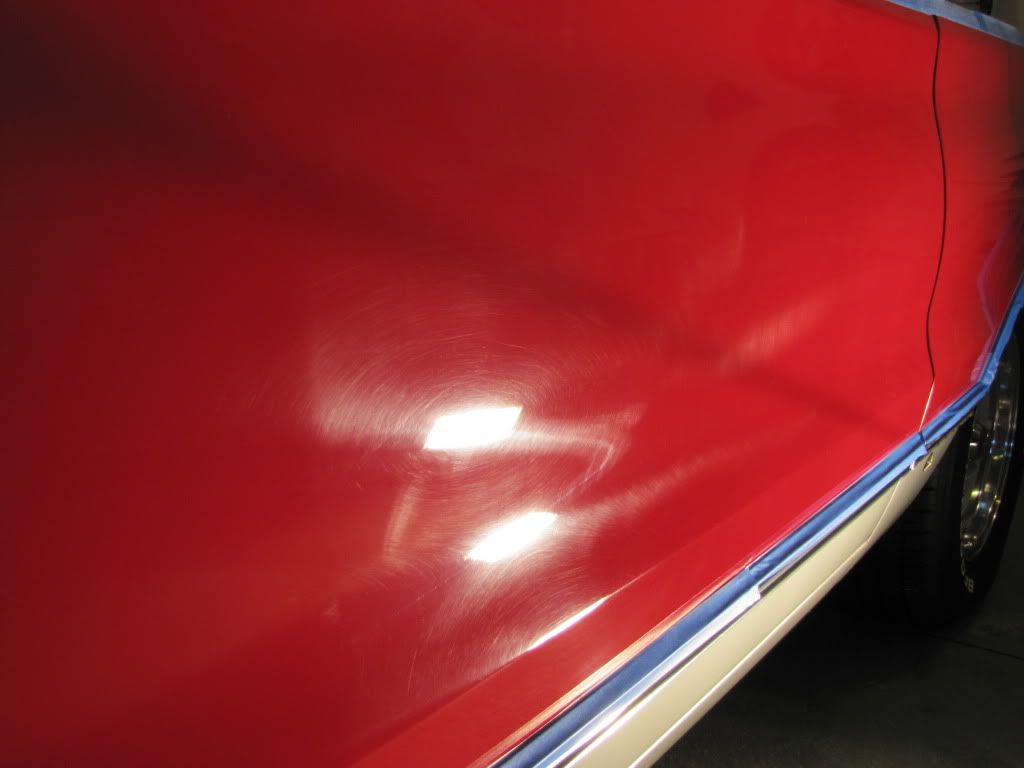
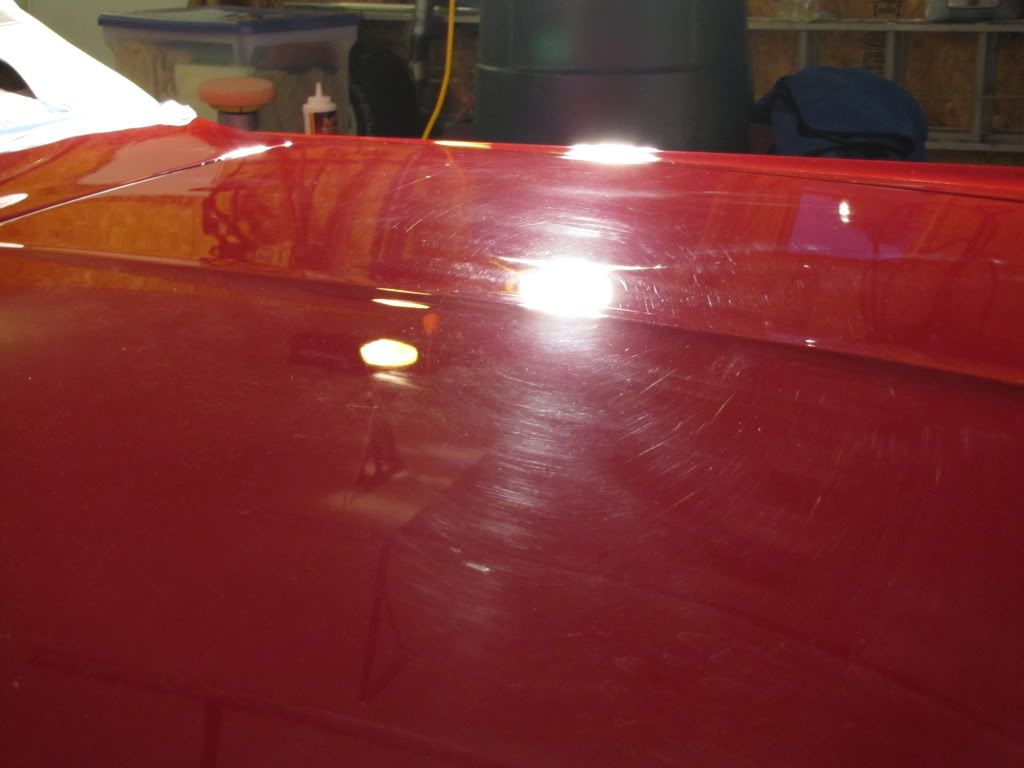
This is the passenger side. The lamps really illuminate the defects.
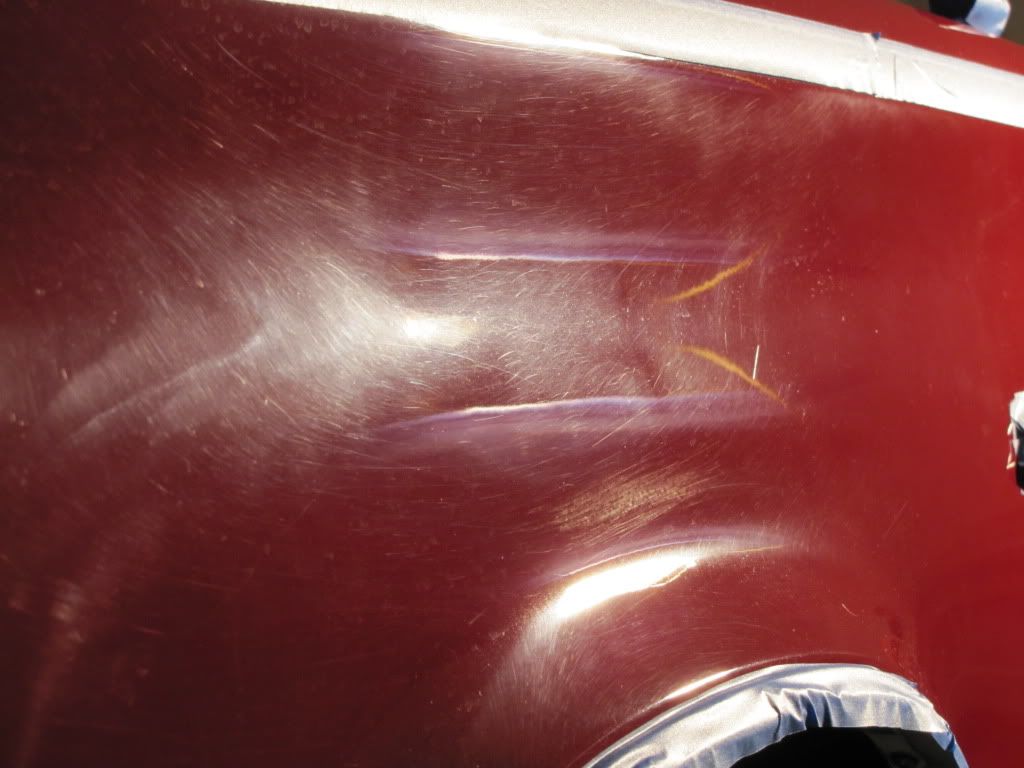
Same side, 50/50 with compounding only
You can see the light haze from the compound
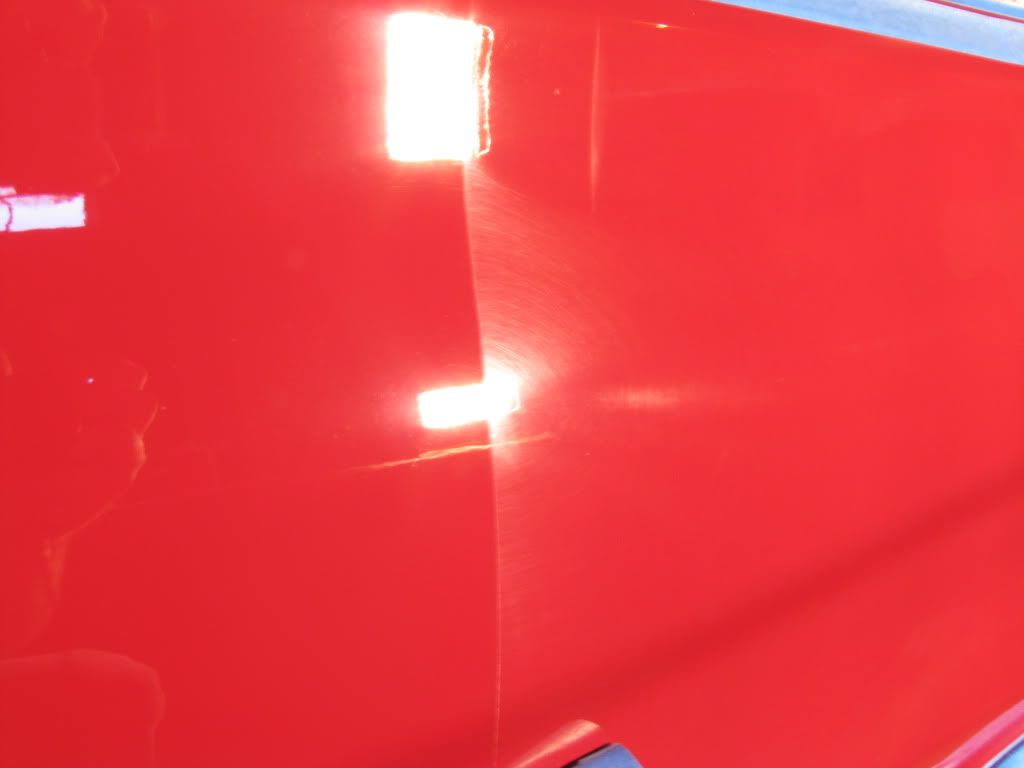
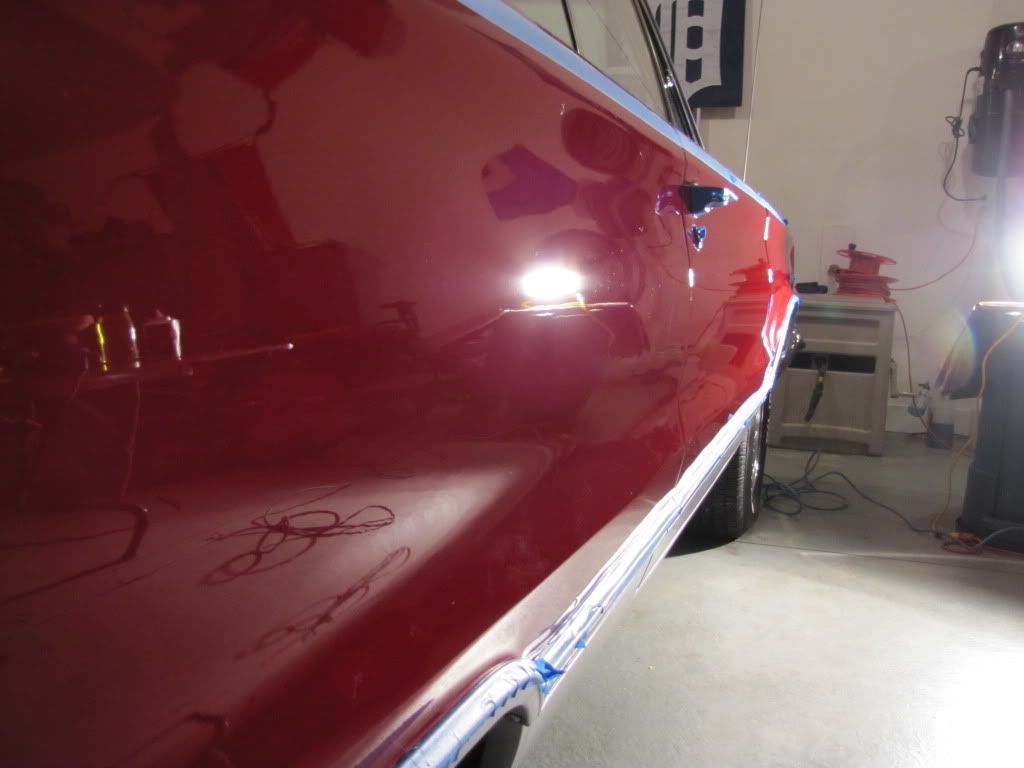
After M205 in the same area, it really cleared up
The whole passenger side was a mess, a shot as I was working my way forward.
An after shot.
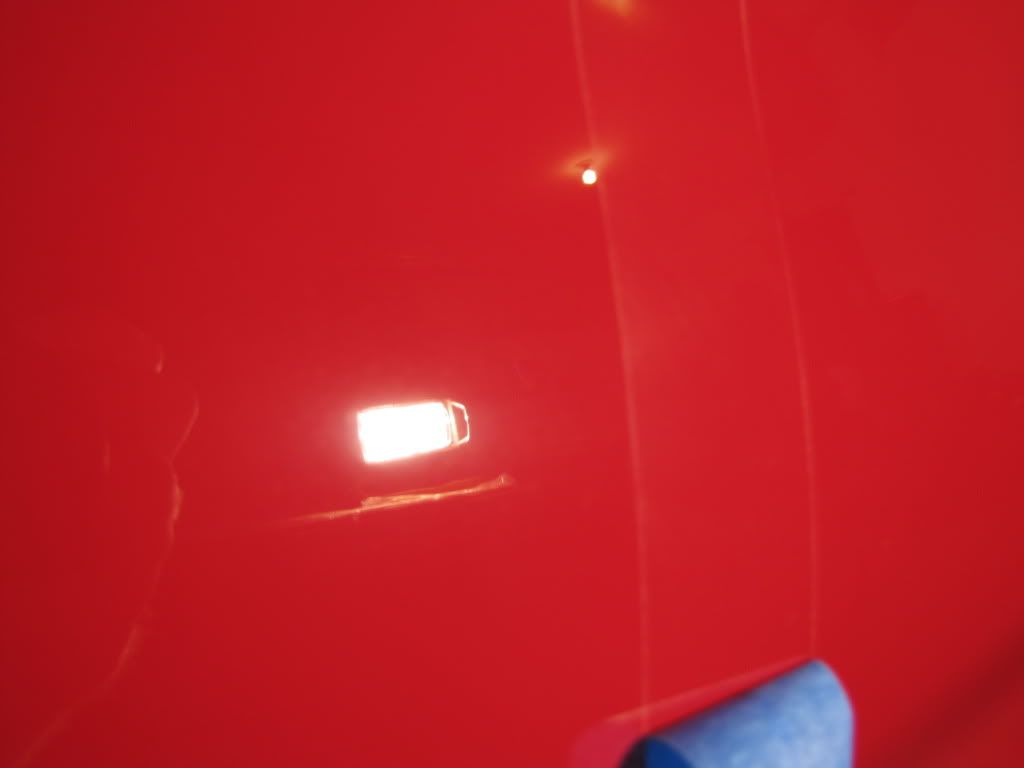
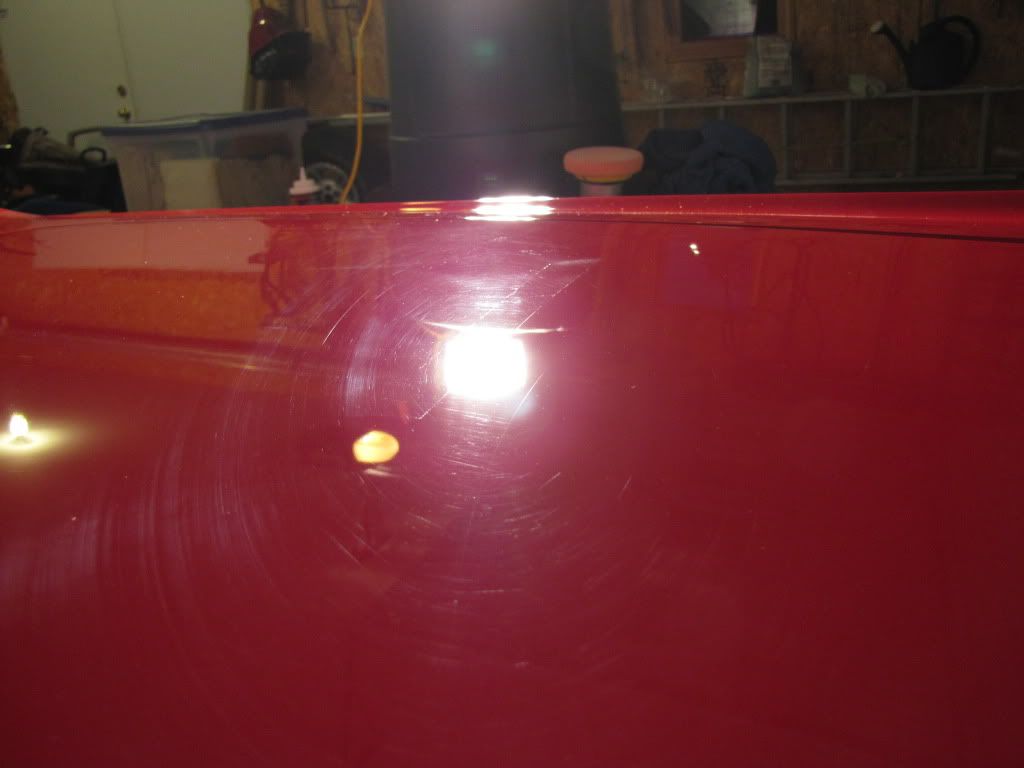
The drivers side had a ton of swirls and scratches.
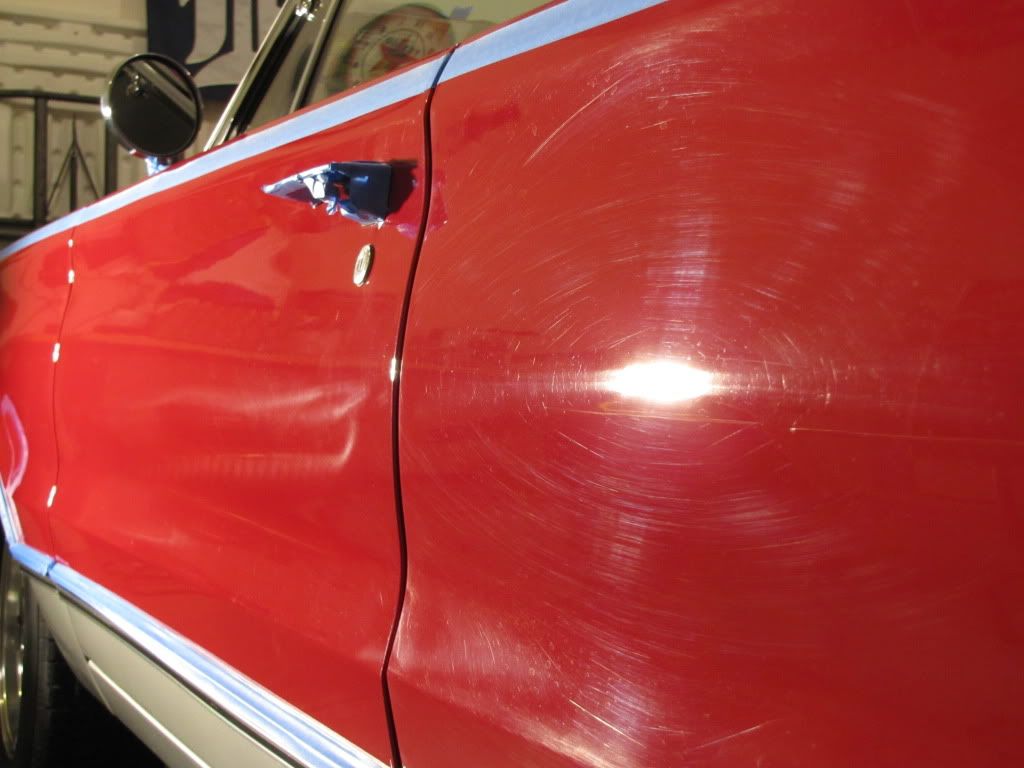
Compounded.
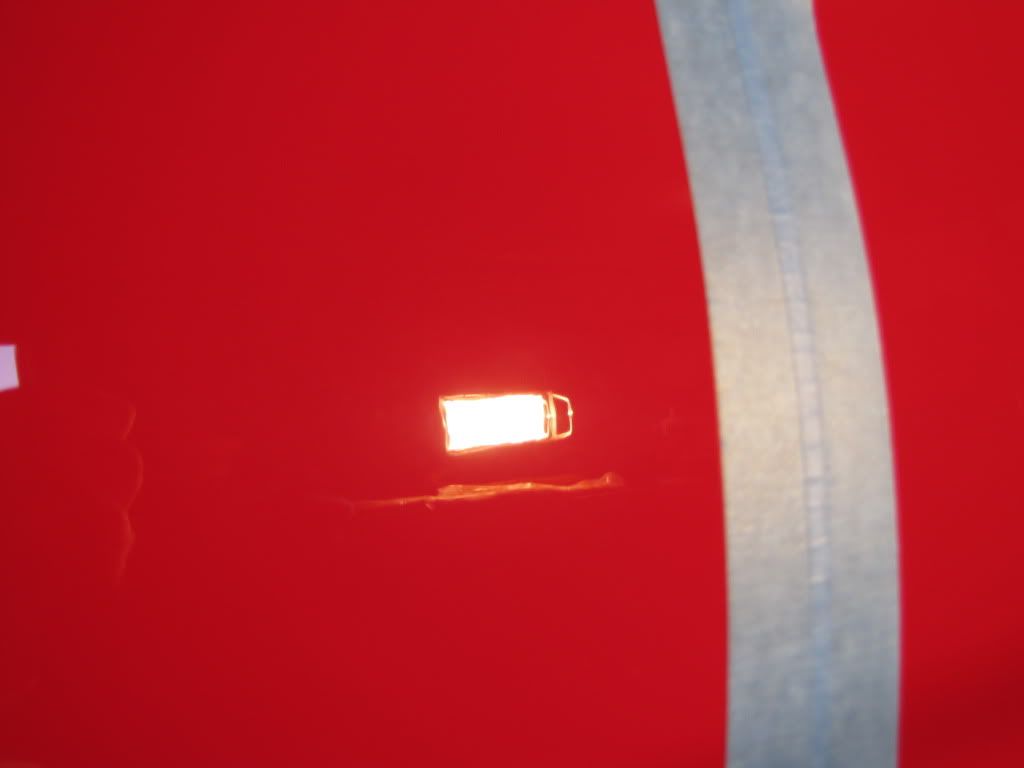
The trunk was covered with defects.
A progress shot of the trunk.
Finally seeing some clarity.
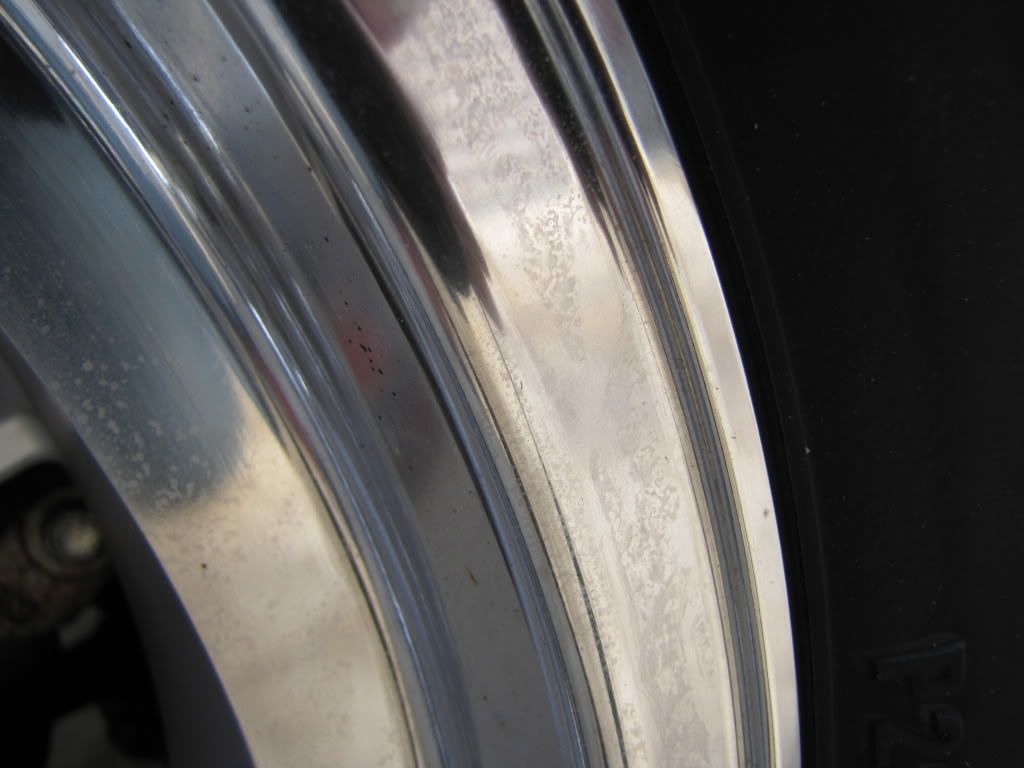
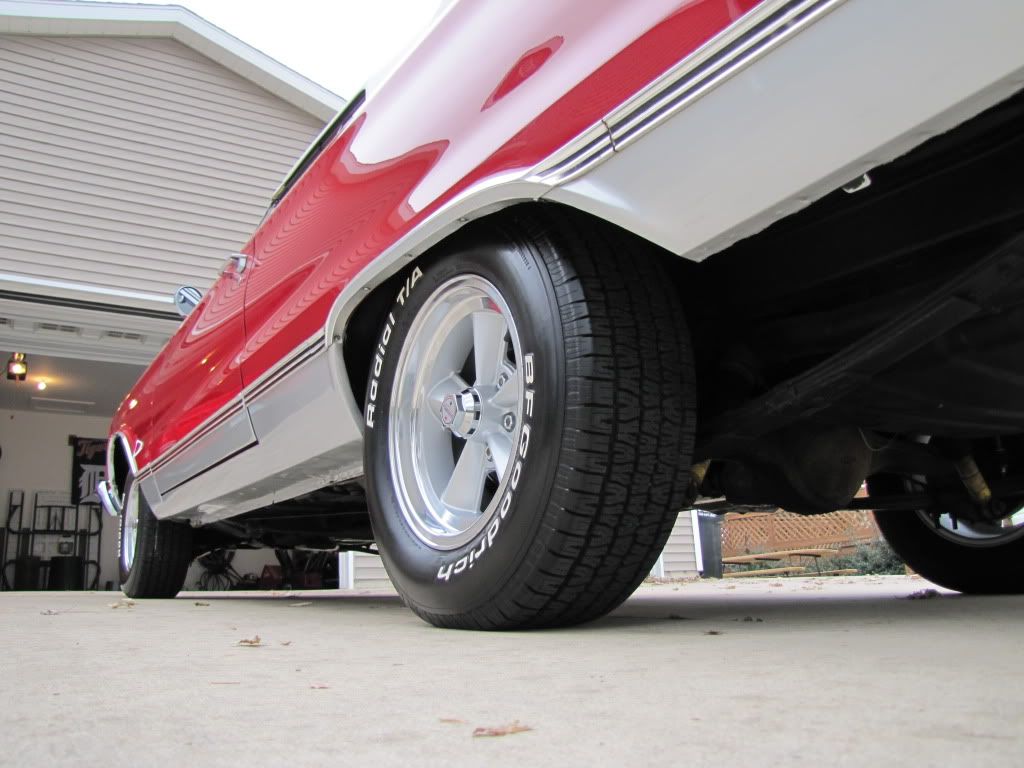
After the red paint was finished I focused my attention to the lower rocker panels. They still had some embedded contaminants that I removed with tarminator and clay.
Polished up and sealed.

The interior was wiped down, and the sills were polished.

I really do apologize for the lack of sun pictures to show the paint, in full. I hope the before and afters can help show the level of correction that was done. The tires were dressed with Hyperdressing 1:1, the chrome had an assortments of metal polishes depending on the severity of the spotting, the glass received SIG, and the paint was cleaned with WG PPE, and waxed with Collinite #915. Door jambs, engine bay, trunk, and other painted pieces were cleaned with Poliseal and finished with a coat of OCW.
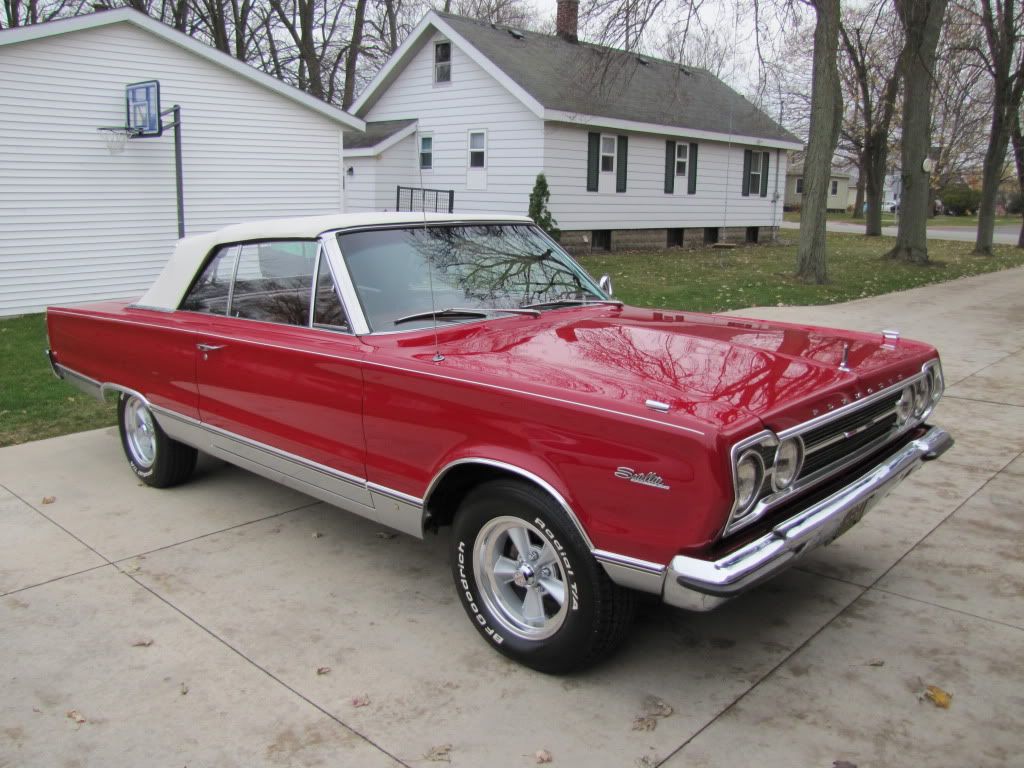


The customer asked that I deliver the car to him. It was a nerve racking 30 minute drive. I have never driven an older car, and being 23 I am naive to a car with no seatbelts, not many automatic features, lack of amenities/radio, etc. It was a blast though. The owner pulled the original 383 and put a 440 in :devil:
Thanks for reading!
I thought the low miles and new paint would be a good thing, but the paint turned out to be a mess. There was no sunlight over the course of the detail, so please excuse the lack of sun pictures.
There was a copious amount of chrome on the car, all of which had waterspots.
The day of arrival is when it was lightest, so I tried to capture some of the defects.
There were also generous amounts of wax left on from previous years.
Windows were dusty, or had waterspots on them.
With a little light you can see some of the defects starting to appear.
With more light, you can start to see the true condition of the paint. This was also were I tested different combinations
After tapping up the car, and covering the convertible top [not shown] it was ready for correction
After initial compounding with M105 and Tangerine via PCXP and M205 and Tangerine
I kept that combination for the remainder of the car. Cyan + M105 was getting almost the same results with more micromarring.
This is the passenger side. The lamps really illuminate the defects.
Same side, 50/50 with compounding only
You can see the light haze from the compound
After M205 in the same area, it really cleared up
The whole passenger side was a mess, a shot as I was working my way forward.
An after shot.
The drivers side had a ton of swirls and scratches.
Compounded.
The trunk was covered with defects.
A progress shot of the trunk.
Finally seeing some clarity.
After the red paint was finished I focused my attention to the lower rocker panels. They still had some embedded contaminants that I removed with tarminator and clay.
Polished up and sealed.
The interior was wiped down, and the sills were polished.
I really do apologize for the lack of sun pictures to show the paint, in full. I hope the before and afters can help show the level of correction that was done. The tires were dressed with Hyperdressing 1:1, the chrome had an assortments of metal polishes depending on the severity of the spotting, the glass received SIG, and the paint was cleaned with WG PPE, and waxed with Collinite #915. Door jambs, engine bay, trunk, and other painted pieces were cleaned with Poliseal and finished with a coat of OCW.
The customer asked that I deliver the car to him. It was a nerve racking 30 minute drive. I have never driven an older car, and being 23 I am naive to a car with no seatbelts, not many automatic features, lack of amenities/radio, etc. It was a blast though. The owner pulled the original 383 and put a 440 in :devil:
Thanks for reading!
imported_Stokdgs
New member
Luke !
This is just awesome, perfect, work !!!
The poor thing was horrendously swirled, and you took them all out and left it better than new - just a beautiful job, Luke !
I know what you mean about driving them, its quite a departure from what you drive today. I was 18 when that car came out, and believe me, some of the nicest, big block cars and designs were in the Mopar camp.
This one is now, certainly a great example of how it should have looked new, and you took it up another level from that.
Great, job, Luke !!!!:thumbup::rockon:
Dan F
bmw5541
New member
Luke,
Every time you post a new detail, your work keeps improving. You have certainly come a long way in a short amount of time. That was a fantastic recovery on that old classic. Top notch in every aspect! I am surprised that a car that only gets 100 miles per year would have so many paint defects, but you took care of that in a BIG way.
Awesome job!!:clap: