1956 Pontiac Star Chief Convertible - Remove Swirls

Mike Phillips

Administrator
1956 Pontiac Star Chief Convertible - Remove Swirls


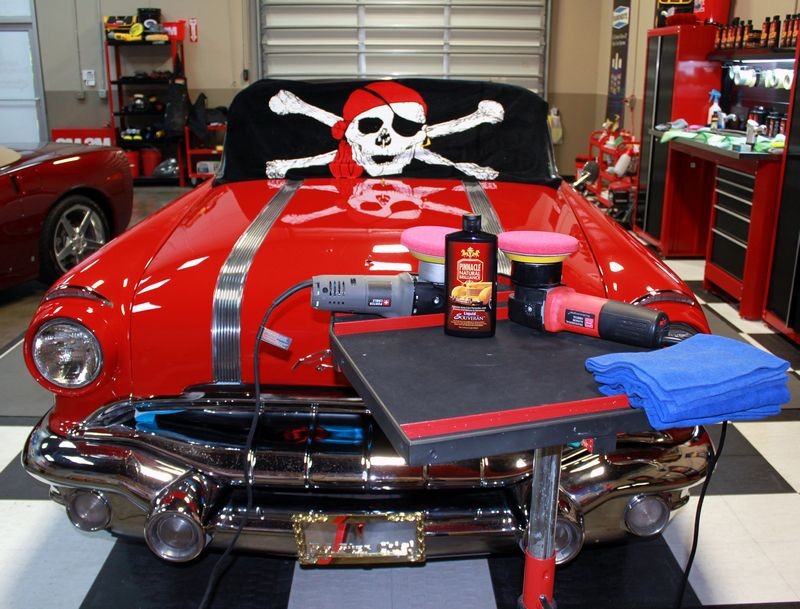
This is a one-owner, 1956 Pontiac Star Chief Convertible. The new owner is Earl the Plumber, who is a local hotrodder here in Stuart, Florida and some of his cars are featured on both our TV show, "What's in the Garage?" and some of the how-to features we shot here at our Show Car Garage Studio.​


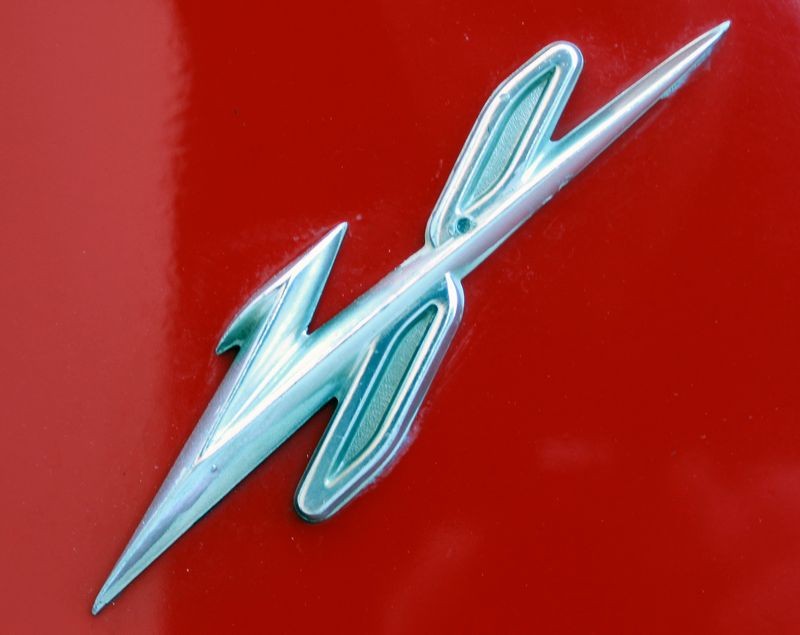
Beautiful styling including the script for the model name...
56StarCheif004.jpg


Check out the spacious and roomy interior...
56StarCheif005.jpg


An absolutely gorgeous dash...
56StarCheif006.jpg


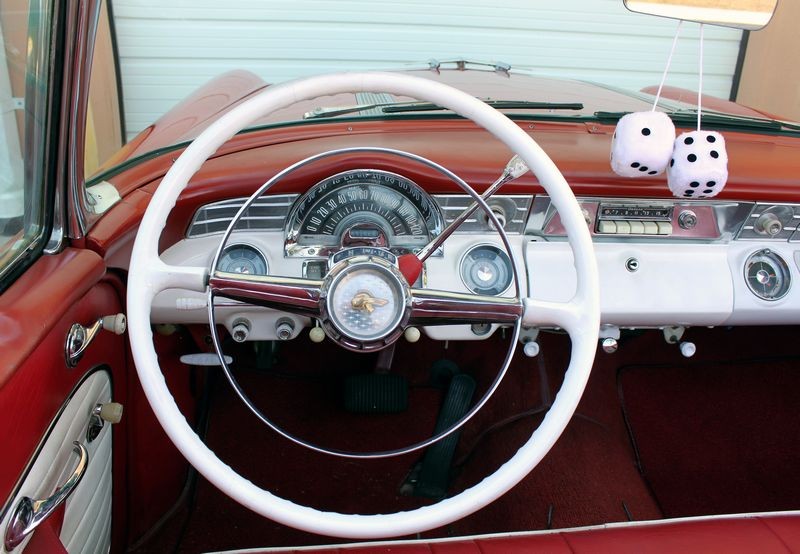
Speedometer goes to 120 miles per hour...
56StarCheif007.jpg


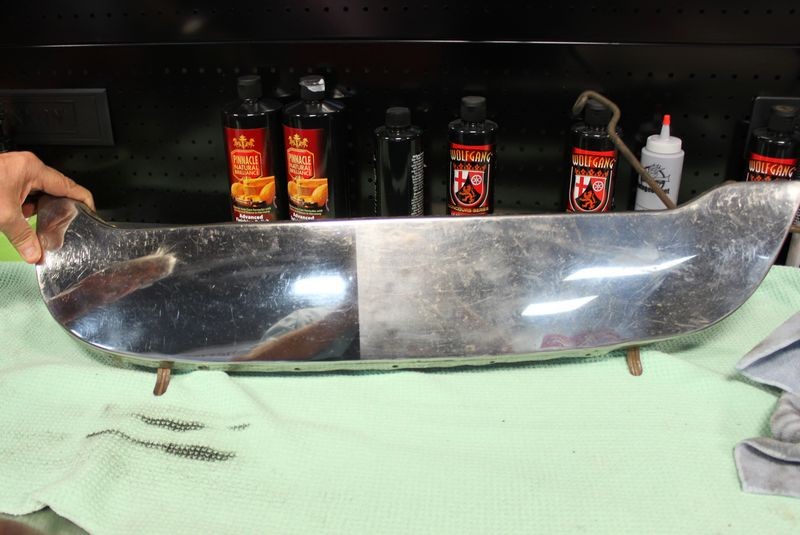
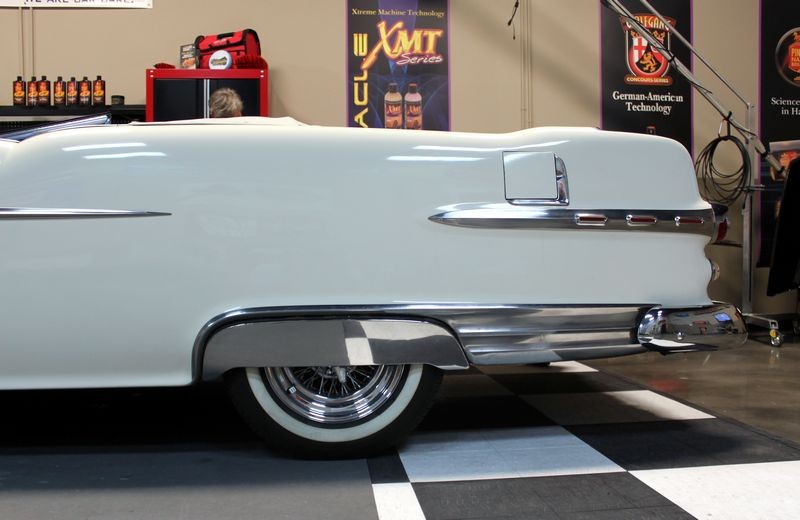
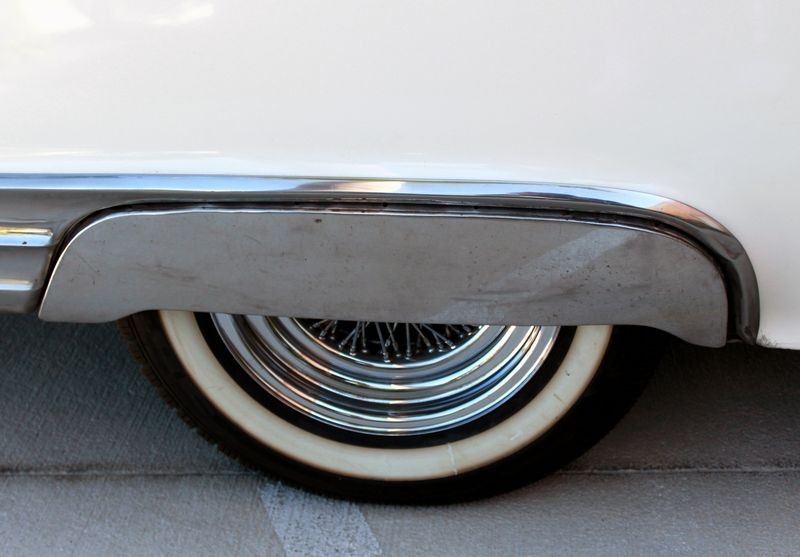
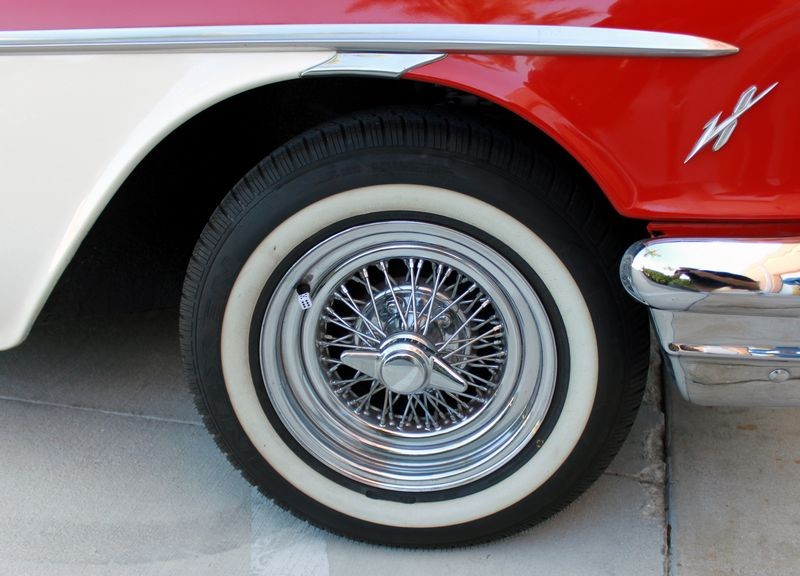
Stainless Steel Fender Skirts... pretty cool...
56StarCheif008.jpg


Stylish V-8 emblem to signify this model was equipped with the V8
56StarCheif009.jpg


Classic chrome spoke wheels...
56StarCheif010.jpg


Very beautiful and stylish design to the front clip...
56StarCheif012.jpg


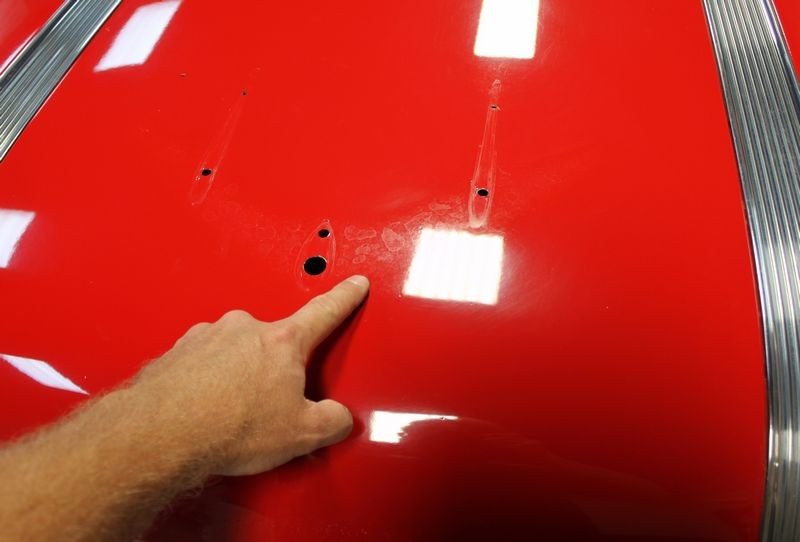
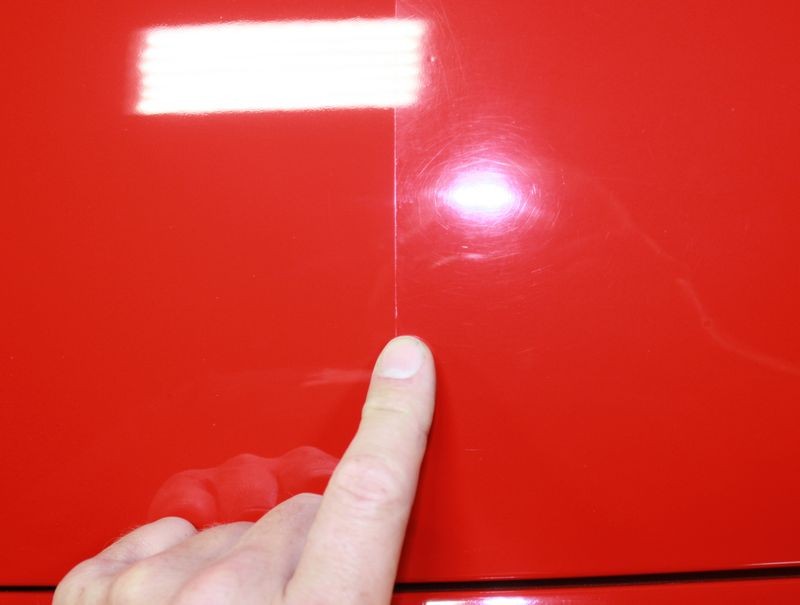
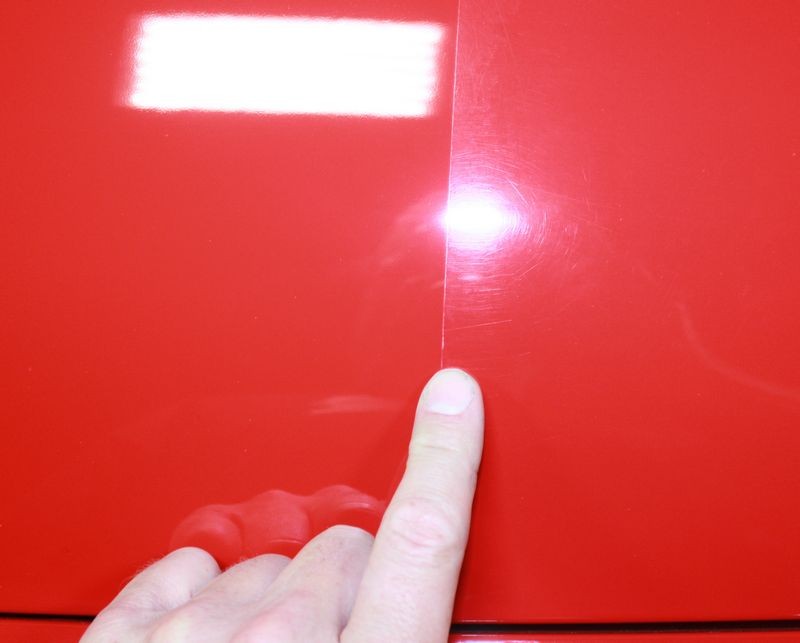
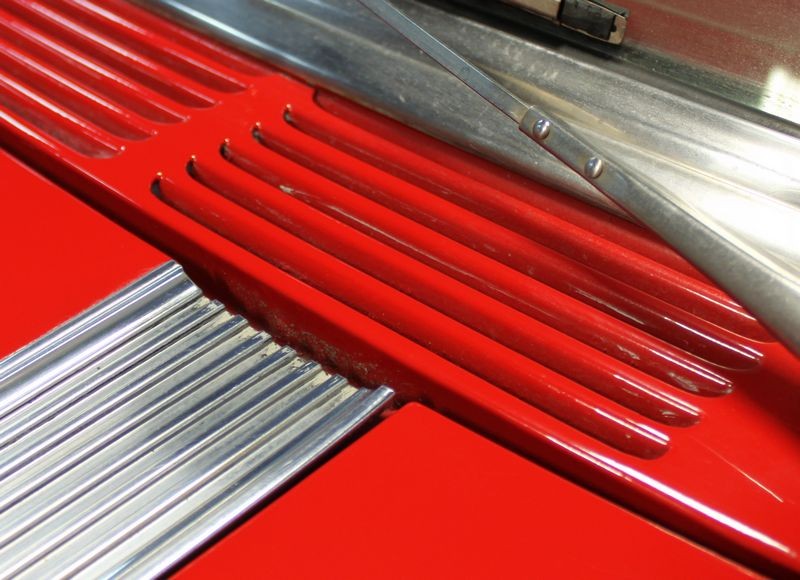
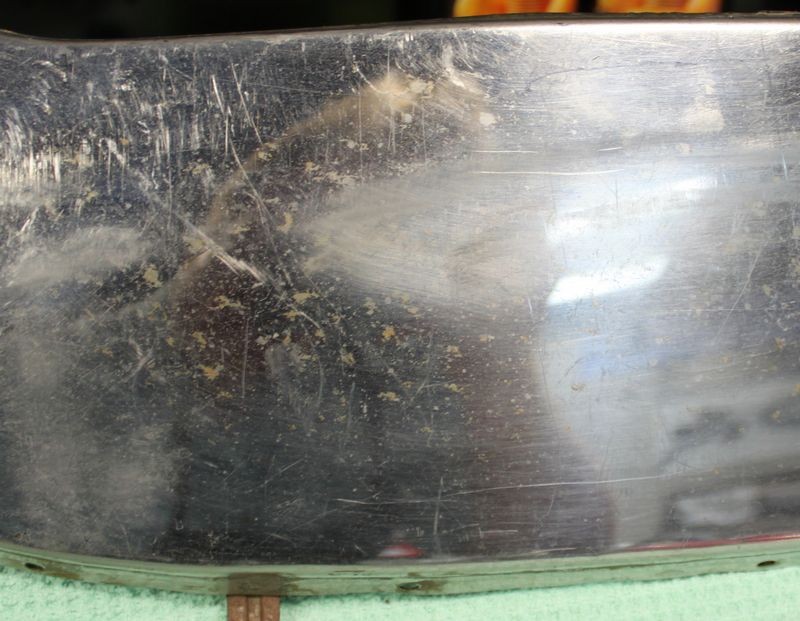
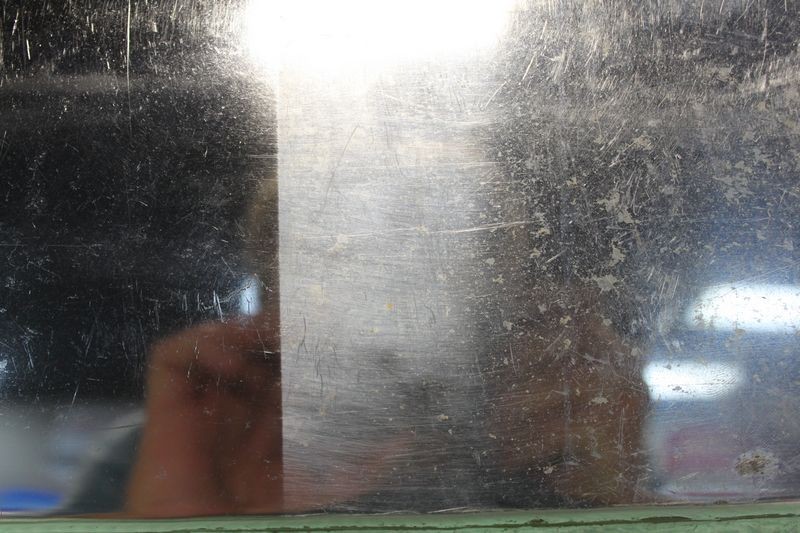
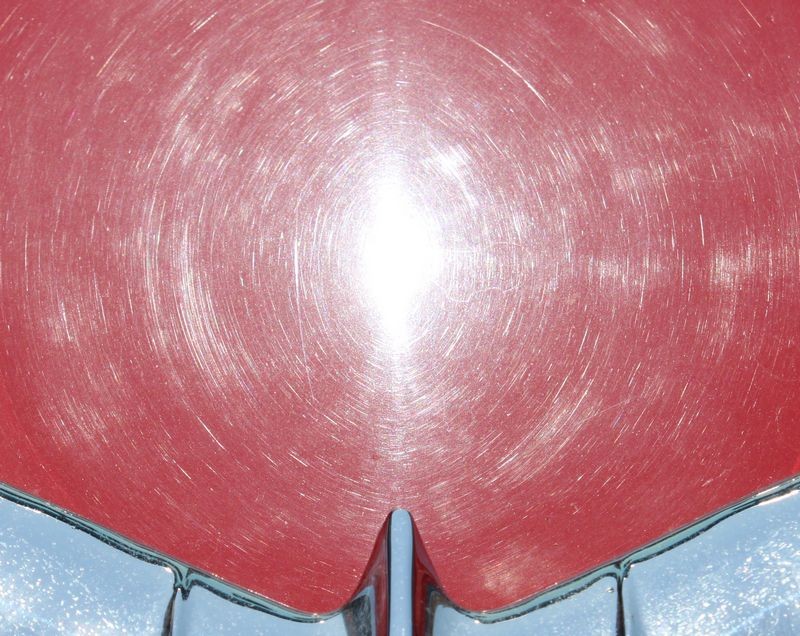
Here's some sun-shots of the true condition of the paint I took before Earl left...
56StarCheif014.jpg


Ouch! Kind of hurts your eyes, especially knowing the car these swirls are in...
56StarCheif015.jpg


56StarCheif016.jpg

56StarCheif017.jpg

56StarCheif017c.jpg


I talked to Earl today and he supposed to be getting a shipment today that includes new front wheel bearings, if he gets the shipment today he'll try to have them installed tonight and then have this beautiful classic American convertible here at Autogeek tomorrow.​

We have a very special guest detailer coming here tomorrow by the name of Jon Leidgen aka PAR Detailing and if the Star Chief is here, he's going to give me a hand knocking out some of these horrendous swirls...​


:)
 
We removed the hood ornament and found some pretty bad water spots, likely where water pooled under the ornament.

56StarCheif024.jpg


56StarCheif025.jpg


Did a test spot using a PC on the 6.0 Speed Setting with a 5.5" Cyan Hydro-Tech Pad with Pinnacle Advanced Finishing Polish. Majority of swirls and shallow scratches came out leaving only the RIDS, so we moved onto claying the paint...

56StarCheif026.jpg


56StarCheif027.jpg


56StarCheif028.jpg


First the "Baggie Test" to check for above surface bonded contaminants. Even though this is a restored, rare classic, it was covered with Above Surface Bonded Contaminants.

56StarCheif029.jpg


Jon clays using Pinnacle Ultra Poly Clay and Pinnacle Clay Lubricant
56StarCheif030.jpg


56StarCheif031.jpg


:)
 
Continued...

Classic cars have painted grills right at the base of the windshield and usually, if you look close you'll see polish residue splattered into it during a previous detailing session.

Our goal is to avoid adding to it and if possible remove as much as we can...
56StarCheif032.jpg


56StarCheif033.jpg


56StarCheif034.jpg


56StarCheif035.jpg


The Beach Towel Tip
56StarCheif036.jpg


56StarCheif037.jpg


Next we want to test to confirm the paint is single stage or basecoat/clearcoat, it looks like a single stage paint but it only takes a few seconds to test and confirm...


How to Test for Single Stage or Clear Coat Paint
To test for a single stage paint, try to find a light colored or white polish if you're working on any kind of pigmented paint. If you're testing white paint then try to use a polish with a color to it and a dark colored cloth, (so you can confirm that you're removing white paint and not just seeing the color of the paint).
56StarCheif039.jpg


Use an ample amount for plenty of lubrication as you're going to want to push firmly if no oxidation is present as was the case with the finish on the classic car.
56StarCheif040.jpg


56StarCheif041.jpg


Confirmed, we're working on a single stage paint... also note the heavier accumulation were my fingers pressed down with the most pressure... this is because you can exert more pressure to the small area of your finger tips than you can with your entire hand, you can use this to work for you or cause problems depending upon what you're trying to do...
56StarCheif042.jpg


The holes here where the hood ornament bolts on will allow splatter from the rotary buffer to fly through and into the engine compartment so we're going to place another beach towel under this area to capture any splatter.
56StarCheif043.jpg


56StarCheif044.jpg


Ready to start buffing...
56StarCheif045.jpg


:)
 
Continued...

We used Flex PE-14 Rotary Buffers with 5.5" Cyan Hydro-Tech Foam Cutting Pads around 1200 RPM with Pinnacle Advanced Swirl Remover to cut out the swirls, water spots and scratches.


Jon tries using the Flex PE-14 without the handle gripping the head for control and I think he liked it... he sure did a great job...
56StarCheif048.jpg


56StarCheif050.jpg


Anytime you're abrading paint you have two things building up on the face of your pad, that's

  • Spent product
  • Removed paint
If you're working on a clear coat you're still removing paint you just can't see it as easily because it's clear, it's still important to clean your pads often when doing correction work.
56StarCheif051.jpg


56StarCheif052.jpg


56StarCheif053.jpg


56StarCheif054.jpg


Next we machine polished the paint using 5.5" Tangerine Hydro-Tech Polishing Pads with Pinnacle Advanced Finishing Polish at around 600 RPM
56StarCheif055.jpg


After using the rotary buffer to remove any swirls left by the cutting pad and/or swirl remover, we cleaned our pads and then placed them on DA Polishers and finished out with the DA's to ensure a swirl free finish...

56StarCheif056.jpg


56StarCheif057.jpg


56StarCheif058.jpg


56StarCheif059.jpg


56StarCheif060.jpg


Now we're ready to machine wax and for this we're using Pinnacle Souveran Liquid Carnauba Wax with DA Polishers and 5.5" Crimson Hydro-Tech Finishing pads.
56StarCheif061.jpg


:)
 
Continued...

When it was time to remove the wax I asked Jon if had ever used microfiber gloves to hold his microfiber towels and he said "no" so I had him give them a try...

56StarCheif062.jpg


What do you think... does it work better than just the bare hand?
56StarCheif064.jpg


Water Spots are gone so we replaced the hood ornament...
56StarCheif065.jpg


Simple process, easy to do, show car results...
56StarCheif066.jpg


Sun is going down but I'll get some sun shots next time the car is here during the daylight... until then, here's some beauty shots...

Mmmm... glossy and wet looking with a deep, wet shine...
56StarCheif069.jpg


One classy classic...
56StarCheif078.jpg


56StarCheif079.jpg


:)
 
And we didn't forget the Stainless Steel Fender Skirts...

Stainless Steel Fender Skirts - Before
56StarCheif008.jpg


56StarCheif021.jpg


OpenStudio04.jpg


OpenStudio05.jpg


Side-by-Side
OpenStudio06.jpg


OpenStudio07.jpg


OpenStudio08.jpg


After
OpenStudio09.jpg


Much better...
OpenStudio10.jpg


OpenStudio11.jpg


:)
 
Wow Mike, what a beautiful car and that finish looks amazing! Thanks for stopping by and sharing this with us. Much appreciated and certainly a job well done! Those Pinnacle Polishes really contributed to an awesome turnaround, those swirls looked dreadful!

Keep dropping by when you can, Mike. Your insight is definitely invaluable.:bigups
 
Back
Top