RaskyR1
Rasky's Auto Detailing
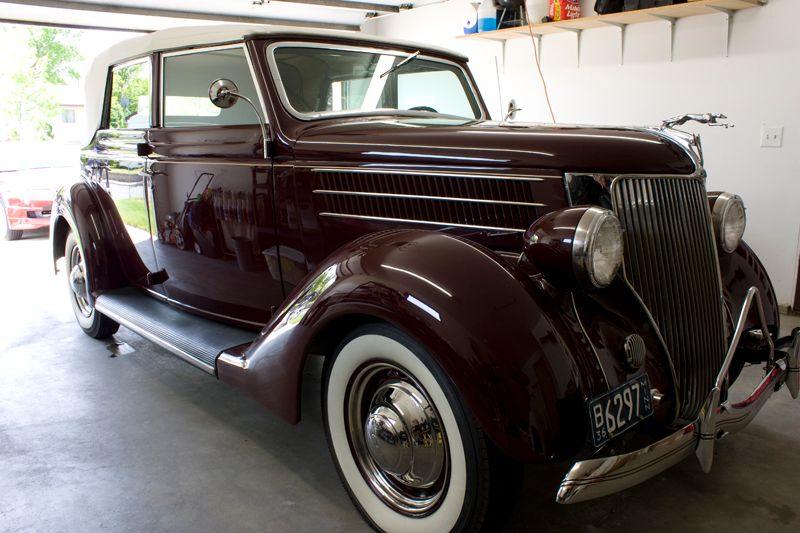
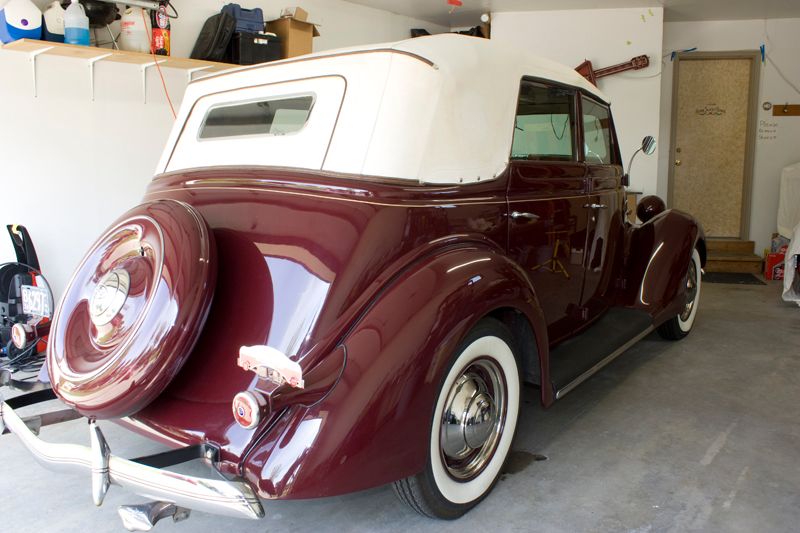
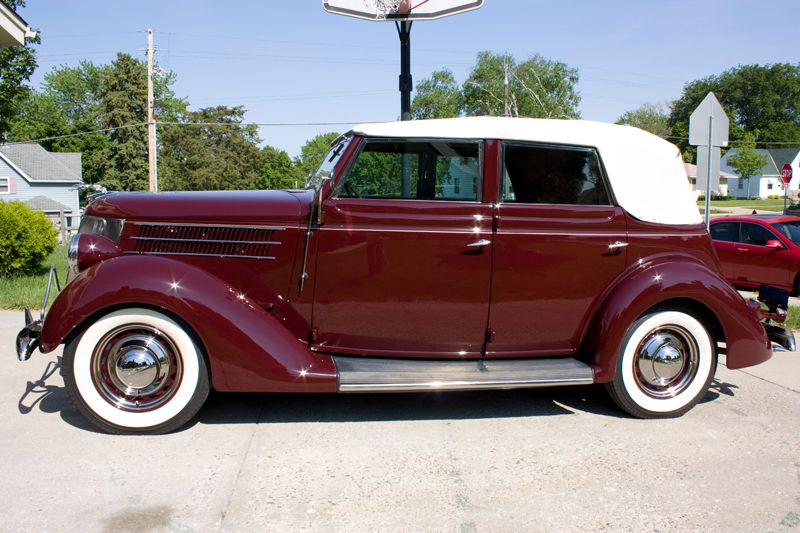
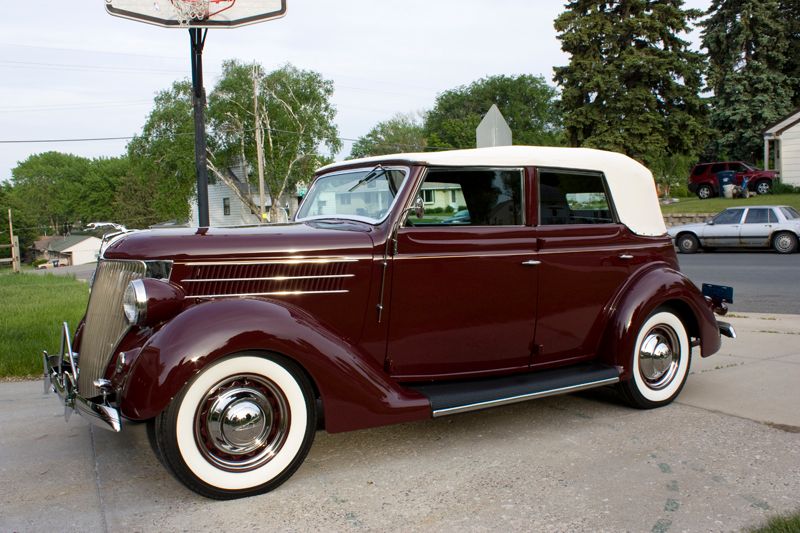
This 1936 ford sedan convertible belongs to a friend’s grandfather who was looking to get it detailed prior to running it at a local auction. I forget the exact details on this vehicle but I believe he said his grandfather has owned it for 19 years now and it was fully restored about 13 years ago. The owner is now in his 80’s and unfortunately getting in and out of the vehicle is no longer an easy task, which was why he decided to sell. Having climbed in and out of it a few times to move it around I can see where he is coming from.
Prior to seeing the car the owner was looking to get a full detail with a 1-step correction. However, once the car was delivered to me it was clear that far more work was going to be needed on the exterior. The interior was actually in mint condition and only required a quick wipe down with 1Z Premium Cockpit Cleaner and a light vacuum. Because of this I suggested we focus the budget on the exterior of the vehicle instead.
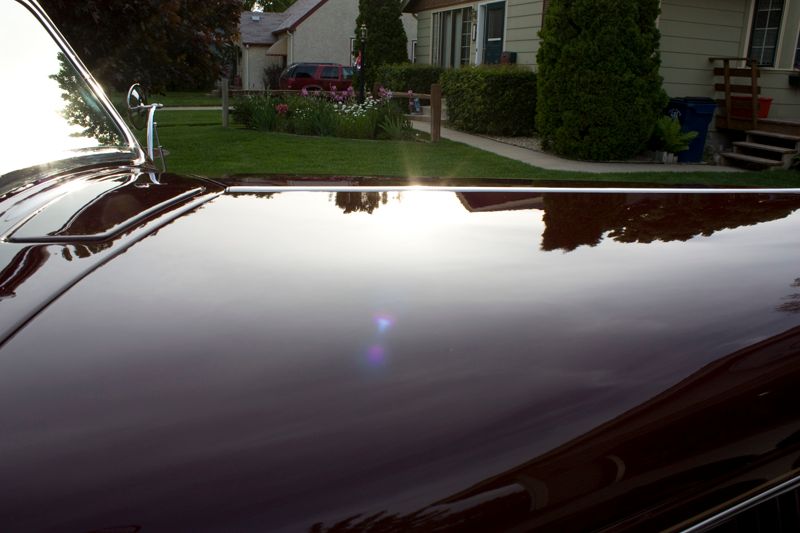
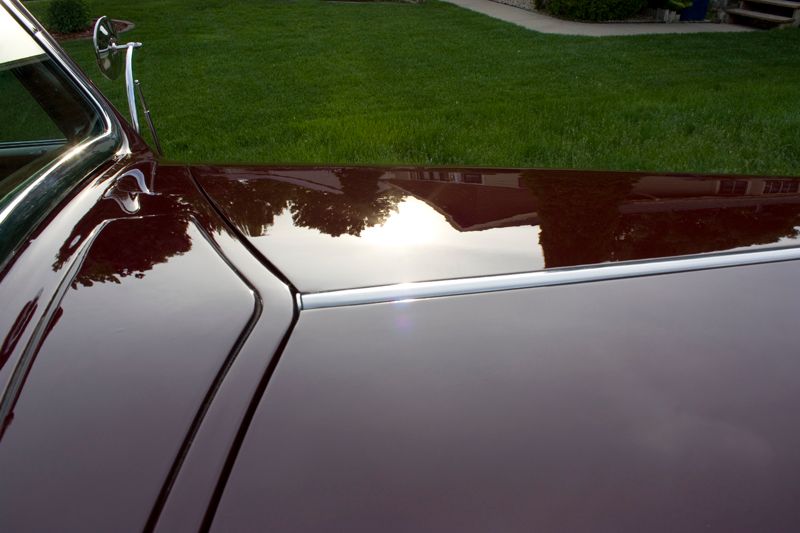
There was an overcast sky the day it was dropped off and at first glance the paint looked to be in great condition.
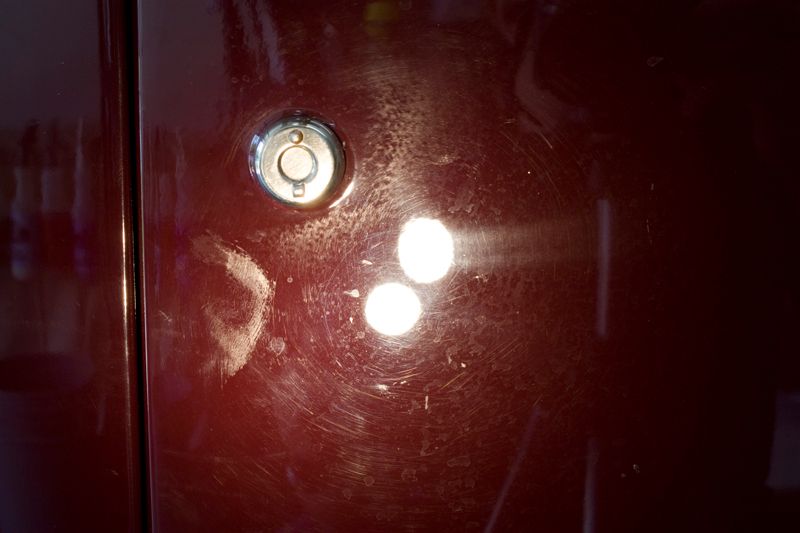
Once we had it in the garage and I busted out the halogen lamps and the Brinkmann Dual Xenon, the defects could clearly be seen. I pointed out some areas to the owner which would require multiple correction steps and he agreed it would be best to fix them. The 1-step correction we were originally hoping for was clearly not going to be enough to get this car looking the way it needed to be.
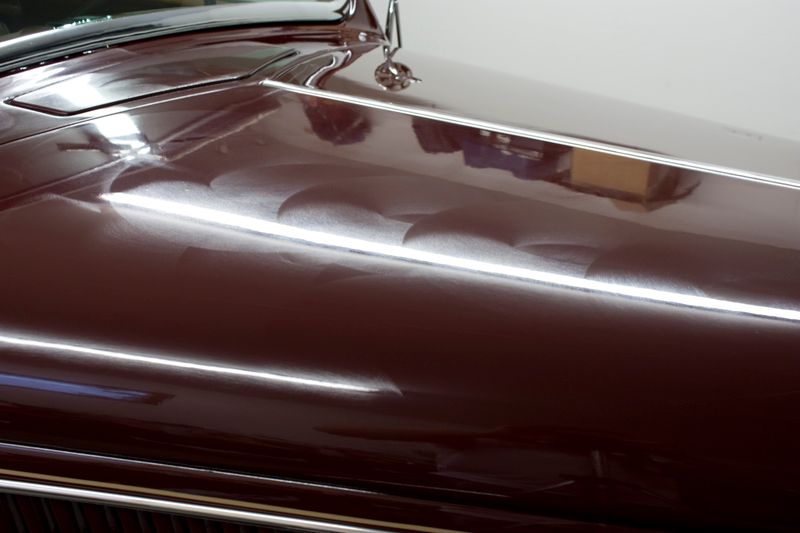
Cob webbing/swirls

Nothing like 13yr old wet sanding marks!


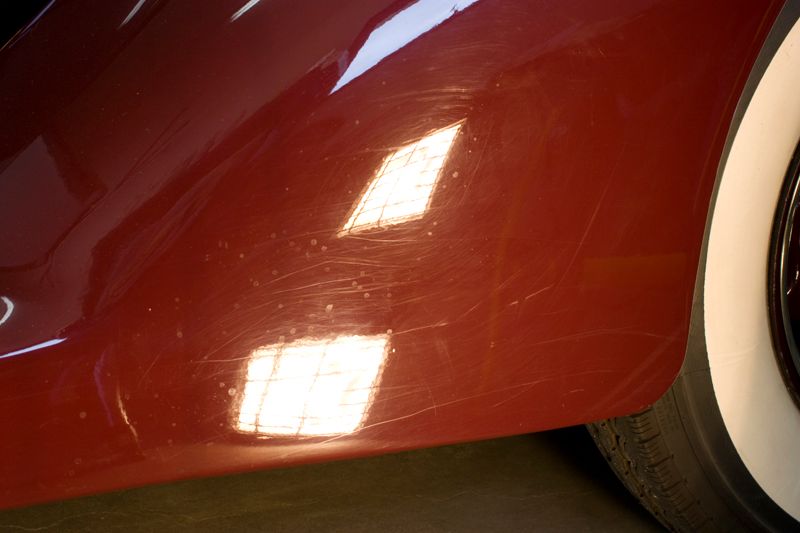
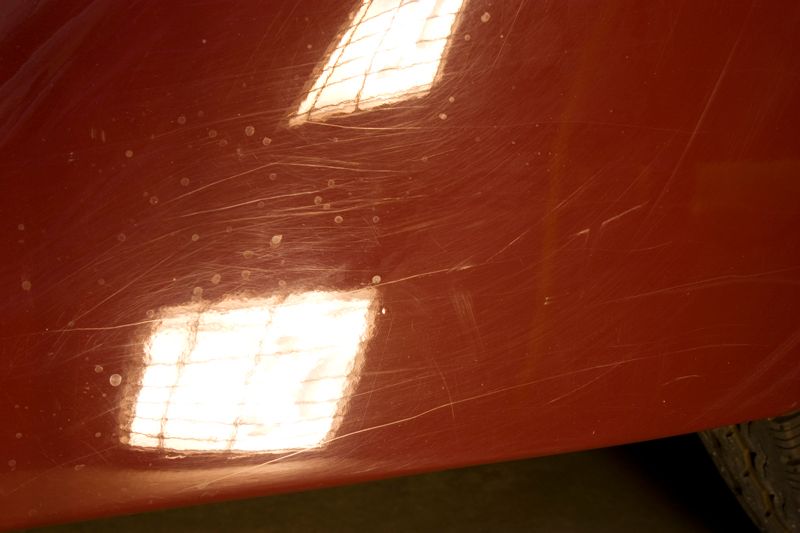
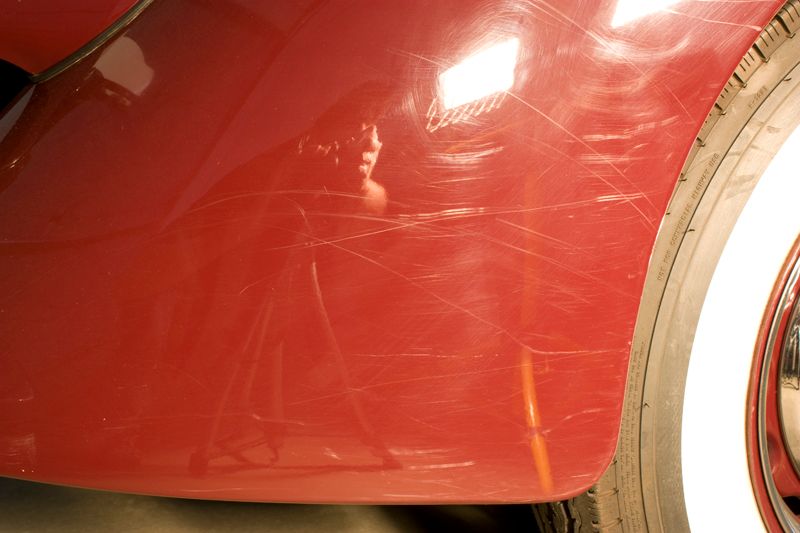
Very deep scratches down both sides. Not knowing exactly how much paint I had to work with I suggested that we not push it too far as we didn’t want to risk a strike through. A few of the scratches didn’t come out all the way but those that remained were hard to see and it was still a major improvement.
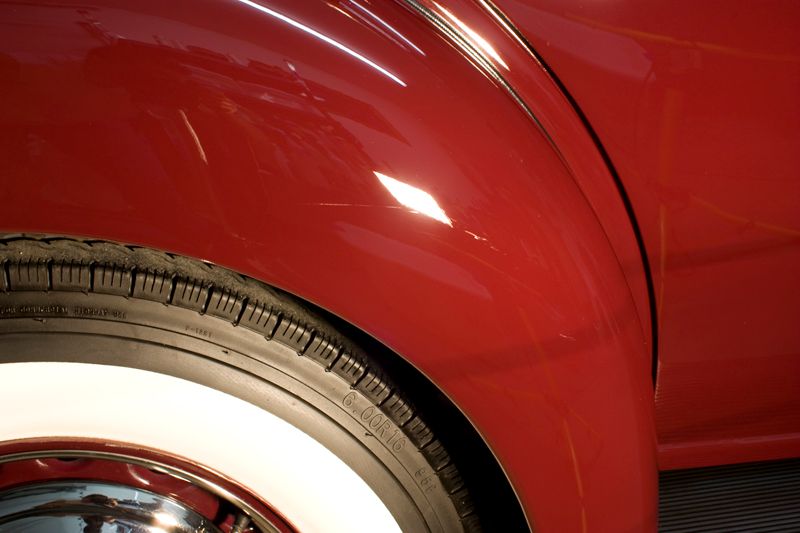
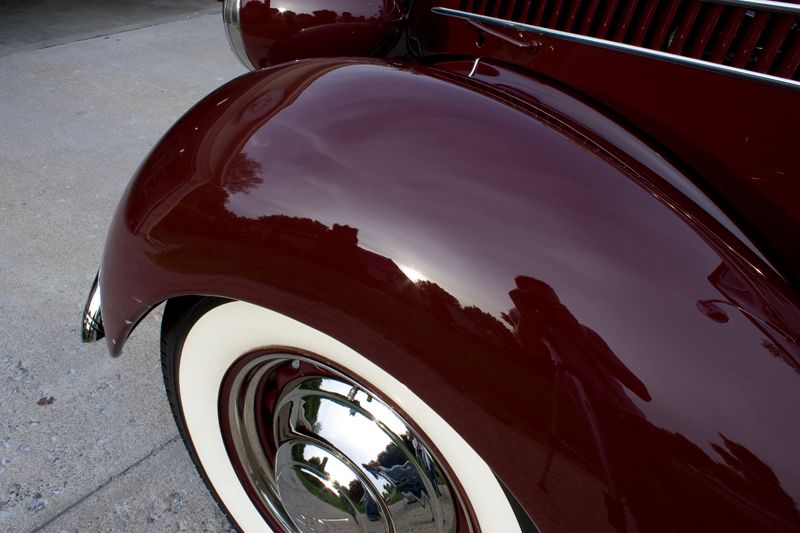
Front fender
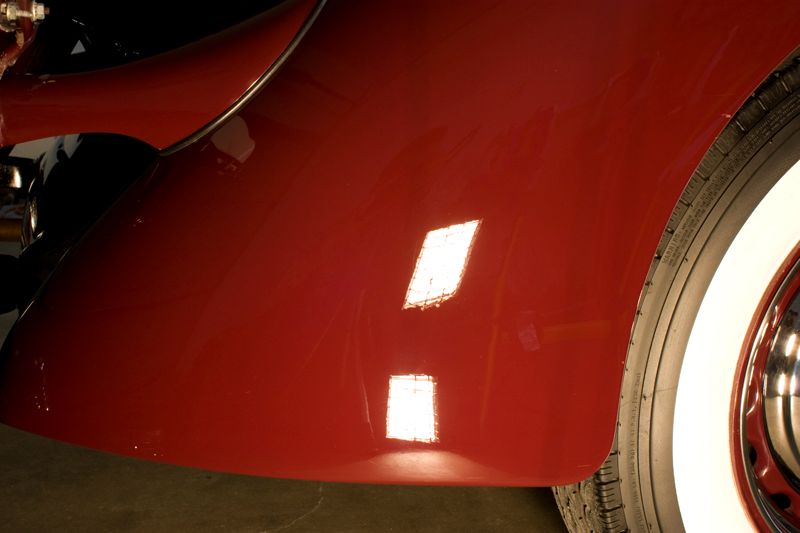
Rear fender

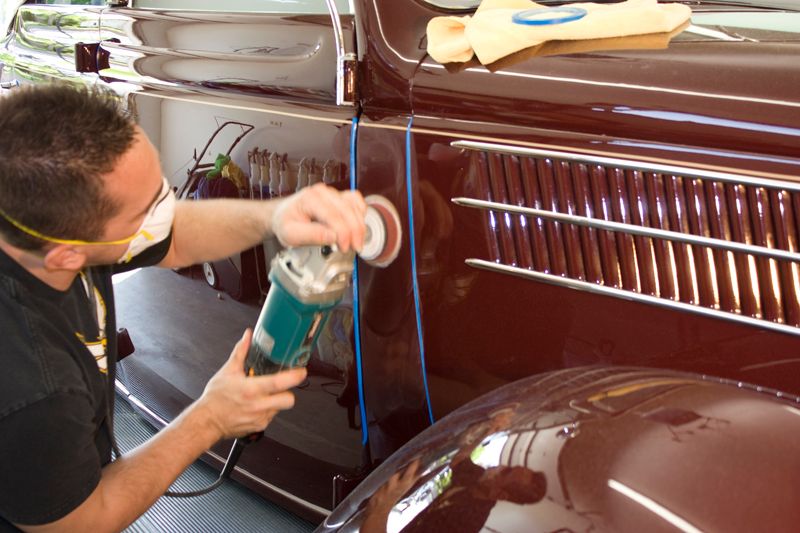
This car also posed a few challenges in that many areas had to be hand buffed as they were inaccessible to my various polishers. Mike Phillips had warned me these cars were a lot of work and he wasn’t kidding!

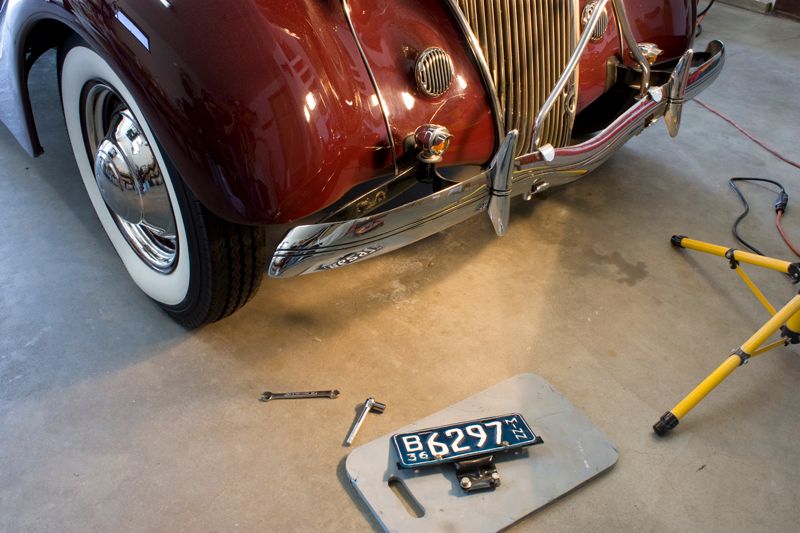
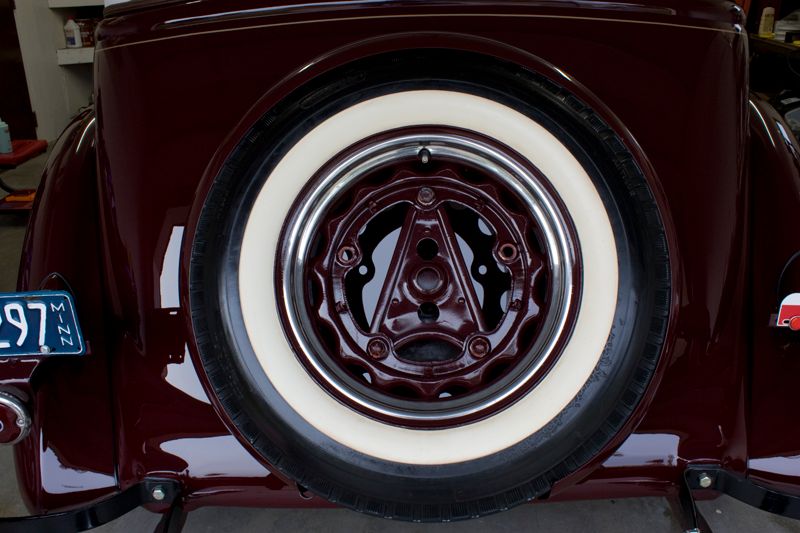
I removed the plates and the spare tire for better access with a buffer.
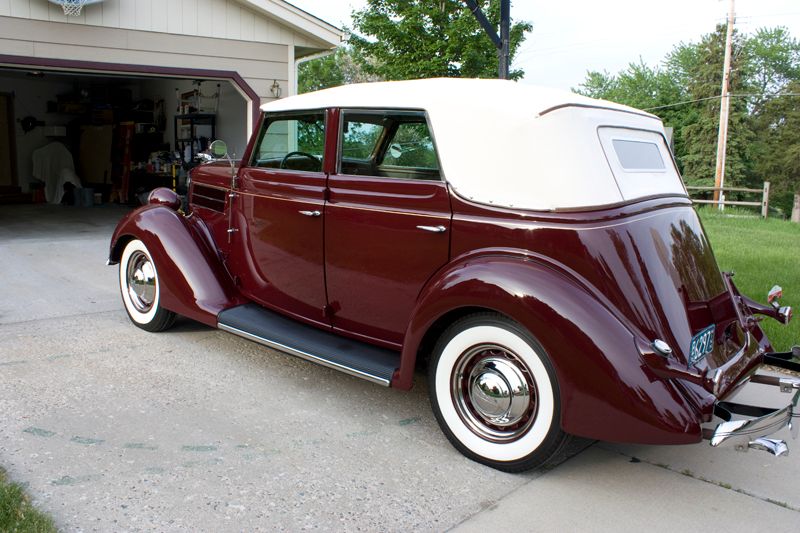
Cleaning the convertible top with Ragtopp cleaner and a brush

Louvers and other hard to reach areas were carefully washed using various brushes.

After trying a few test spots I decided on the following correction process:
*Hand polishing was done with M105 and M105 using MF and foam applicators*
50/50 (steps 1-3)
Section complete
3” wool was also used on some tight areas
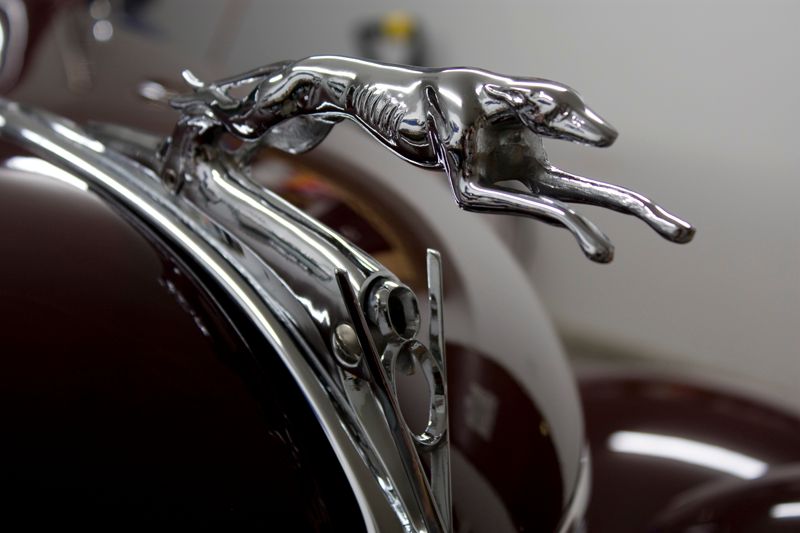
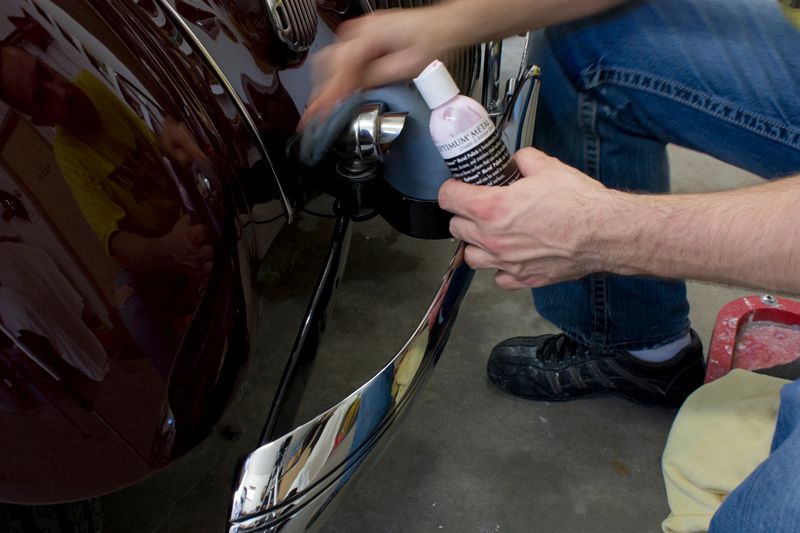
All chrome was polished using Optimum metal polish
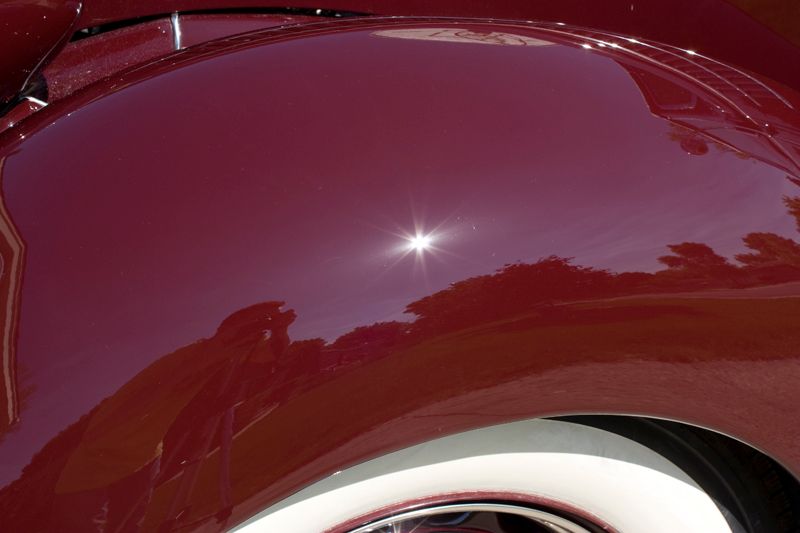
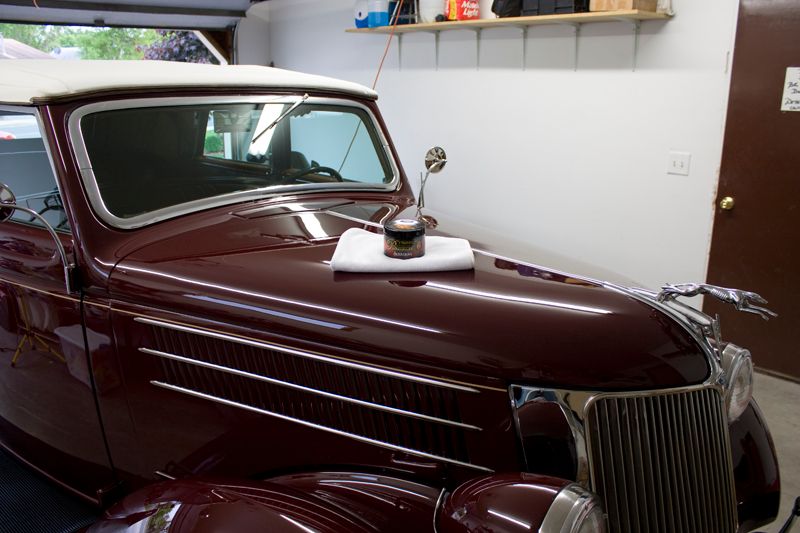
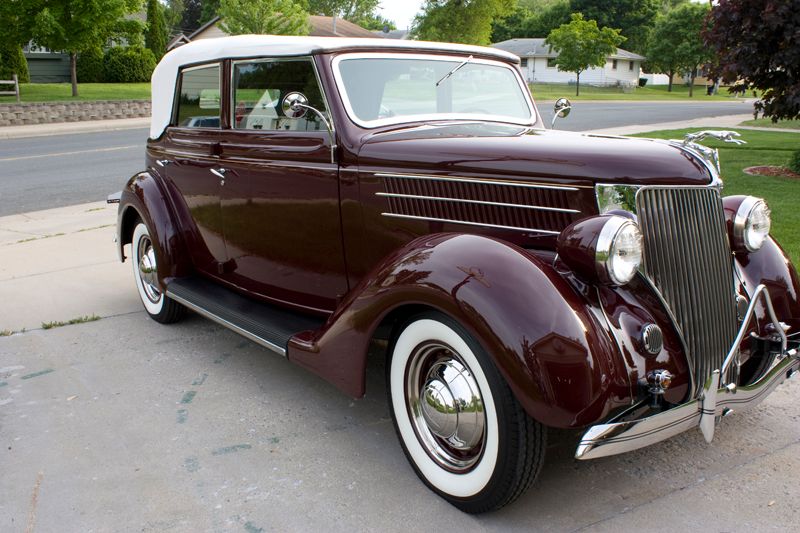
Prior to giving the car a wash and starting my final jewelling step with PO85RD, I wanted to take some quick pics and make sure there were no missed areas or buffer trails.
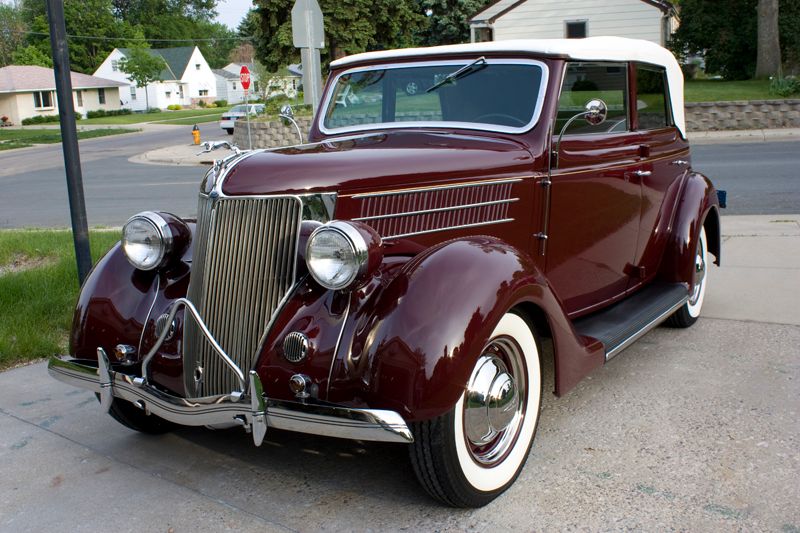
Once the polishing on the car was complete I gave it a thorough wash using Chemical Guys Citrus wash n’ Clear mixed at paint prep ration. Next it was time to apply the icing on the cake…Souveran!")
Prior to seeing the car the owner was looking to get a full detail with a 1-step correction. However, once the car was delivered to me it was clear that far more work was going to be needed on the exterior. The interior was actually in mint condition and only required a quick wipe down with 1Z Premium Cockpit Cleaner and a light vacuum. Because of this I suggested we focus the budget on the exterior of the vehicle instead.
There was an overcast sky the day it was dropped off and at first glance the paint looked to be in great condition.
Once we had it in the garage and I busted out the halogen lamps and the Brinkmann Dual Xenon, the defects could clearly be seen. I pointed out some areas to the owner which would require multiple correction steps and he agreed it would be best to fix them. The 1-step correction we were originally hoping for was clearly not going to be enough to get this car looking the way it needed to be.
Cob webbing/swirls
Nothing like 13yr old wet sanding marks!
Very deep scratches down both sides. Not knowing exactly how much paint I had to work with I suggested that we not push it too far as we didn’t want to risk a strike through. A few of the scratches didn’t come out all the way but those that remained were hard to see and it was still a major improvement.
Front fender
Rear fender
This car also posed a few challenges in that many areas had to be hand buffed as they were inaccessible to my various polishers. Mike Phillips had warned me these cars were a lot of work and he wasn’t kidding!
I removed the plates and the spare tire for better access with a buffer.
Cleaning the convertible top with Ragtopp cleaner and a brush
Louvers and other hard to reach areas were carefully washed using various brushes.
After trying a few test spots I decided on the following correction process:
- Meguiar’s M105 via Makita rotary with maroon Solo wool pad was used on about 80% of the car for the severe defect removal (1200-1500rpms)
- Meguiar’s M105 via PCXP with orange LC pad (Speed 6)
- Meguiar’s M205 via PCXP with white LC pad (Speed 6)
- Menzerna PO85RD via rotary with blue LC pad, (900-1800-900rpm)
*Hand polishing was done with M105 and M105 using MF and foam applicators*
50/50 (steps 1-3)
Section complete
3” wool was also used on some tight areas
All chrome was polished using Optimum metal polish
Prior to giving the car a wash and starting my final jewelling step with PO85RD, I wanted to take some quick pics and make sure there were no missed areas or buffer trails.
Once the polishing on the car was complete I gave it a thorough wash using Chemical Guys Citrus wash n’ Clear mixed at paint prep ration. Next it was time to apply the icing on the cake…Souveran!


")