OCDinPDX
Paint Ph.D
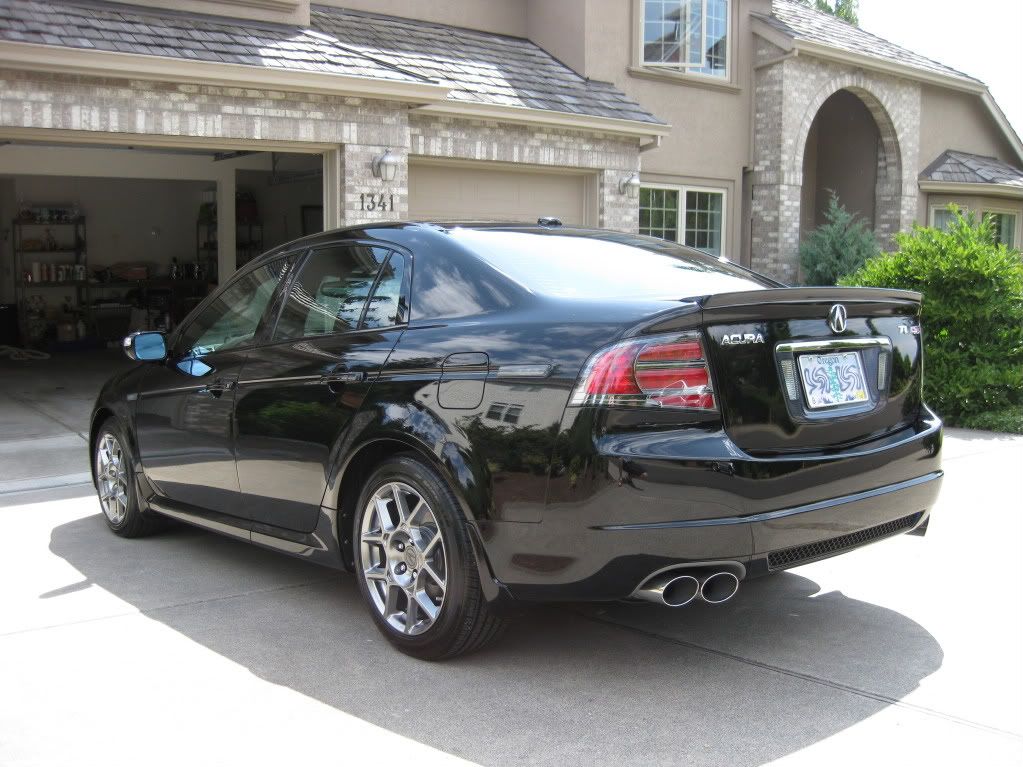
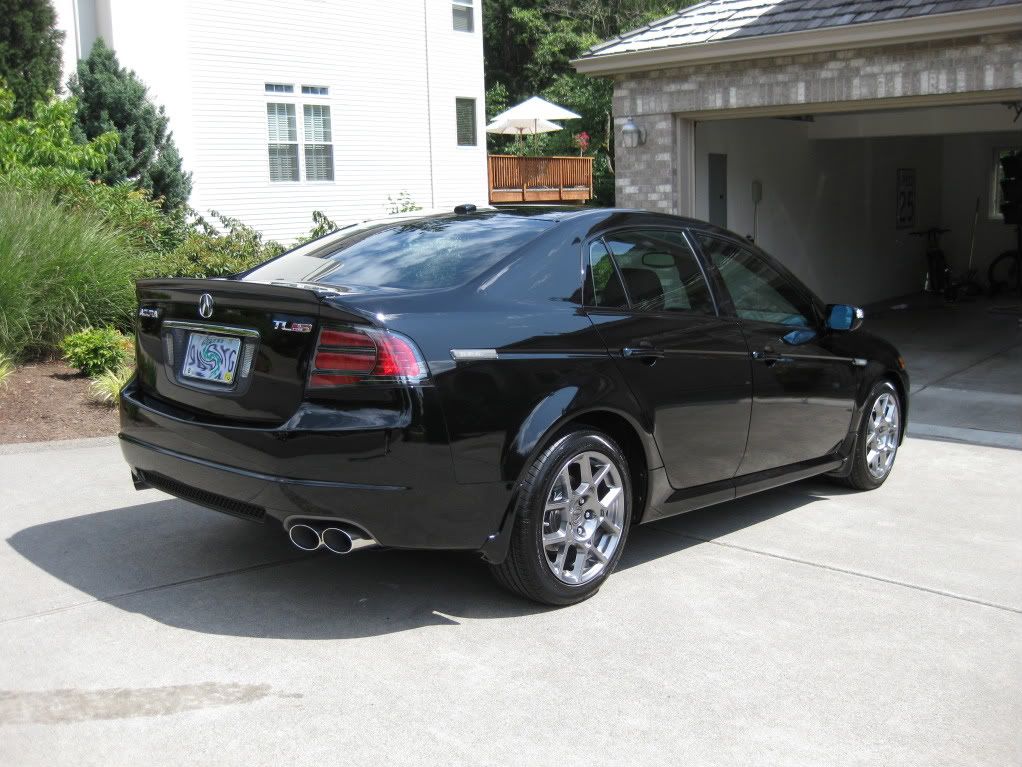
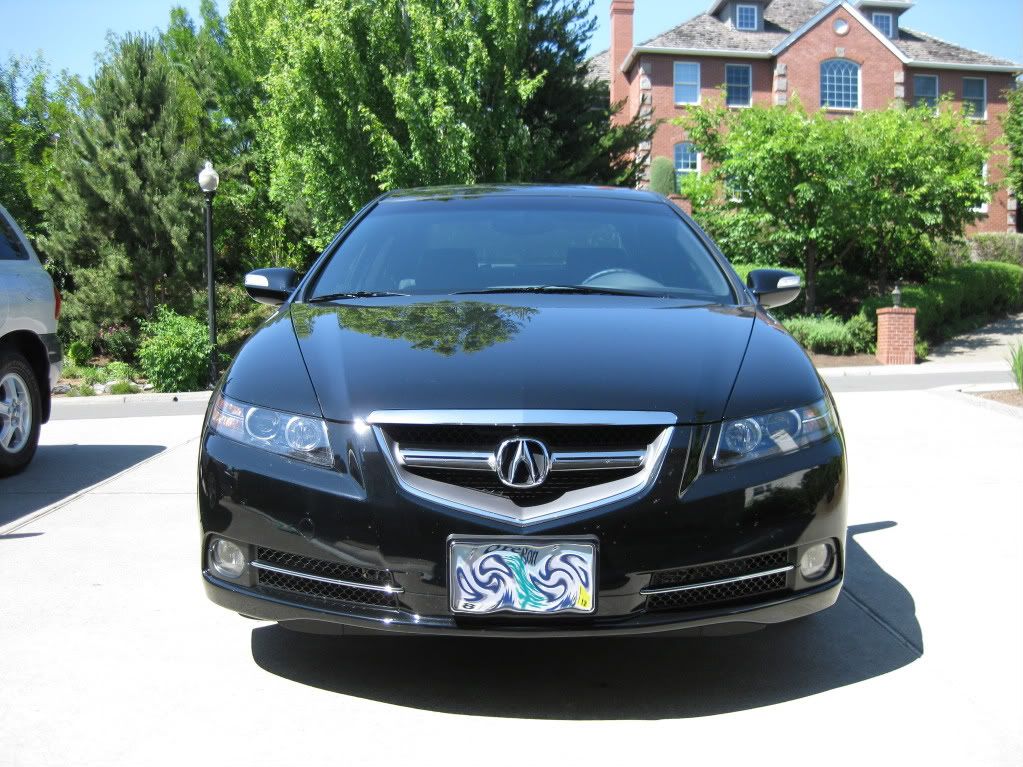
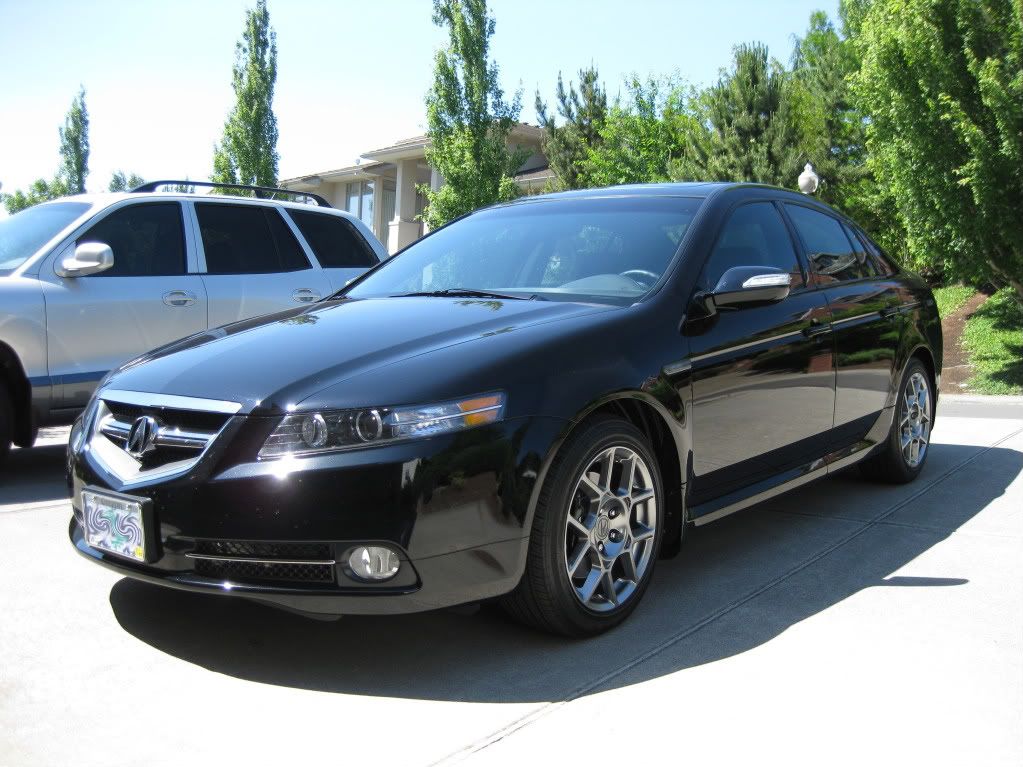
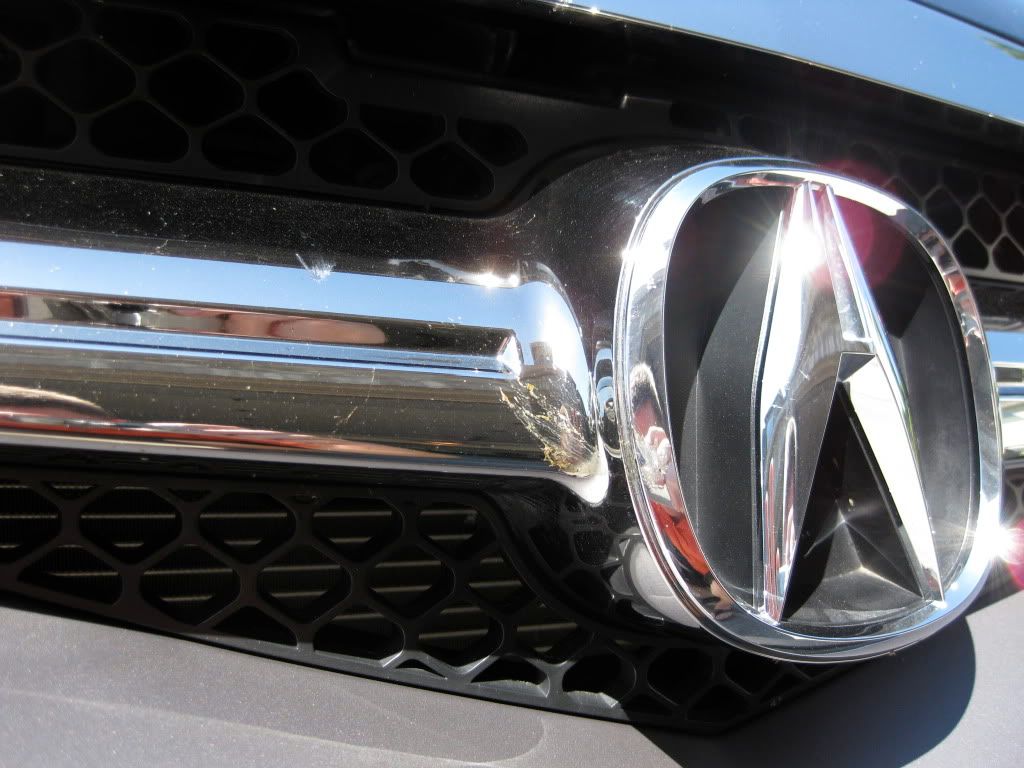
2008 Acura TL Type-S
Nighthawk Black Pearl
Full Detail by Andrew
July 3, 2009 – July 10, 2009
Nighthawk Black Pearl
Full Detail by Andrew
July 3, 2009 – July 10, 2009
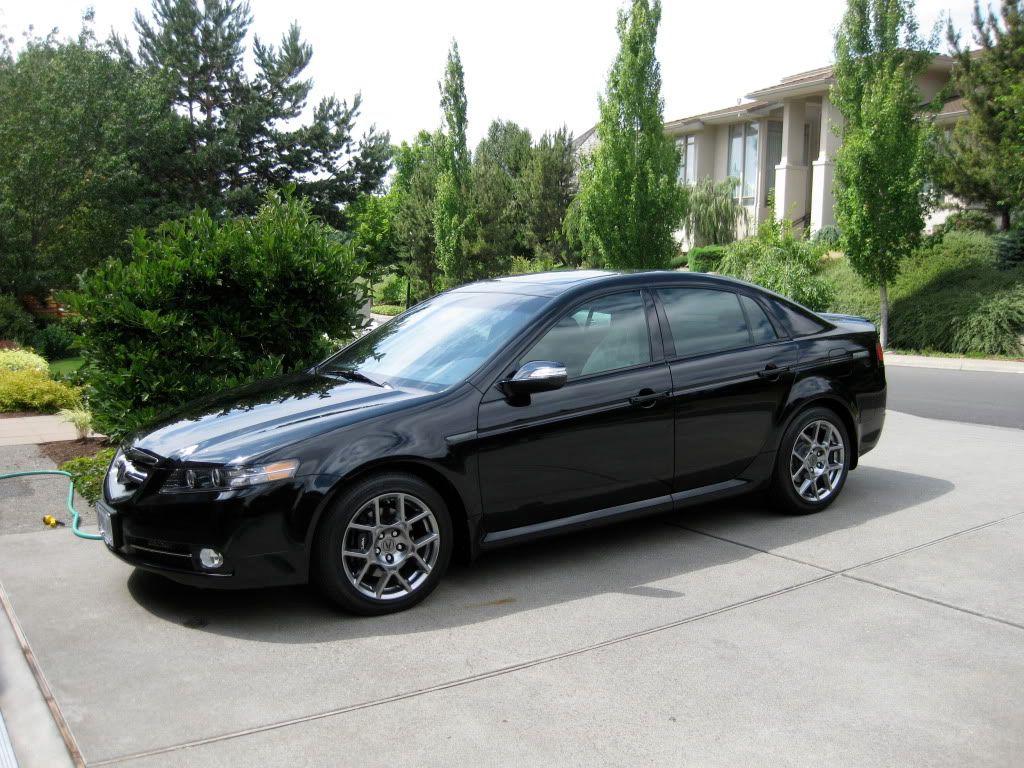
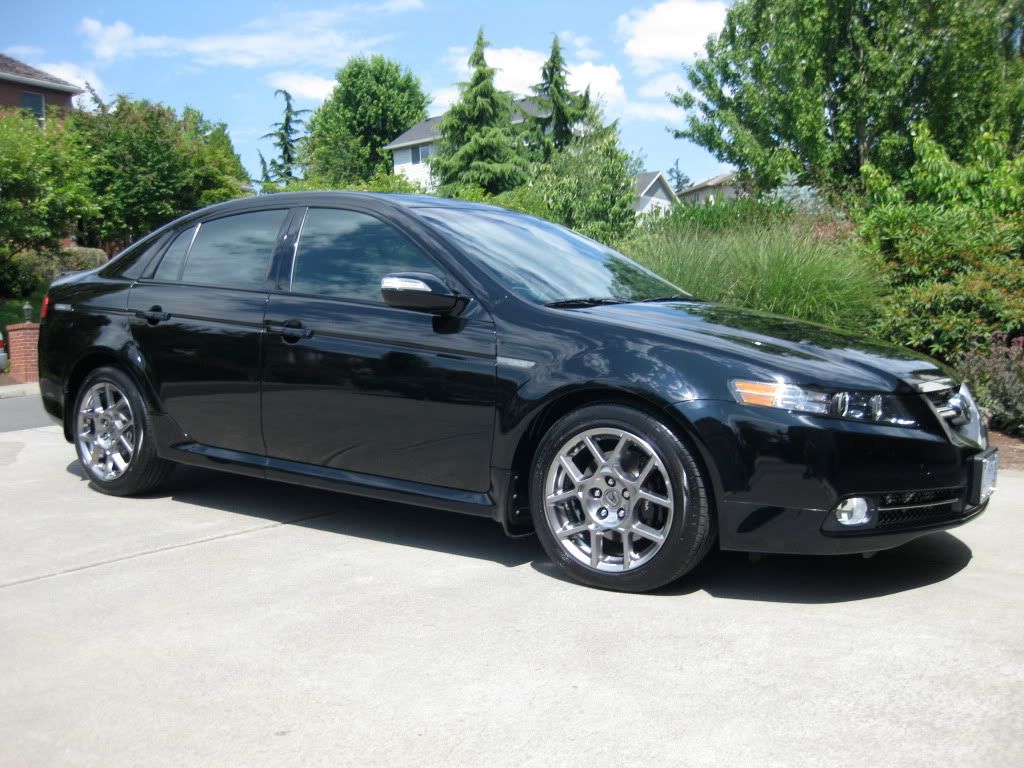
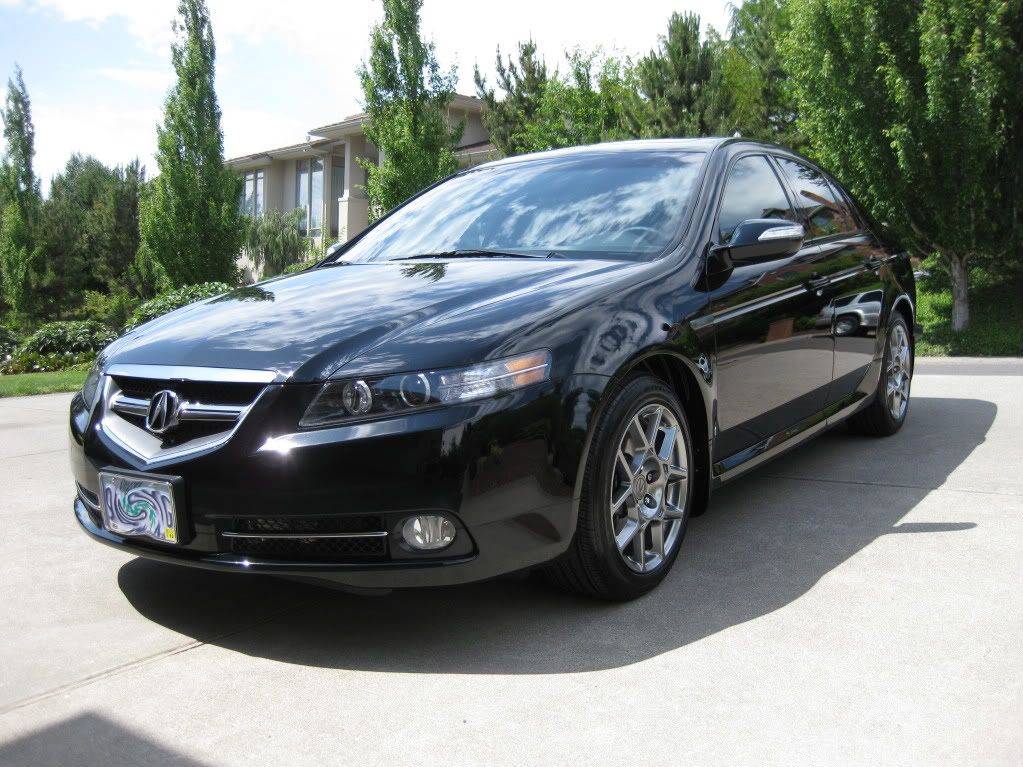
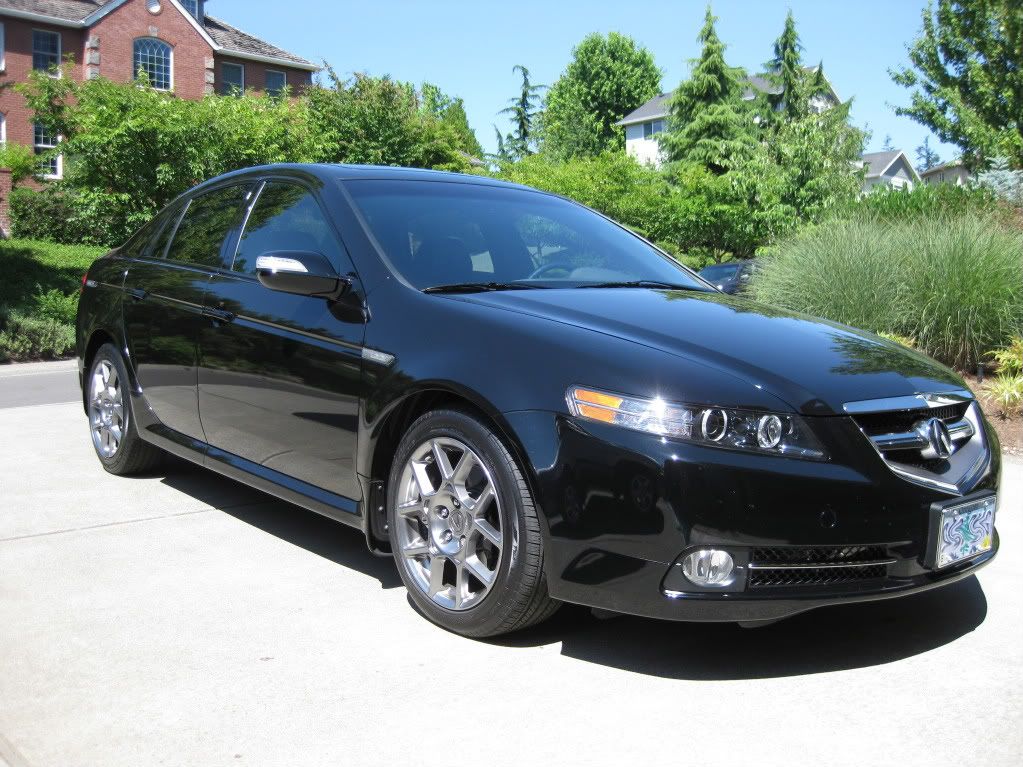
The owner of this 2008 Acura TL found me through the Acura Forums and saw my detail of my dad's RL. Interested in his TL getting similar love, he was even nice enough to bring the car up to me here in Portland (he lives in Salem) so I could get a good look at what I was up against. When he arrived, he was driving what appeared to be a showroom-condition TL-S in NBP.
I went through my usual inspection which quickly proved to be nothing more than a formality. If all my client vehicles looked like this I'd be out of a job.
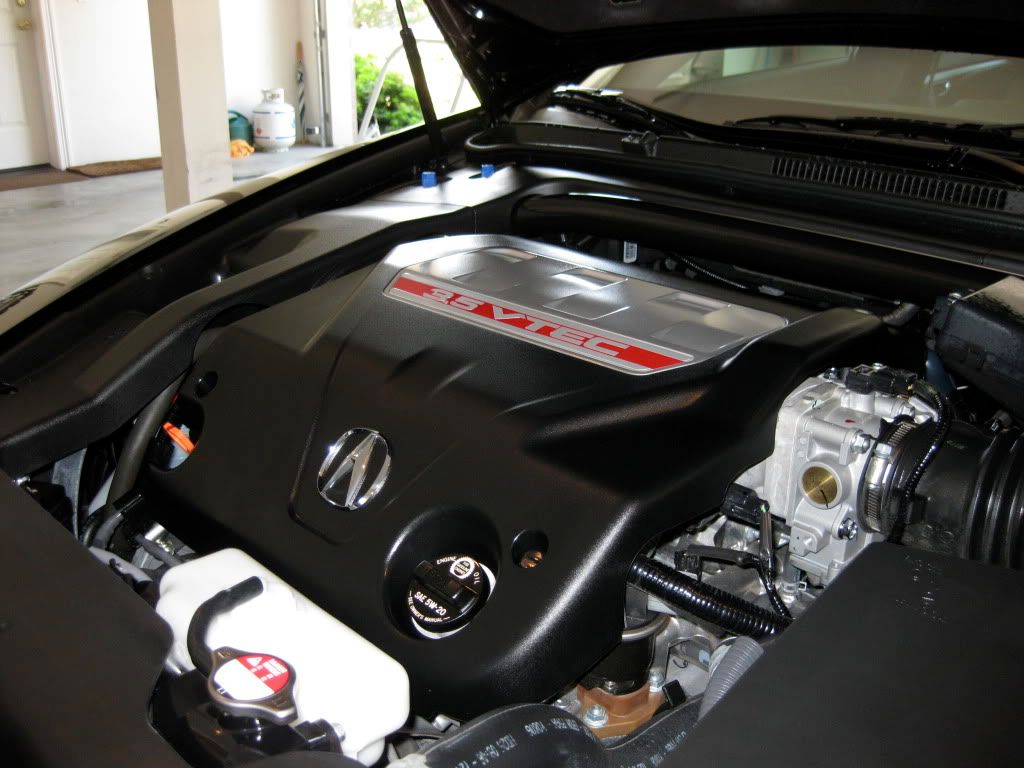
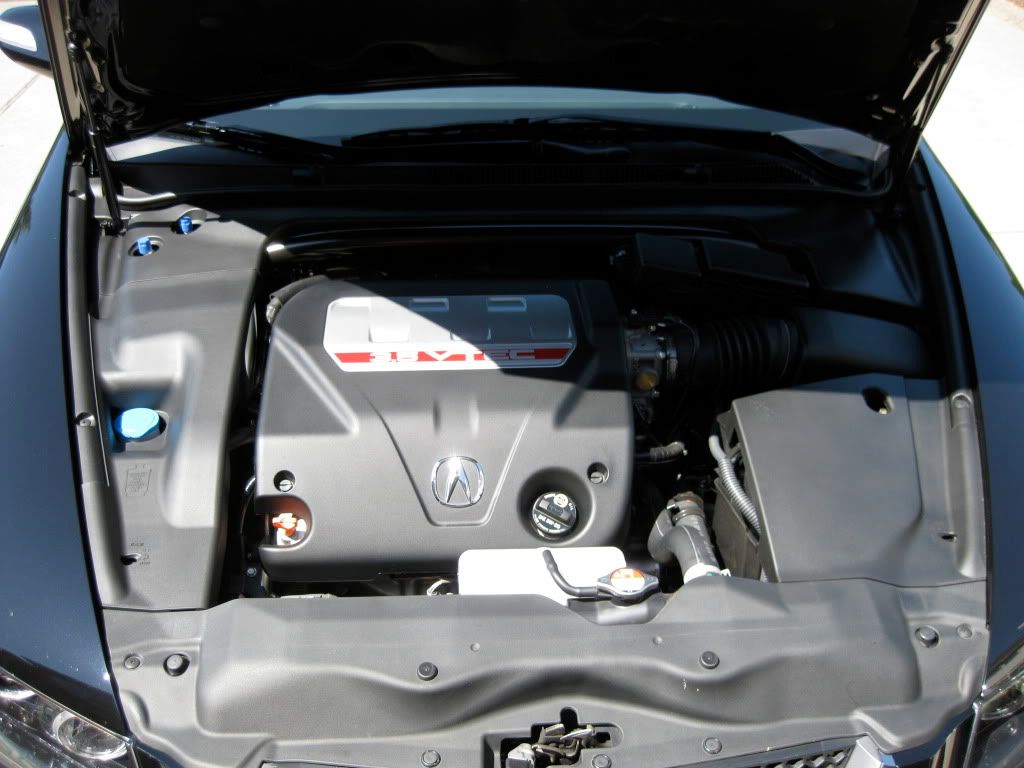
Engine compartment? Immaculate.
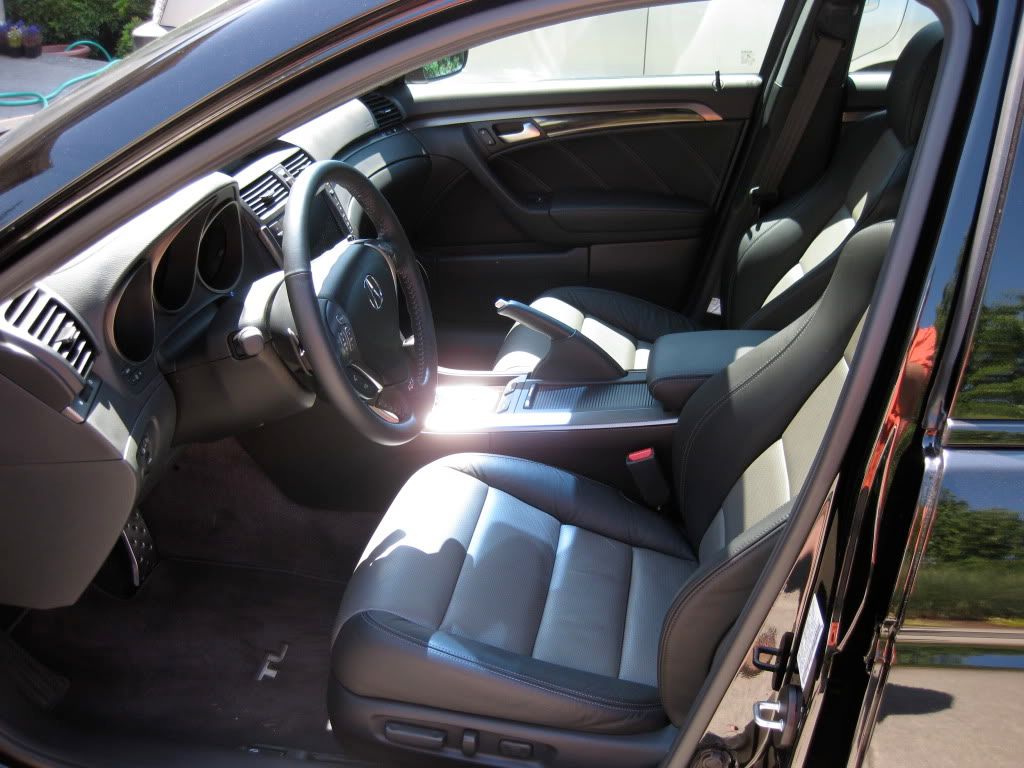
Interior? Still got that new car smell.
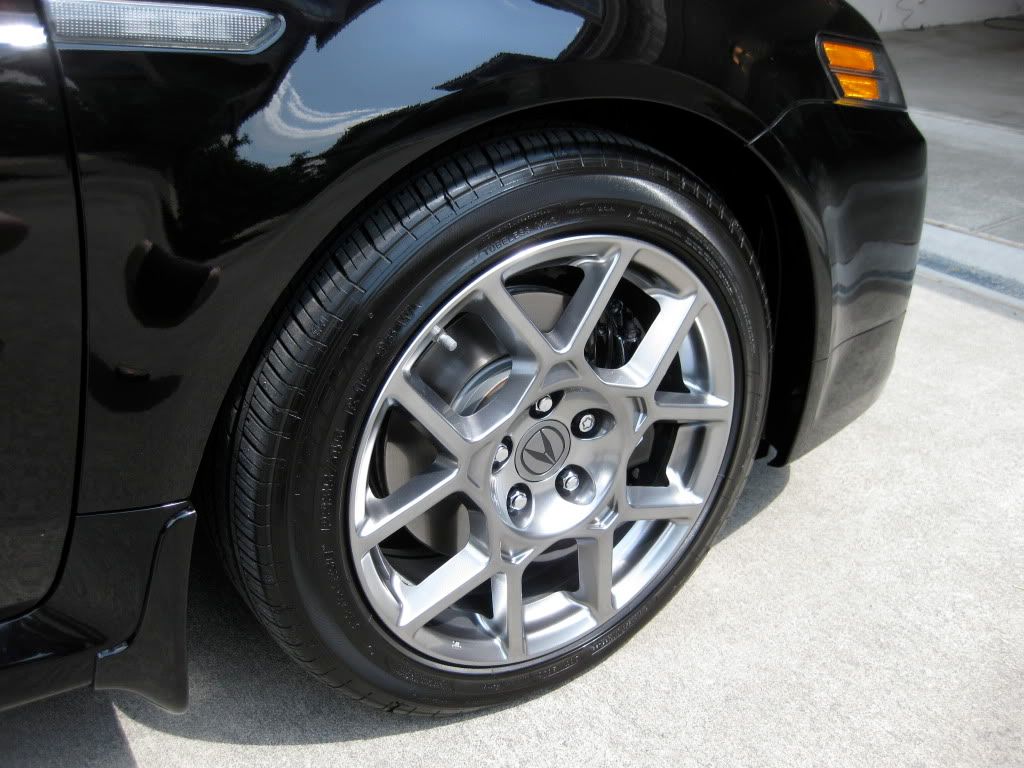
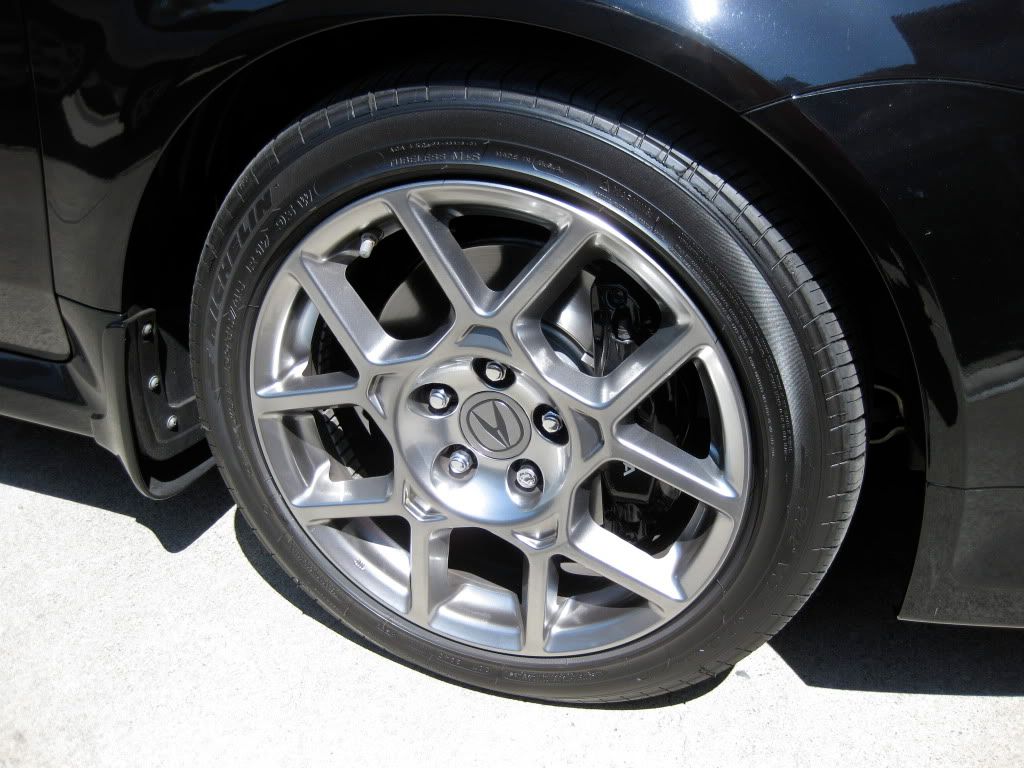
Wheels? Flawless.
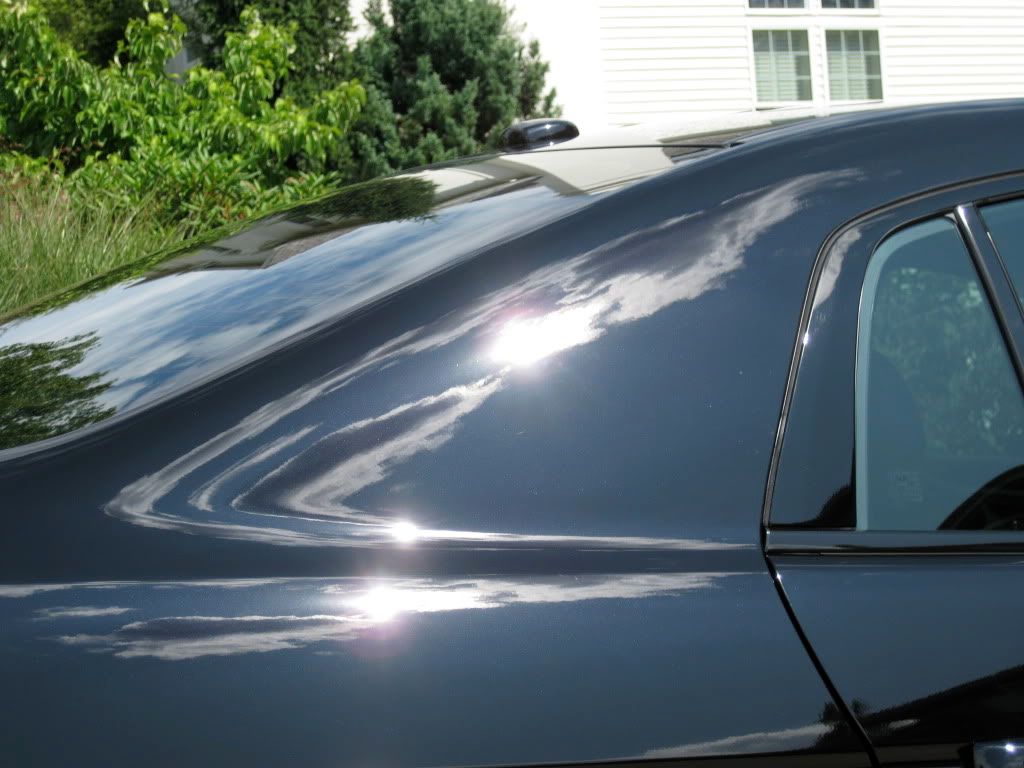
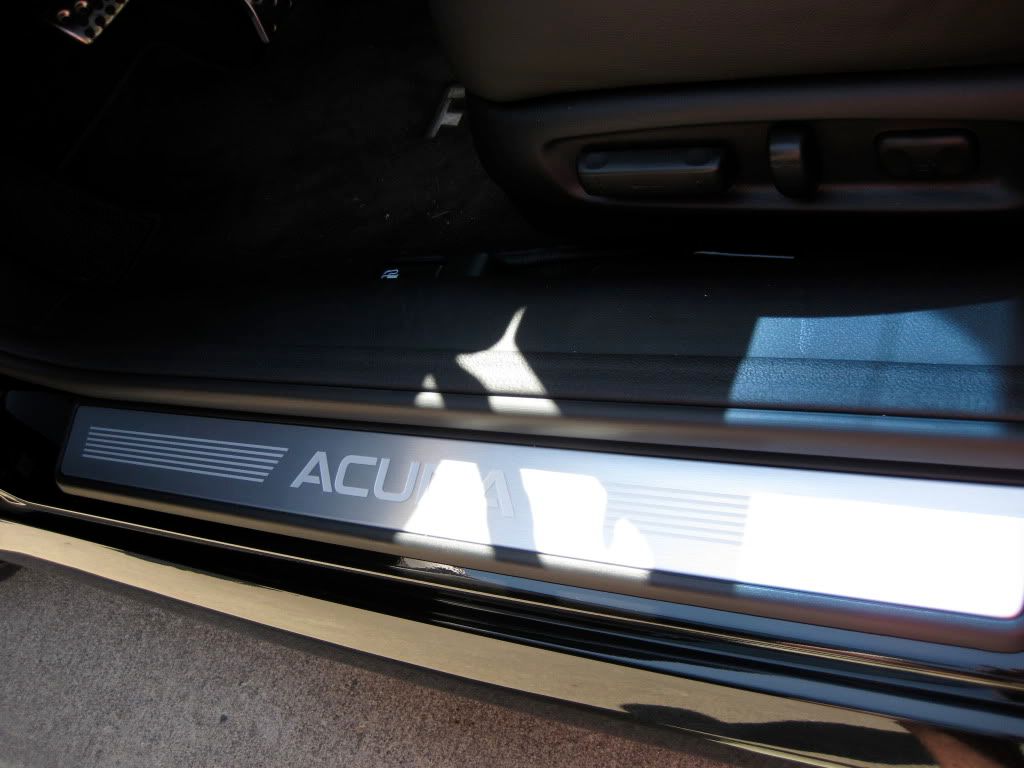
Paint? Lightly swirled and mostly on the horizontal surfaces…nothing I hadn’t seen before and certainly nowhere near the worst I’ve ever seen. Even the door sills were free of scuffs so I was careful while entering and exiting the vehicle during its stay at my house.
This car was an absolute joy to work with and while I can’t speak for the other detailers on here, I feel that working on a car that has been looked after is so much more enjoyable than one that has been wailed on like the cork-filled bat at the final game of the World Series. I was admittedly a bit nervous about doing a job for somebody even pickier than myself. The mantra of the job quickly became, “If it’s not 110%, it’s not done.�
Process
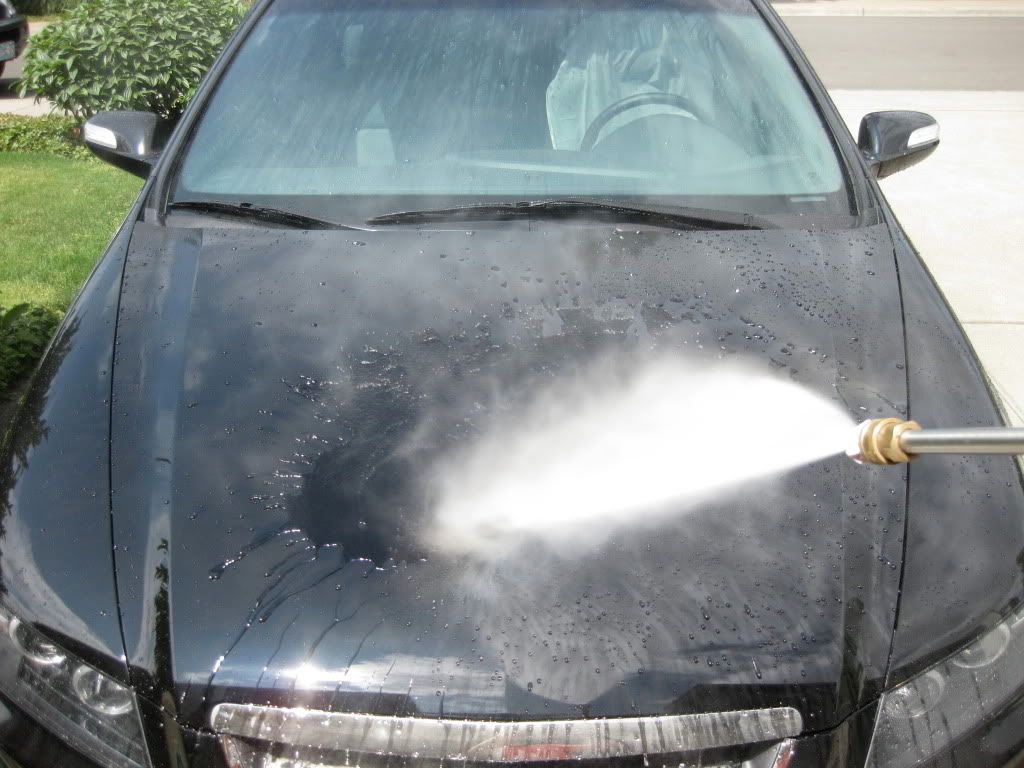
Wash:
Initial wash Dawn and Griot's Microfiber Wash Pad.
Dry with MF Waffle Weave towel
Wheels & Arches
Clean Wheels off car (per client request) with Griot's wheel cleaner and Microfiber Mitt
Clean wheel arches and suspension components with APC 4:1
Dress with Griot's Undercarriage Spray
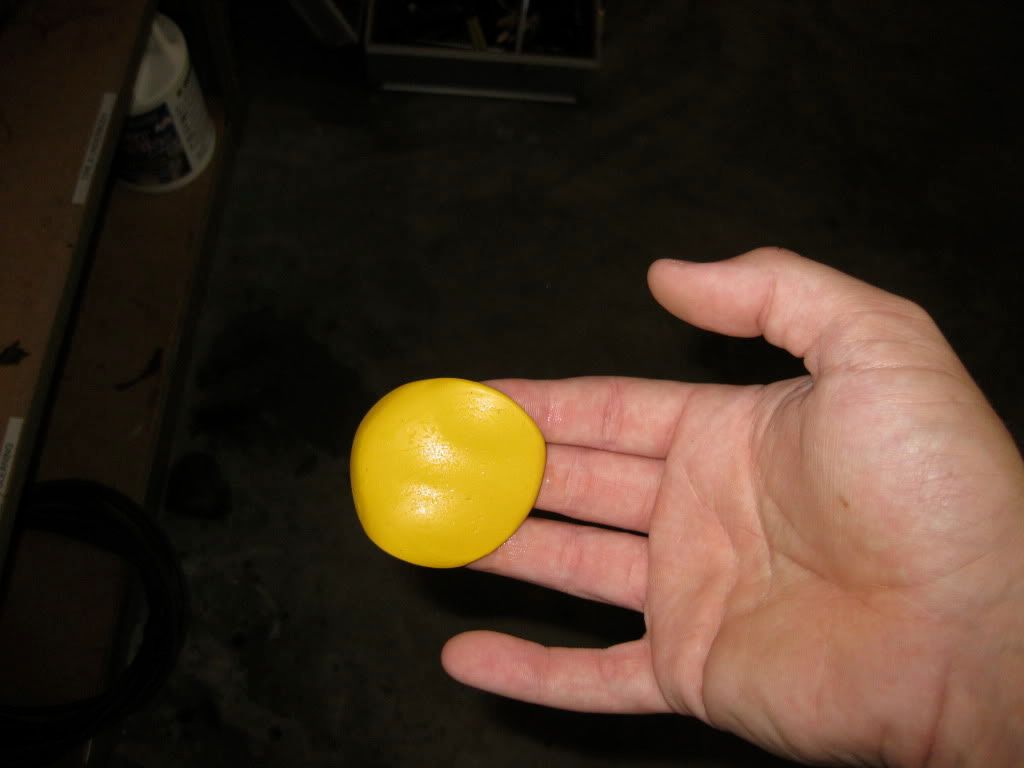
Clay
Clay entire car with Griot's clay and Speed Shine as lubricant
Polish:
Flex XC 3401
Menzerna SIP & LC Orange
Menzerna Micro Polish & LC White
Re-wash vehicle with Griot's Car Wash to strip any polishing oils to provide best LSP adhesion
LSP:
One coat of 4-Star UPP hand-applied with microfiber applicator pad
Cured for 90 minutes and removed by hand
Total Time Spent: 18 hours (total killer...it got rained on during the drive home :sadpace
")
On to the photos. The license plates have been distorted at the request of the owner. You may also notice that through these photos I change shirts at least four times. That's because the photos were taken on different days.
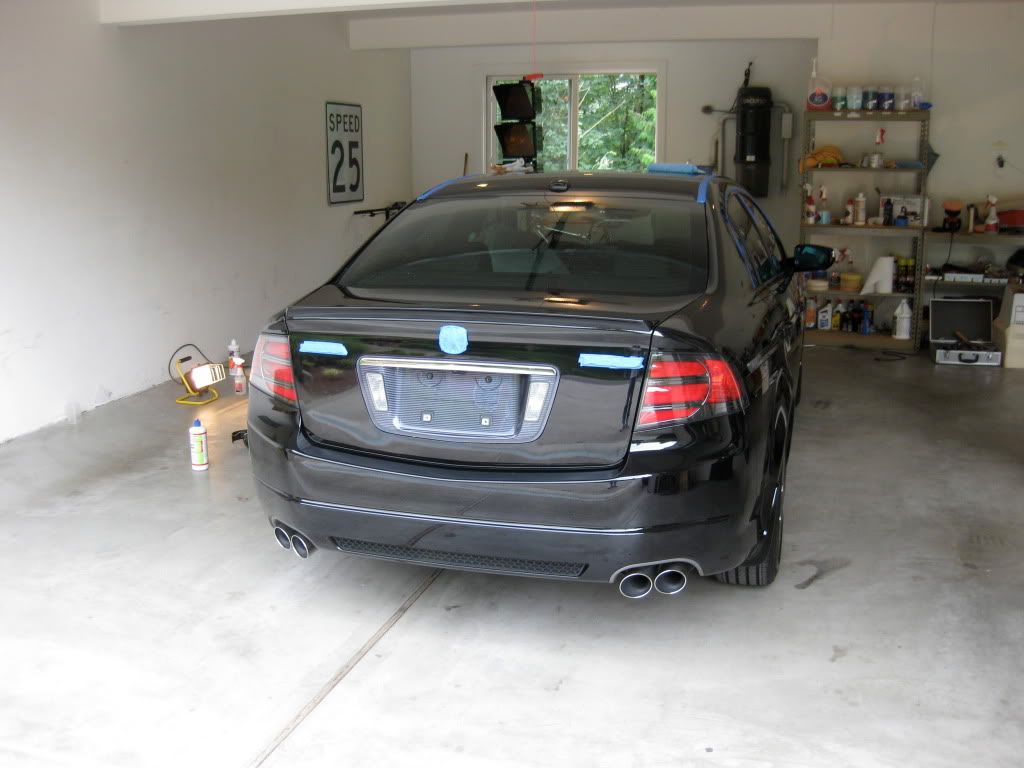
Here are the before shots and yes, they are the BEFORE images. Nothing had been done to the car prior to taking these photos (minus moving it from the garage).
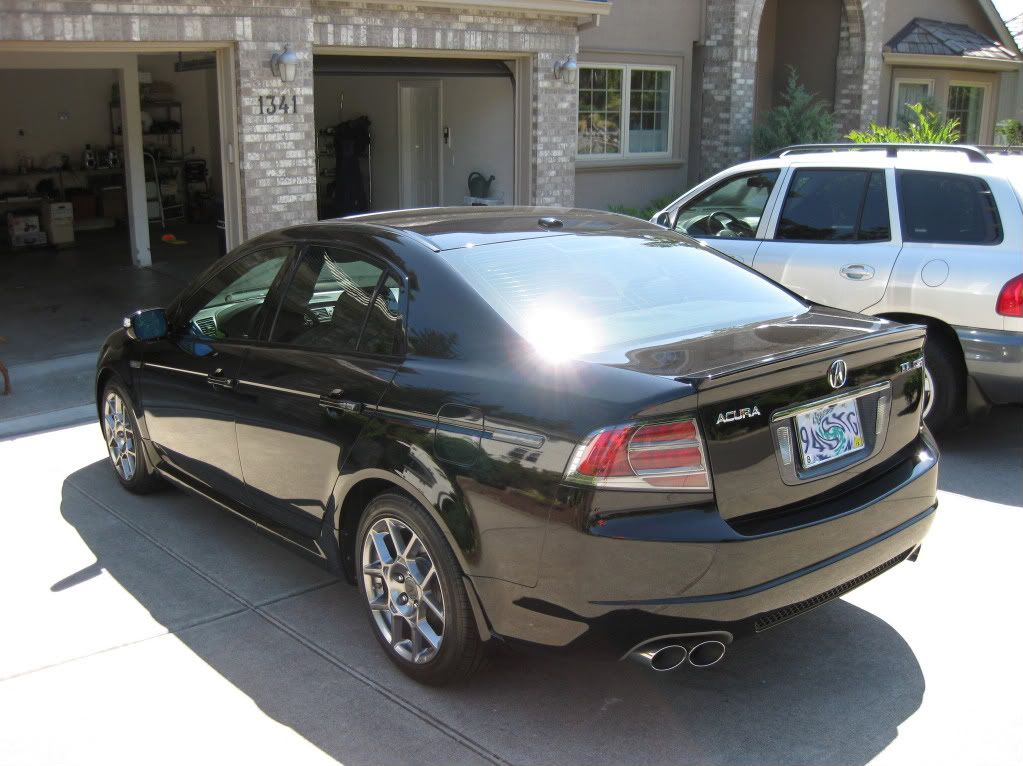
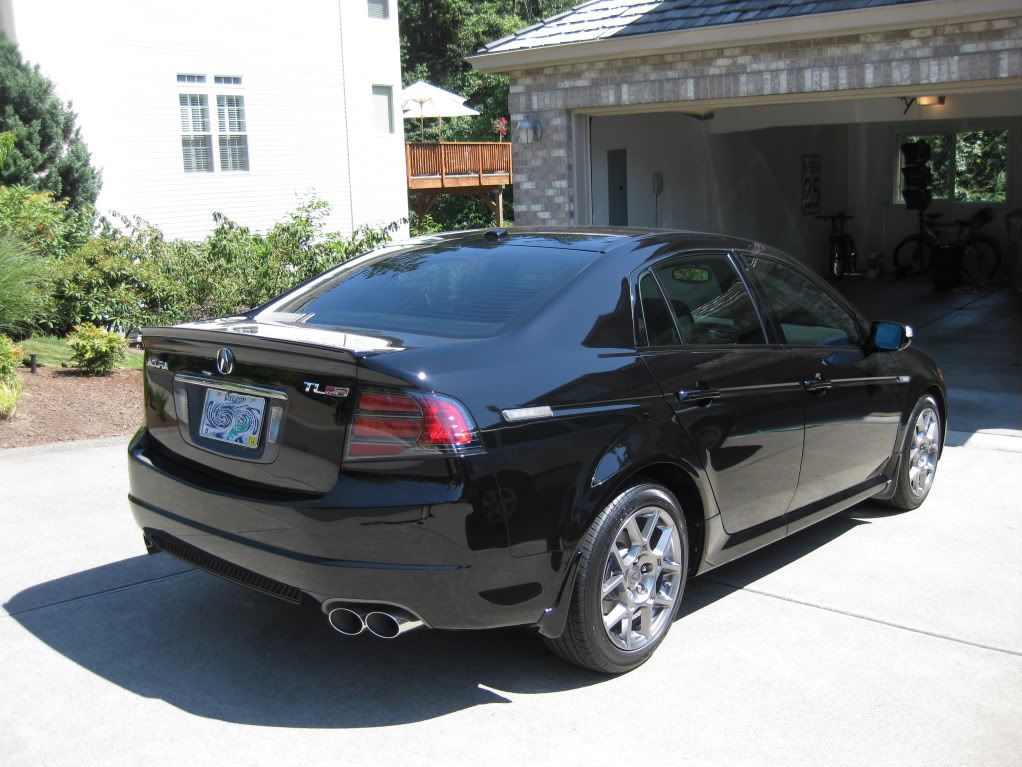
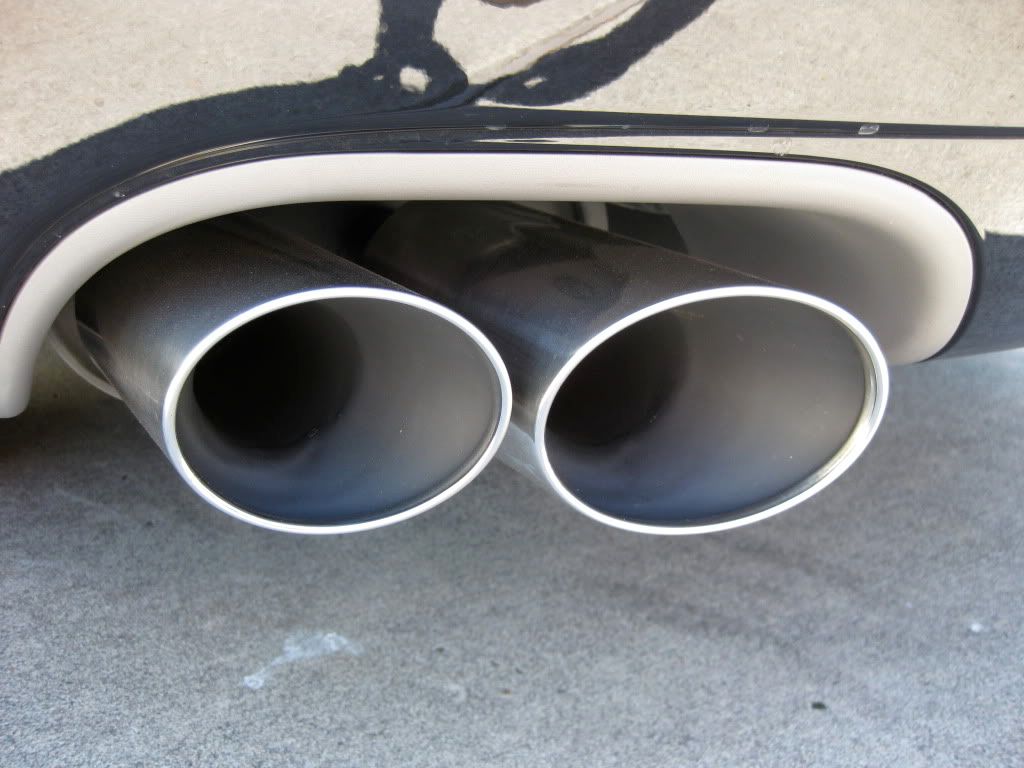
Look at this…even the exhaust tips are perfect!!
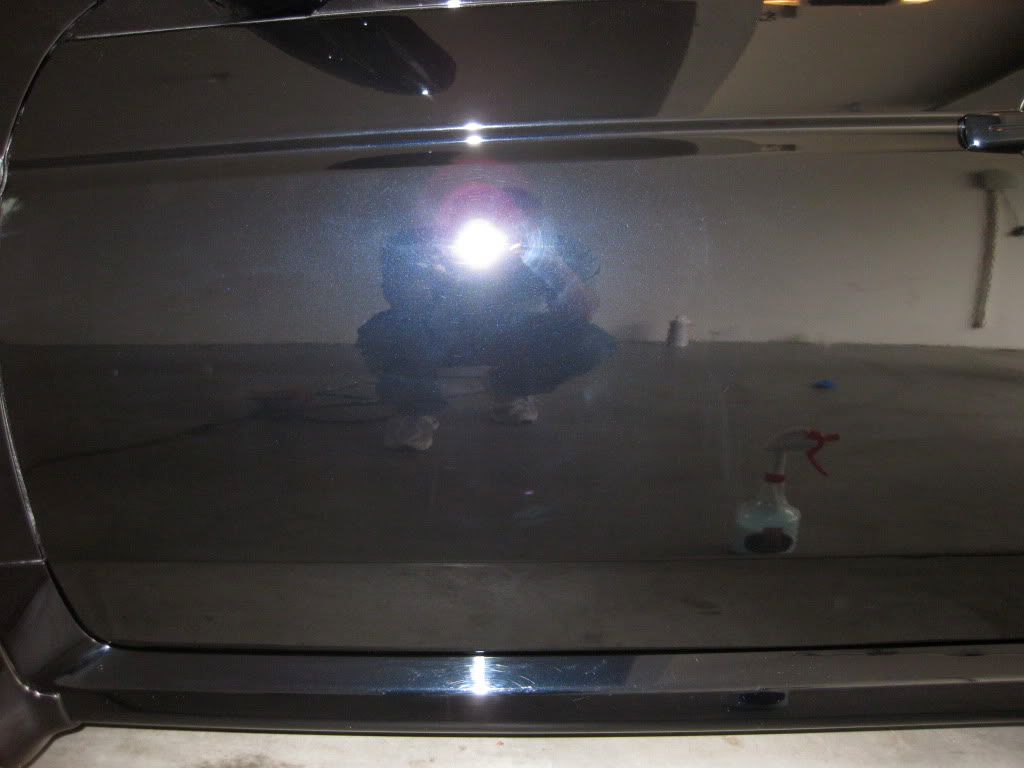
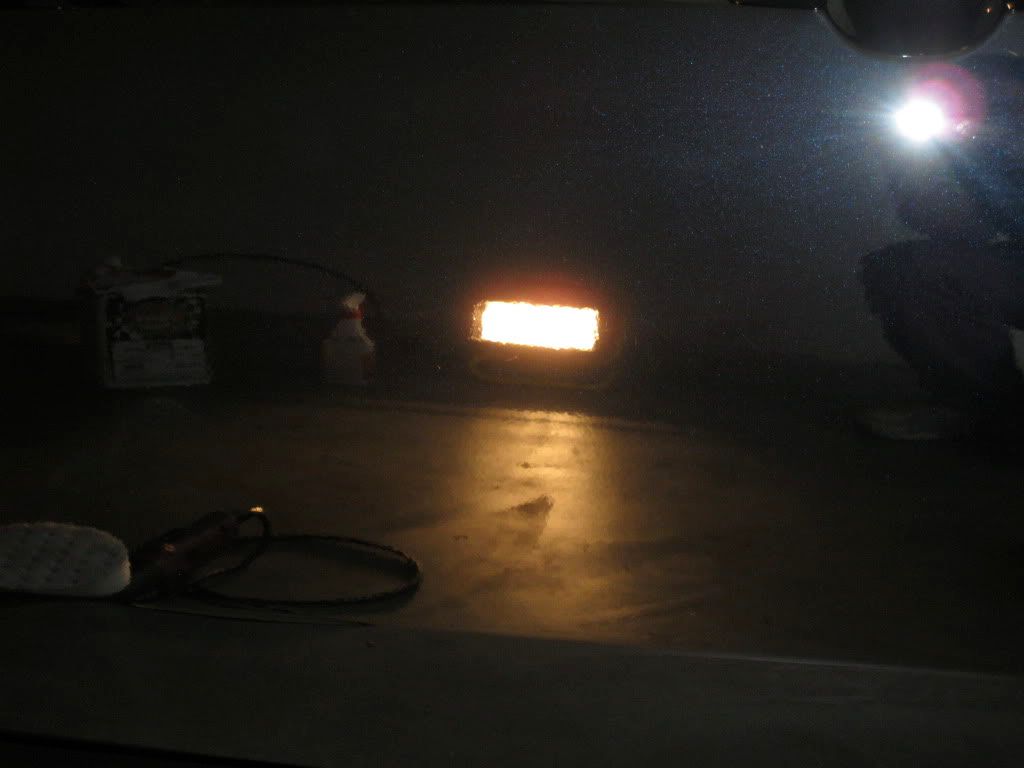
Very, very, very light swirling.
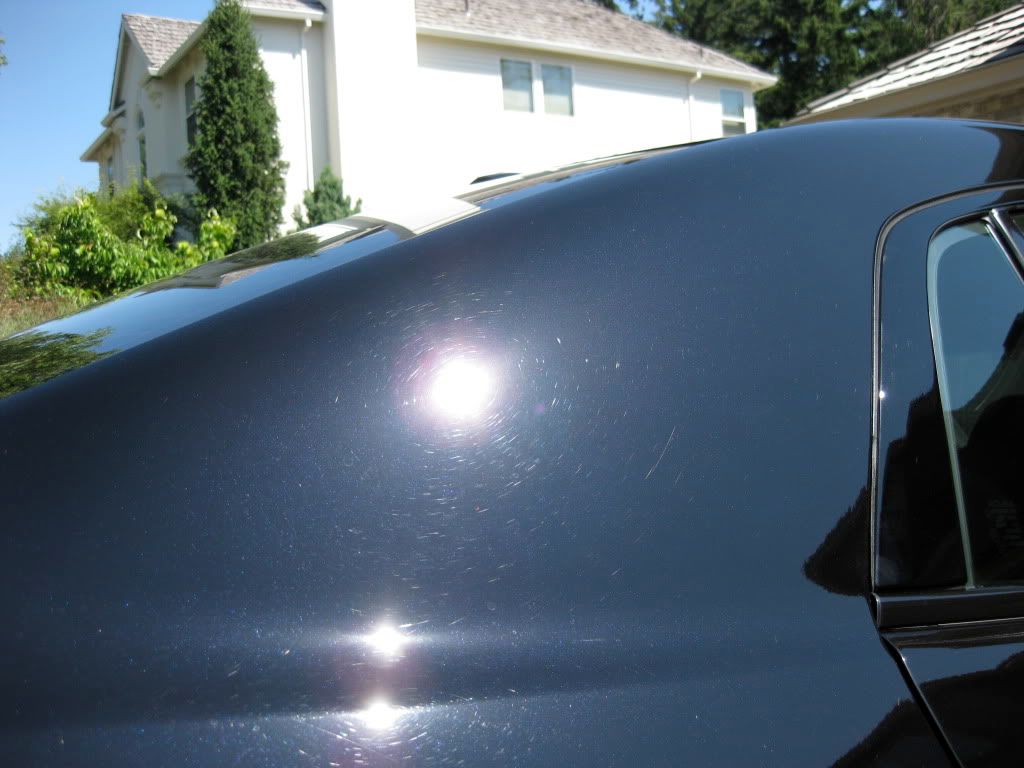
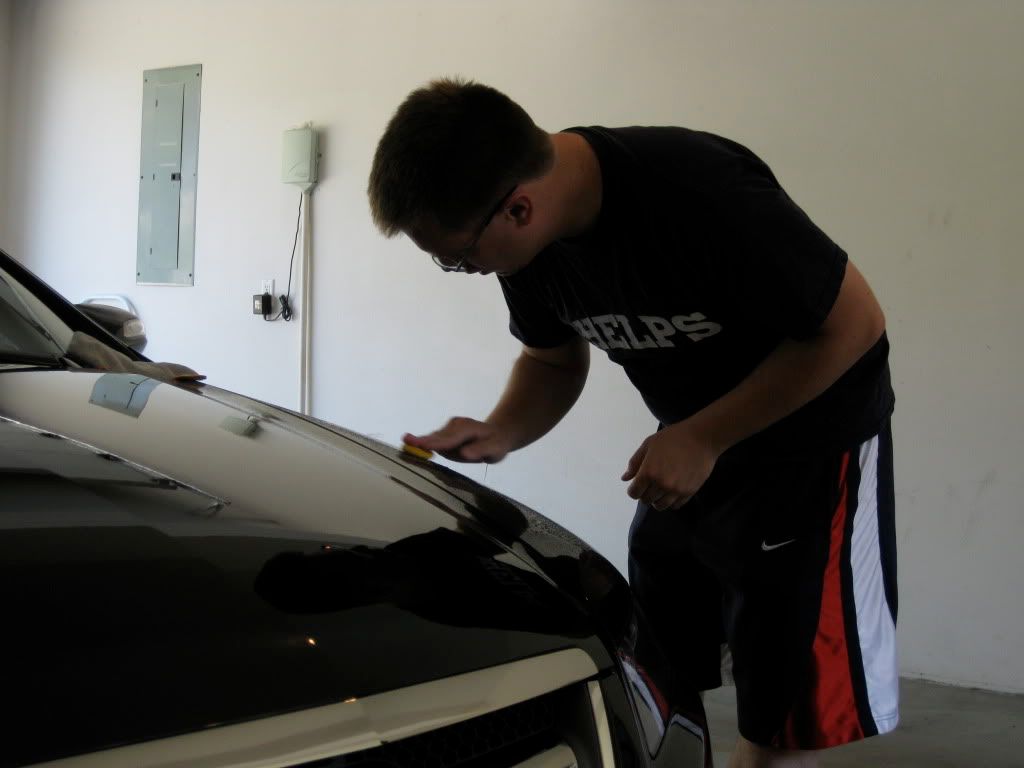
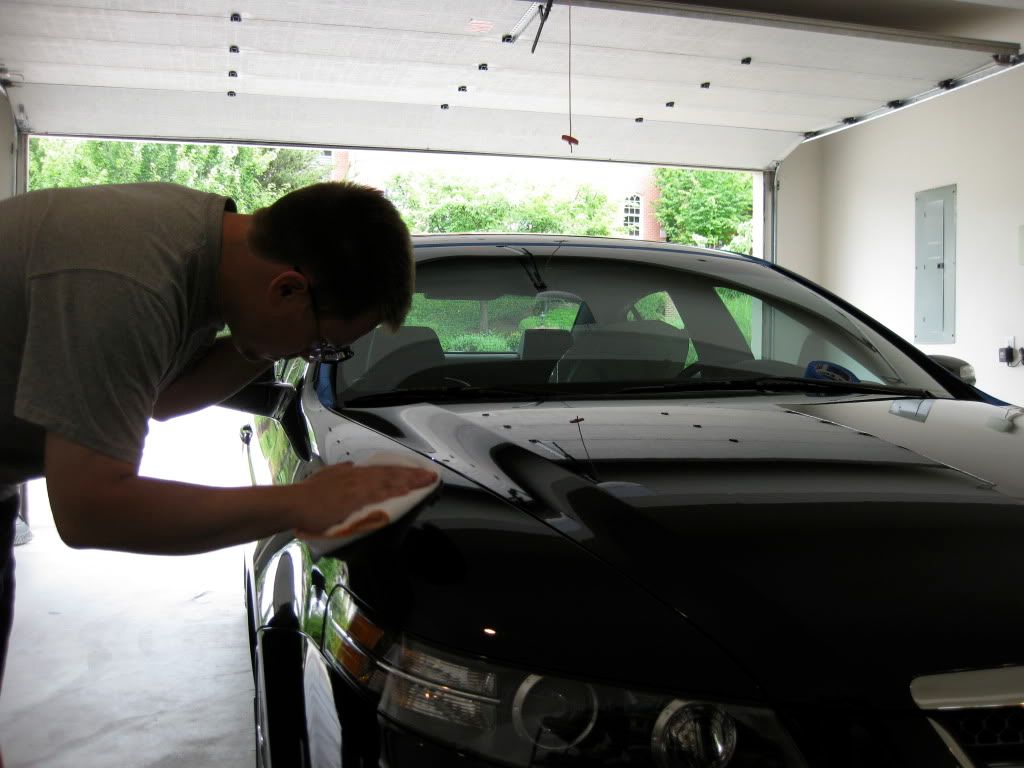
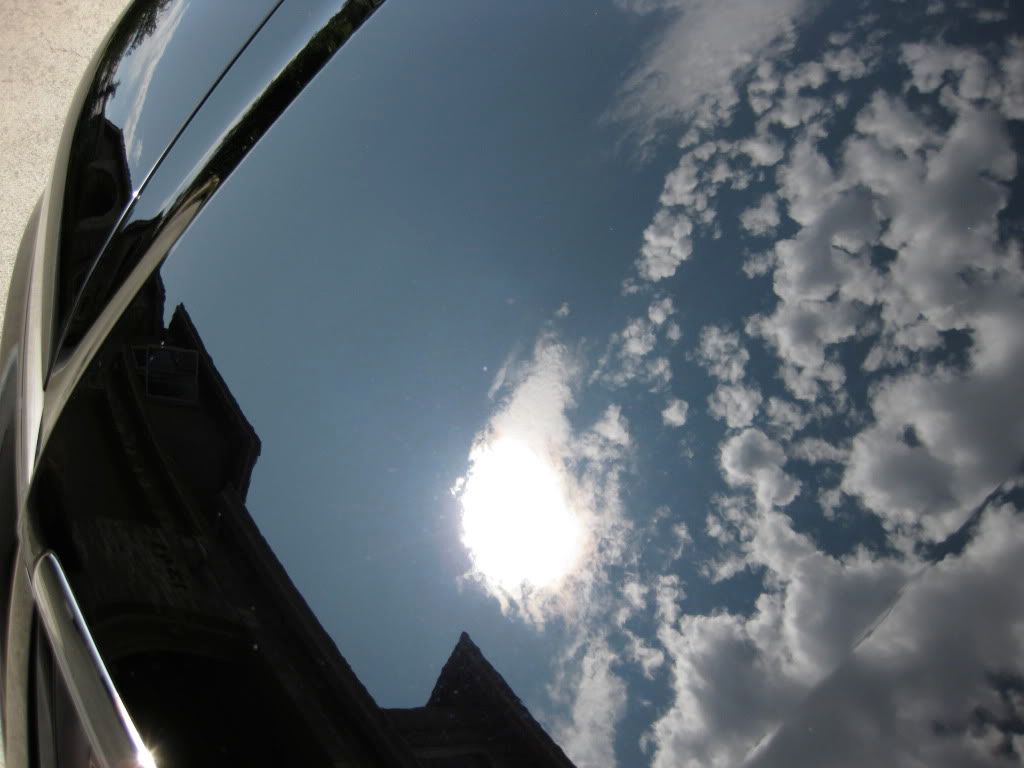
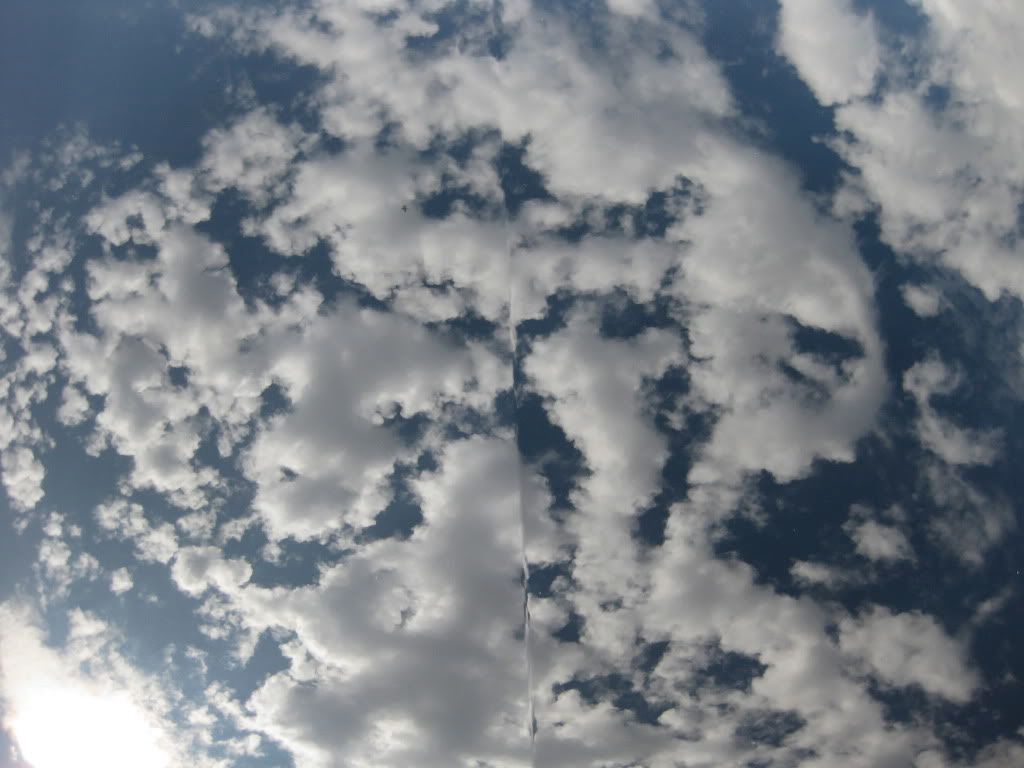
On the hood…

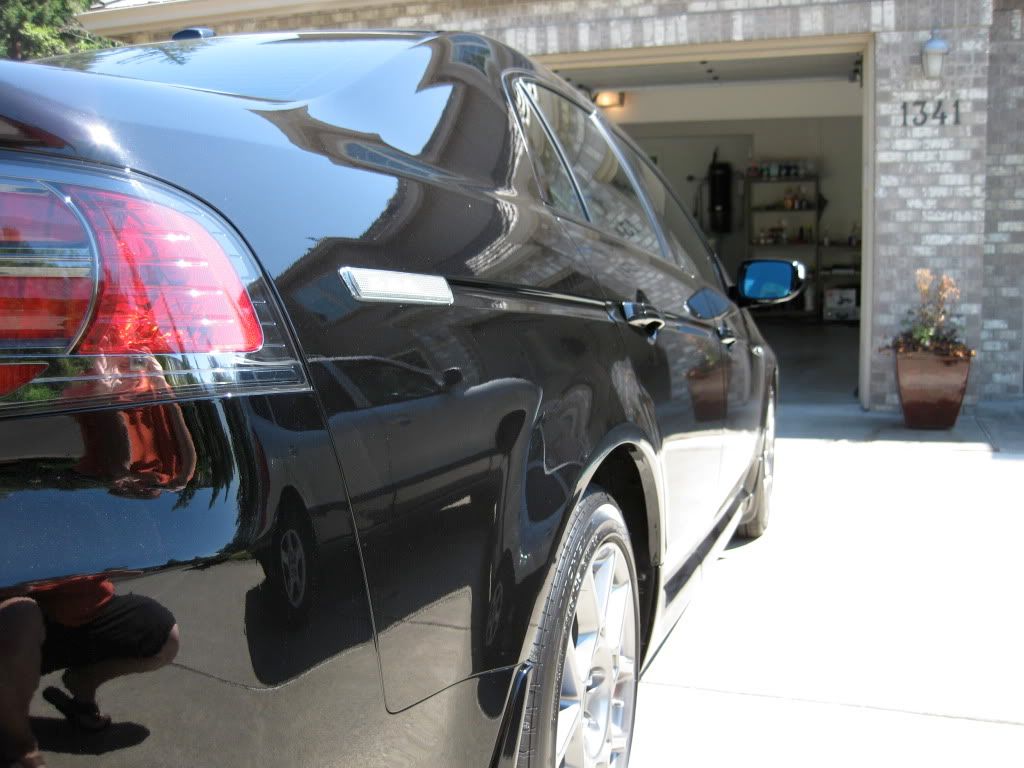
Paint in general had very good reflection even at the get-go.
Yes…that’s tire dressing. And no I didn’t put it there.
Ah-HA! A dead bug! This is really the only physical proof I have that the car was indeed "dirty".
Moving inside…
No scuffs on the door sills…
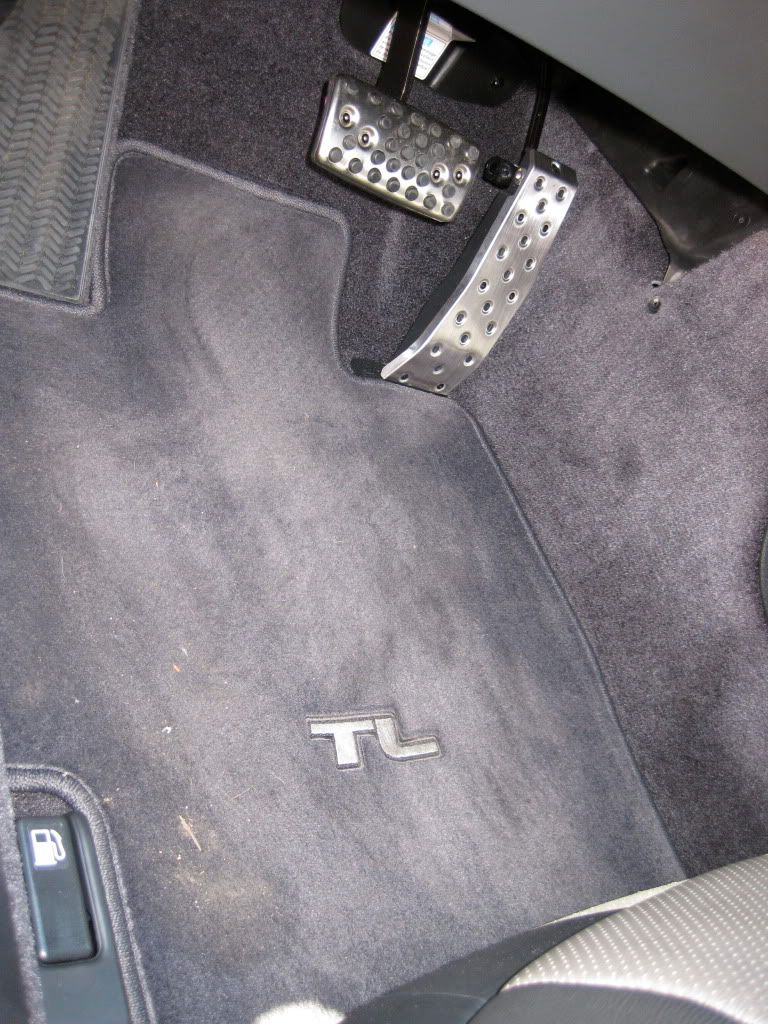
Usual dirt on the floor mat.
The engine.
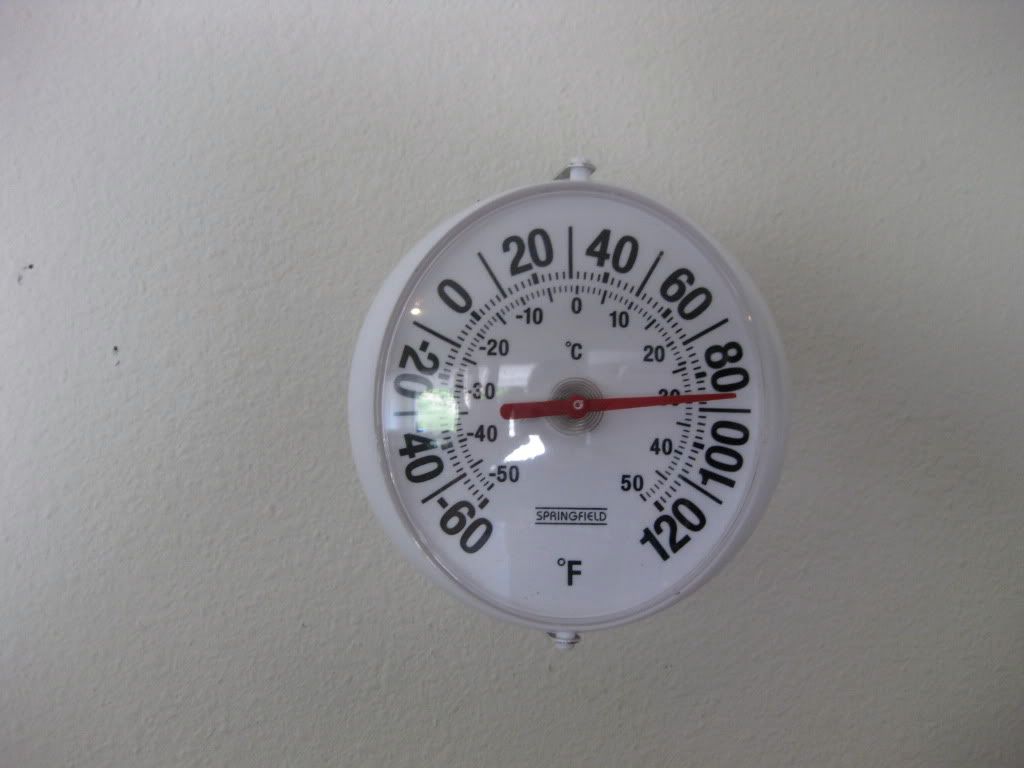
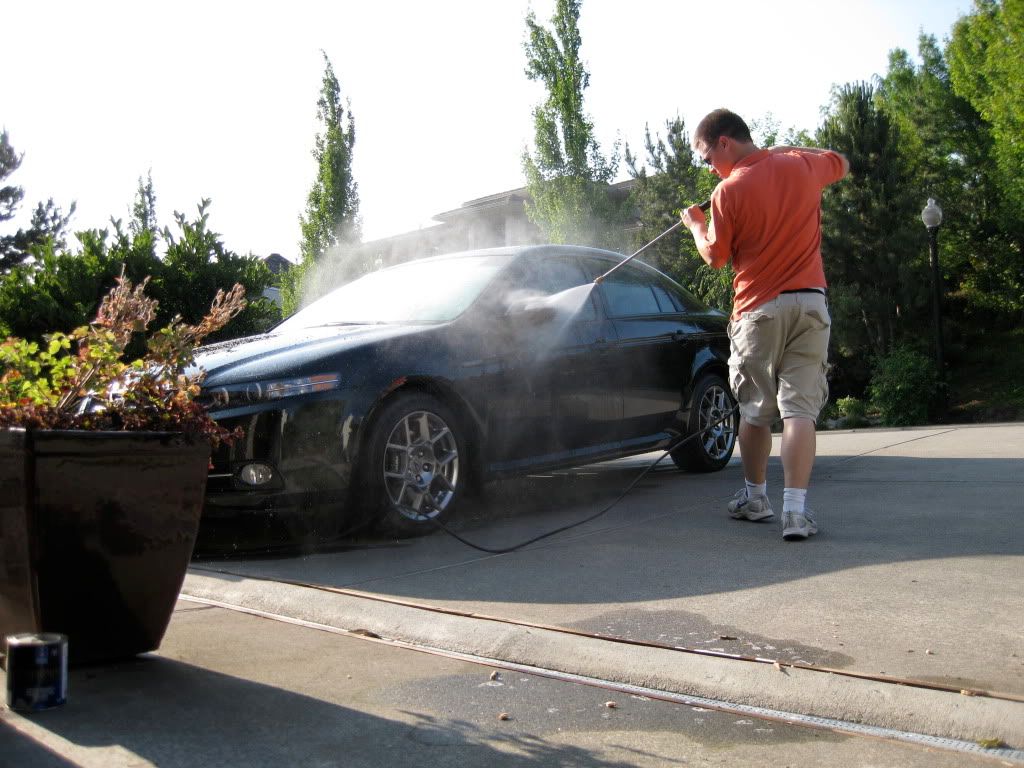
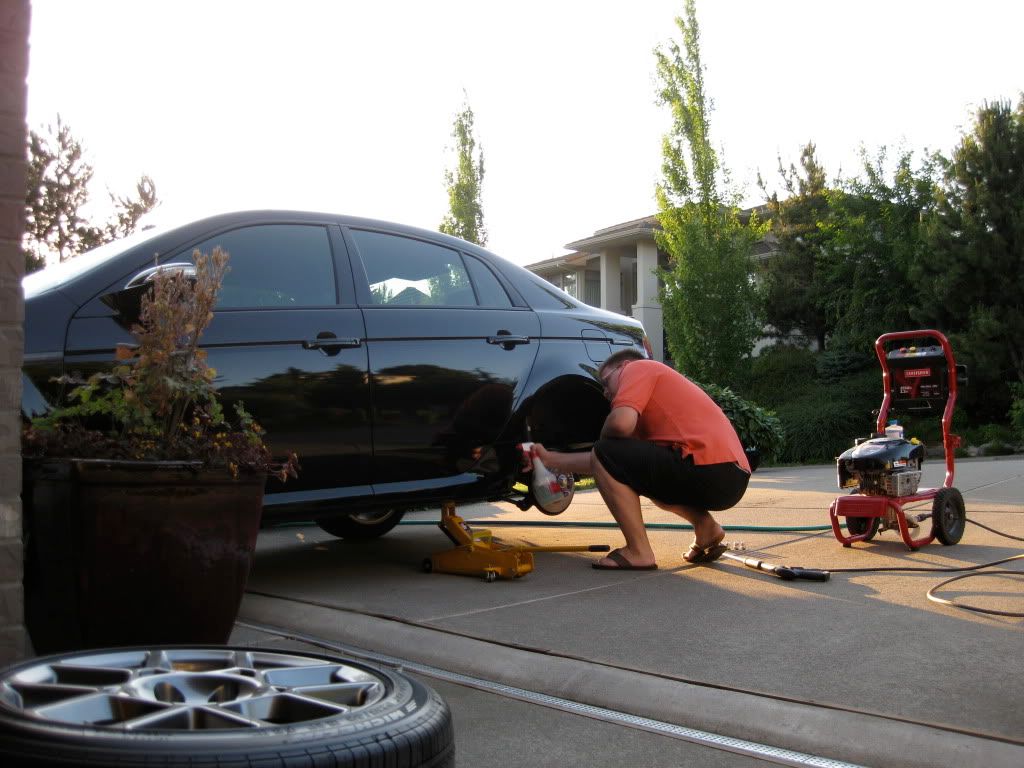
Okay…enough of the before photos. Let’s get down to brass tax. The first full day I had to work on this car was a sweltering 91º and anybody who knows anything about cars knows how quickly black paint heats up in direct sunlight. I wanted to avoid hard water spots at all costs so I put off washing it until Day 2. I waited until about 7:45 (when it had cooled somewhat) to get started on the wheels and wheel arches. Due to the slope of our driveway, the car must be leveled between the down and up slopes which unfortunately leaves you only the end on the up slope to work with. In order to get to the other end, the car must be turned to face the other direction.
Pardon my blathering. Here we go.
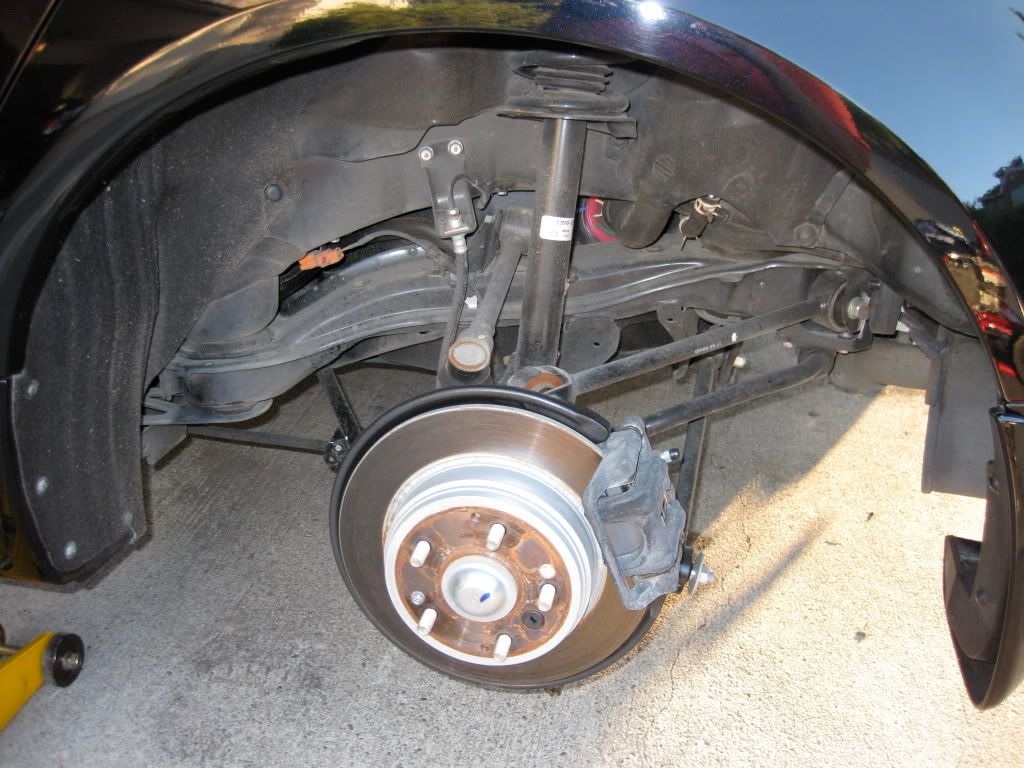
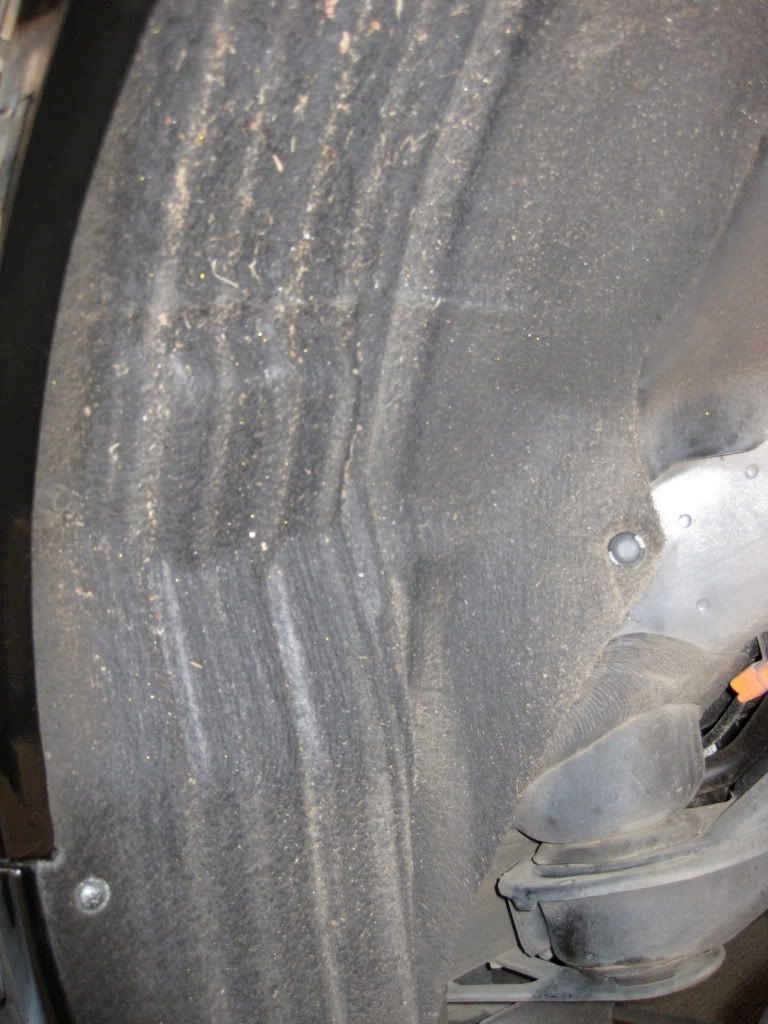
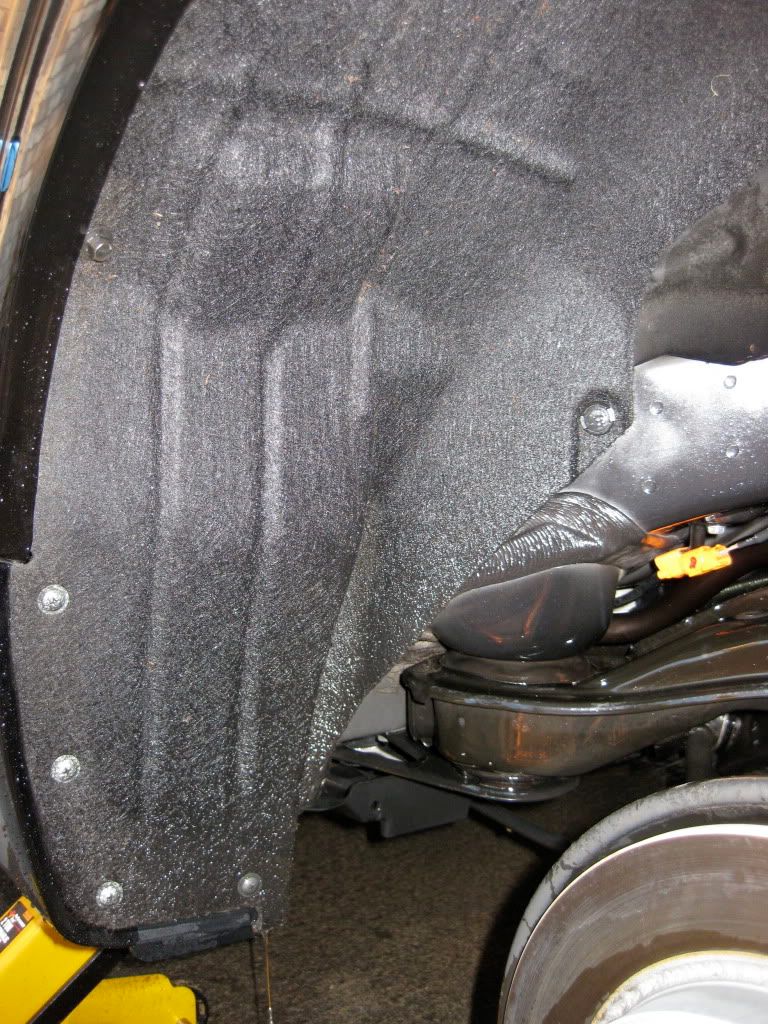
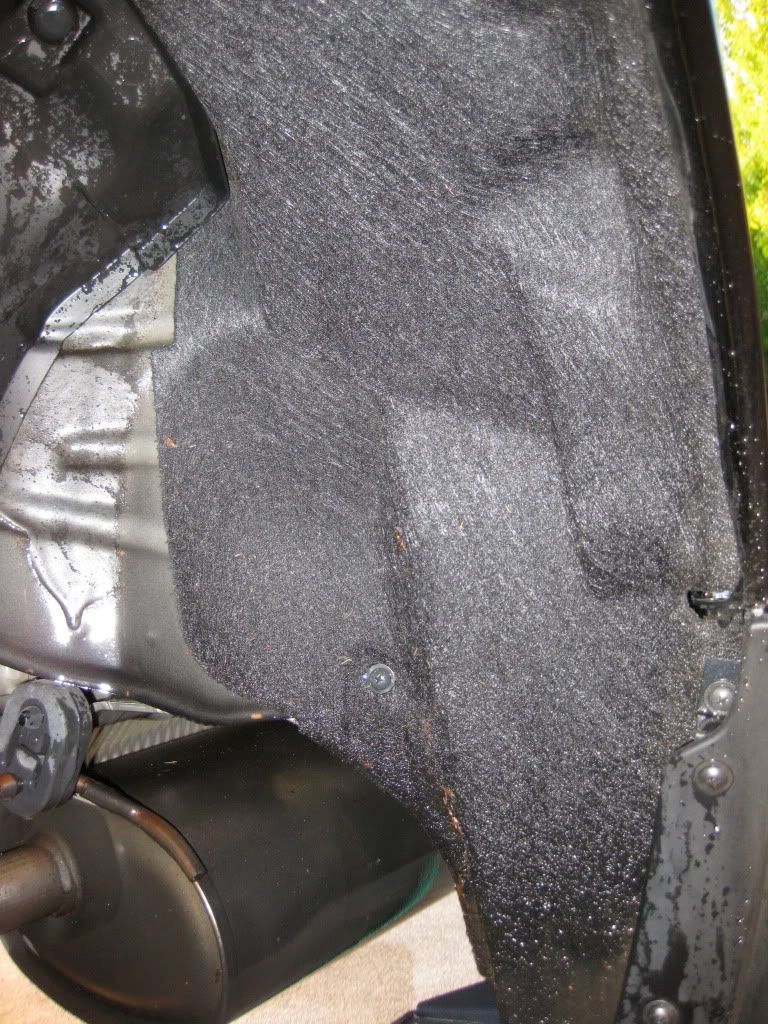
This is the driver’s side rear wheel arch. For 4,200 miles this car is pretty clean and nowhere near as dirty as my dad’s 25,000 mile RL.
Anybody who has dealt with this felt-like arch trim knows it is a total mother to clean up.
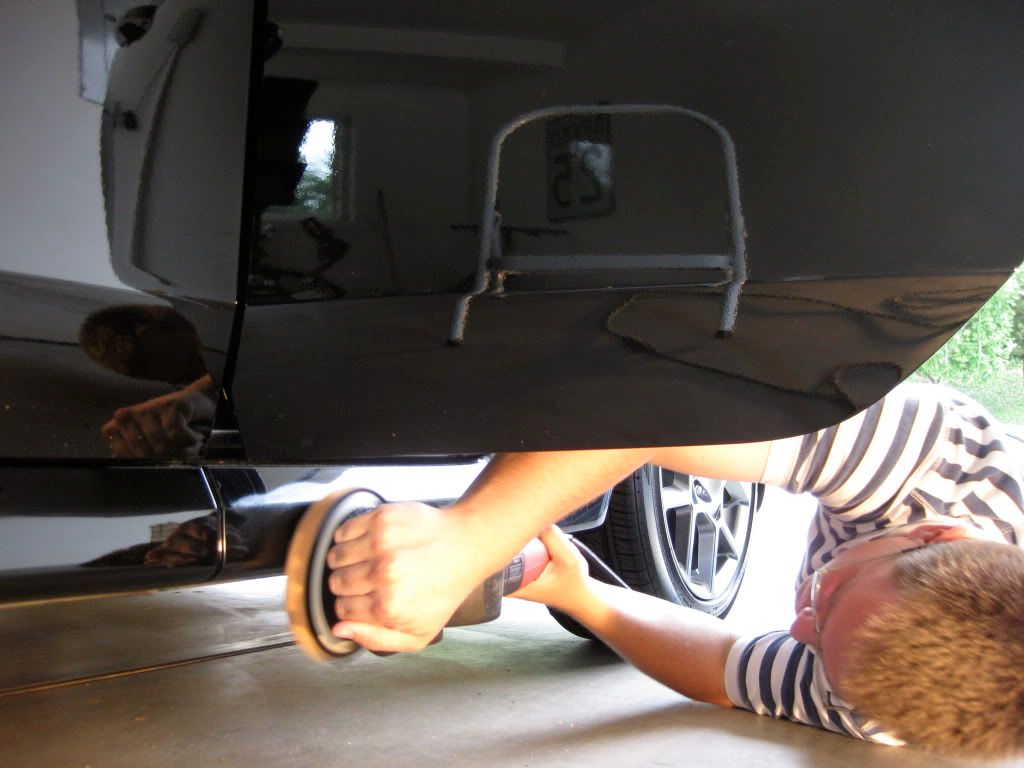
Yours truly applying liberal amounts of APC to loosen surface dirt and get ready for cleaning. Not the most flattering angle, I know. :down
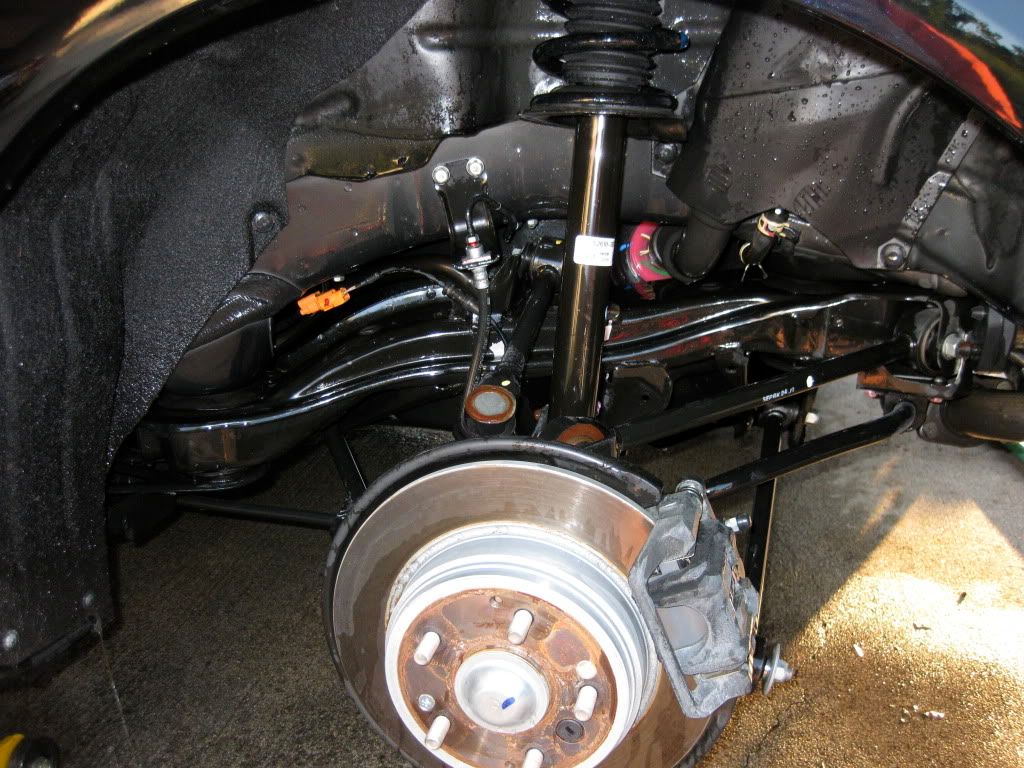
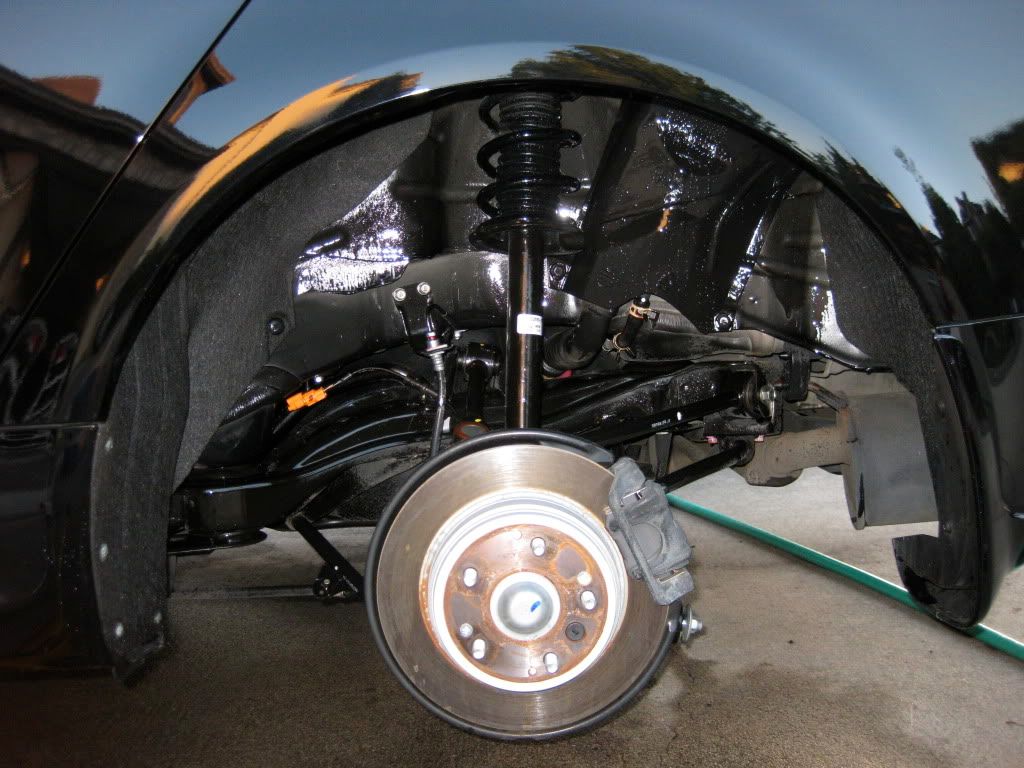
Suspension components drying; before dressing is applied.
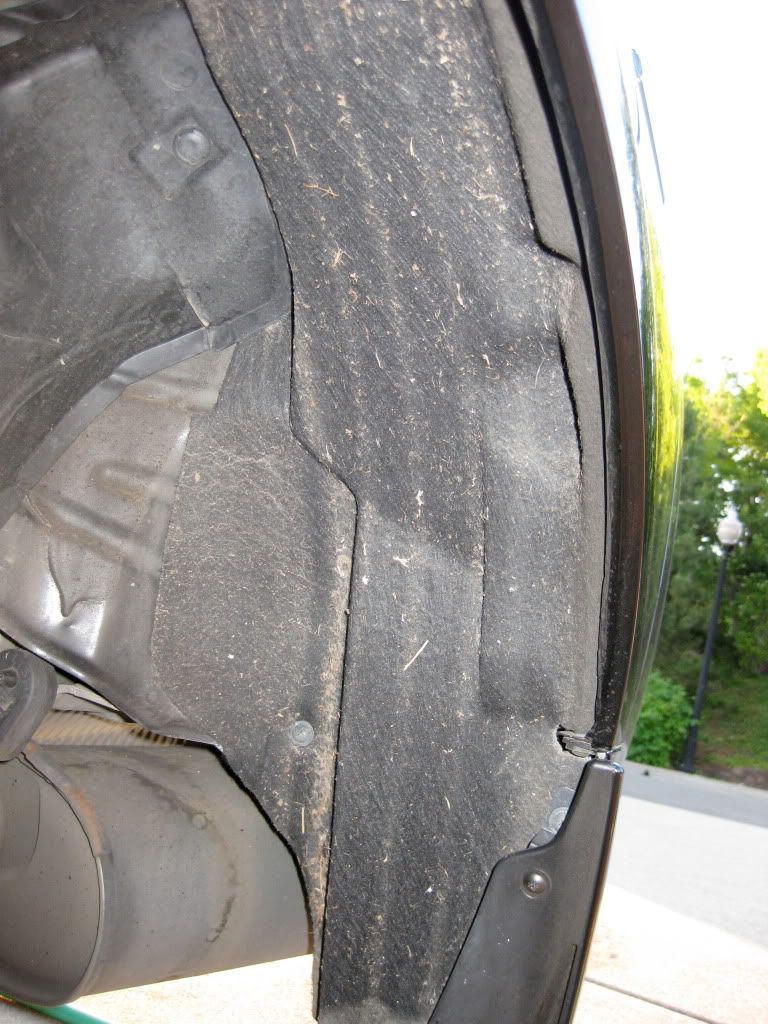
Carpeted wheel arches looking 100% better if I may say so myself.
While the suspension and arches dried out, I got to work on the wheel while it was off the car. Here it soaks in wheel cleaner to loosen any brake dust (fat chance) or road tar.
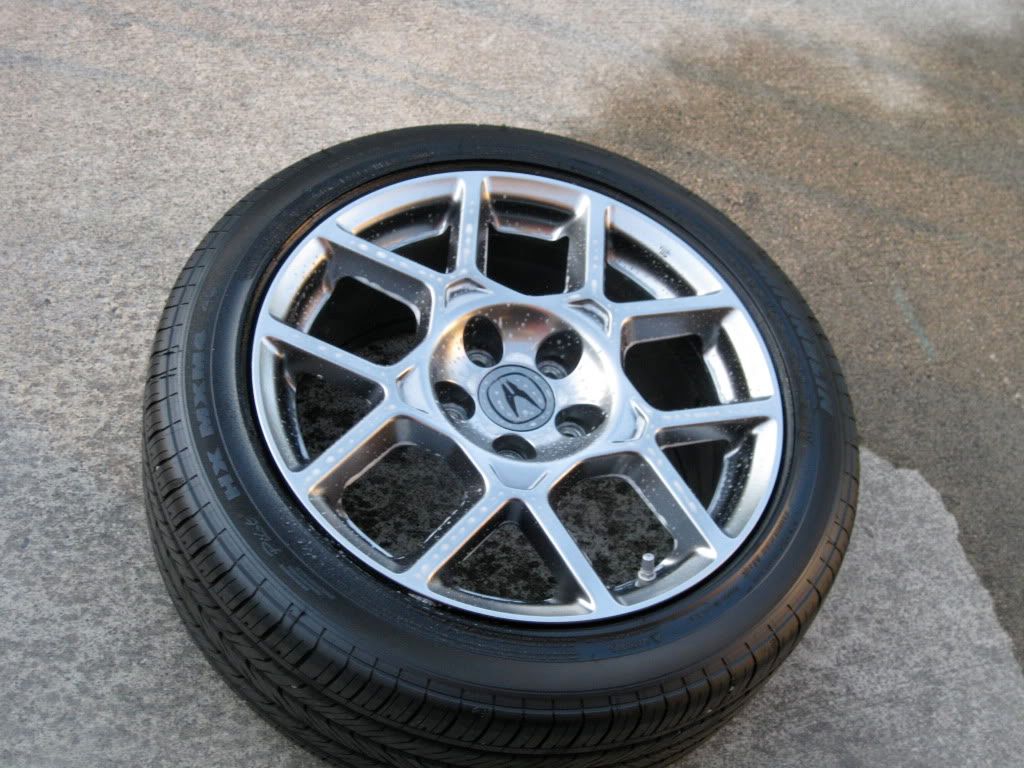
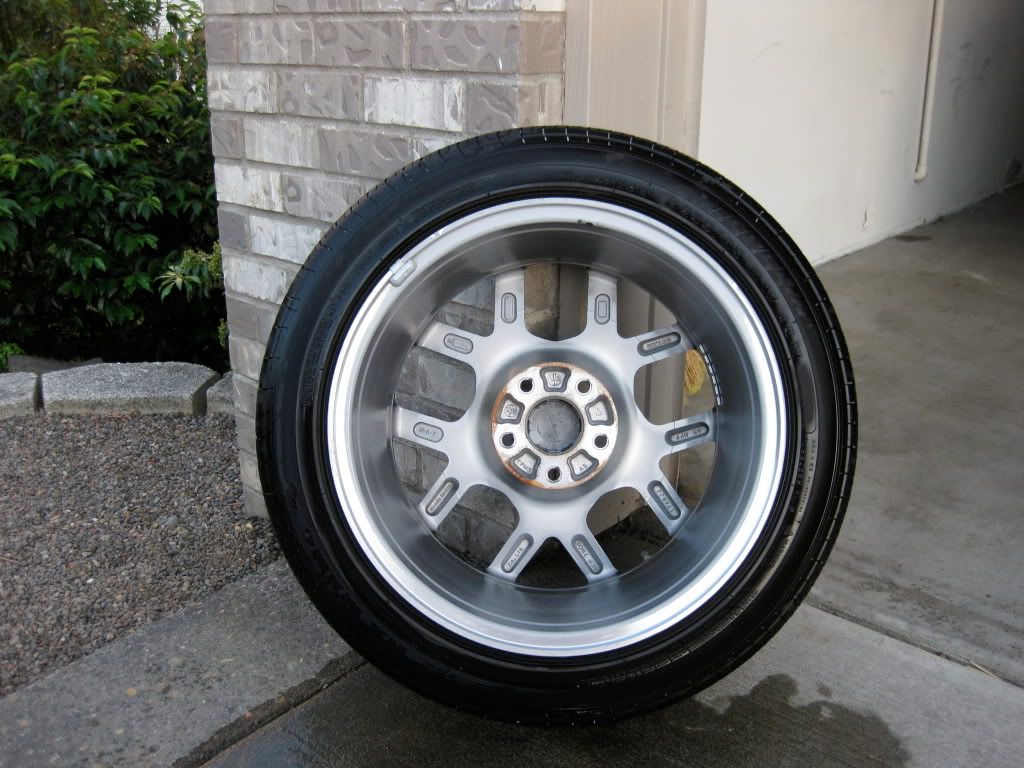
The backside of the wheels is about the only place on this car where I found a noticeable amount of dirt. And even then…it wasn’t much.
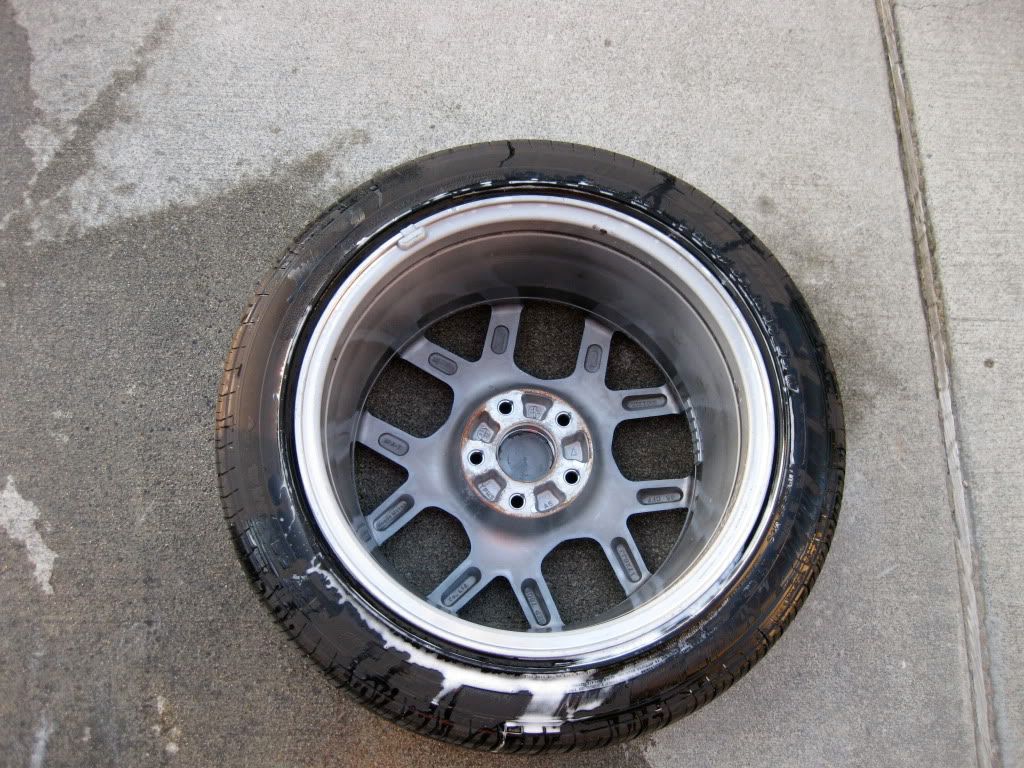
Wheel backside and barrel after…
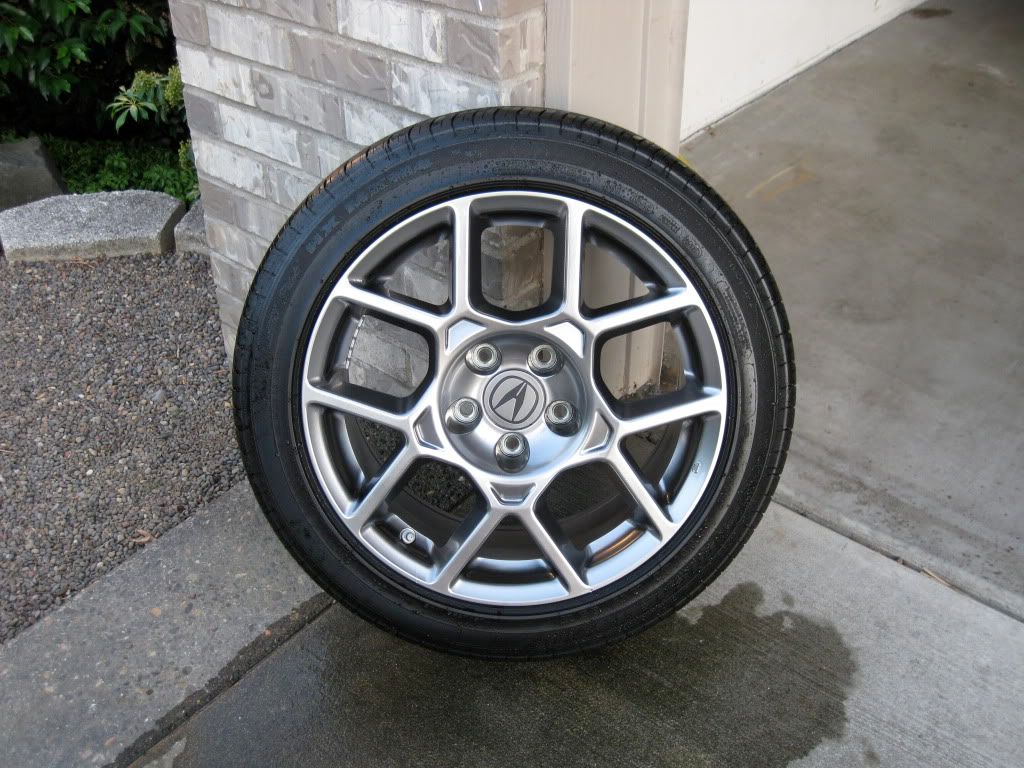
And the wheel face after.
Suspension and wheel arch dried out enough for undercarriage dressing to be applied.
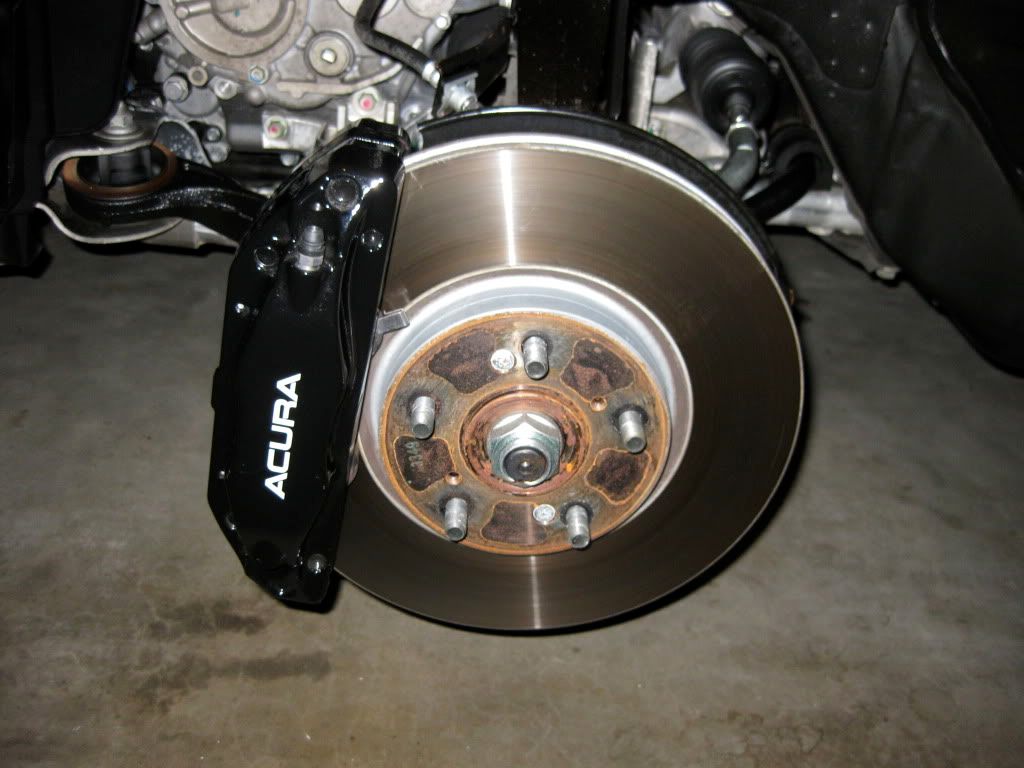
Painted calipers were cleaned and hand-polished.
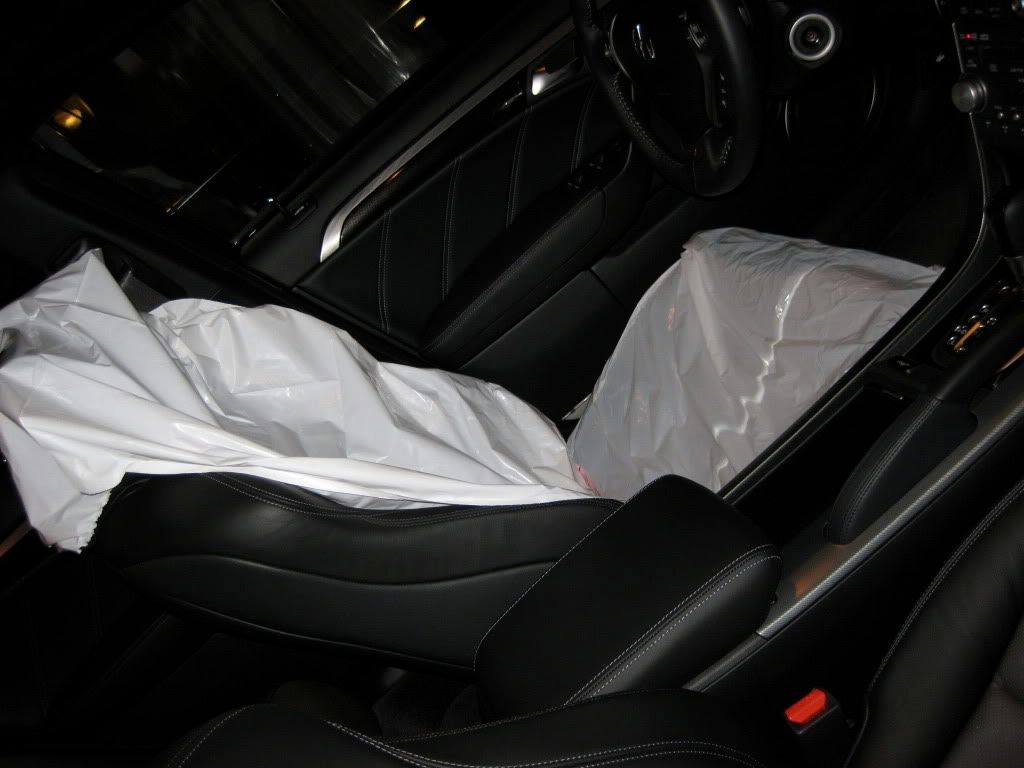
While working on the dirtiest part of the car (arches) I noticed I did not want to be dragging dirt from my derriere onto the nearly-perfect driver seat. So I took five minutes of my time to fashion this makeshift seat cover out of new white trash bags. I wound up leaving it on until delivery.