blk45
It's all in the prep!
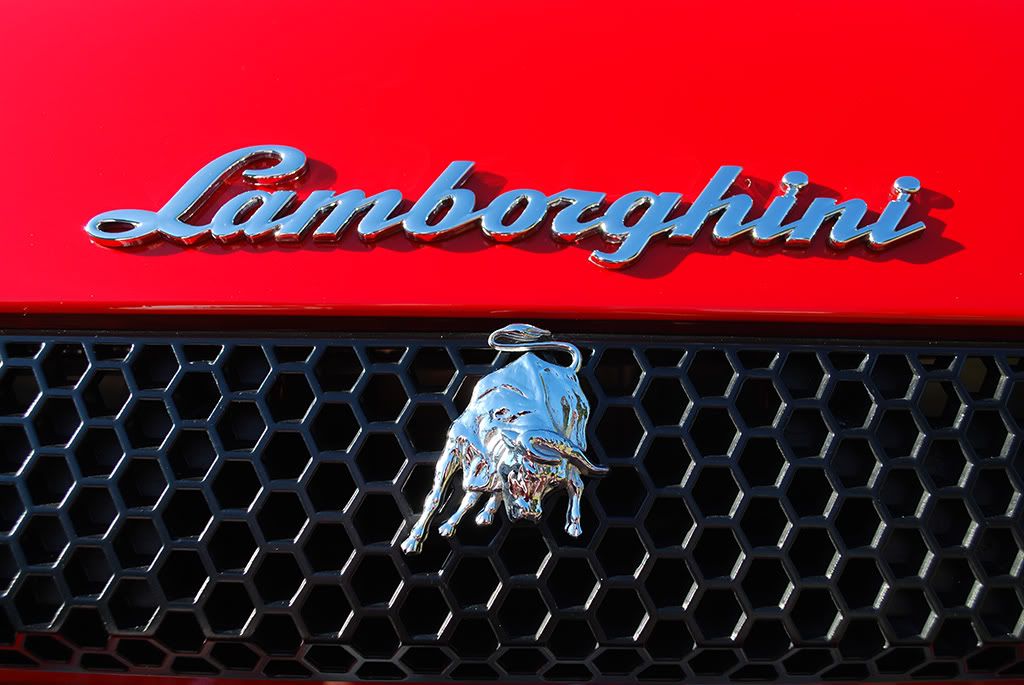
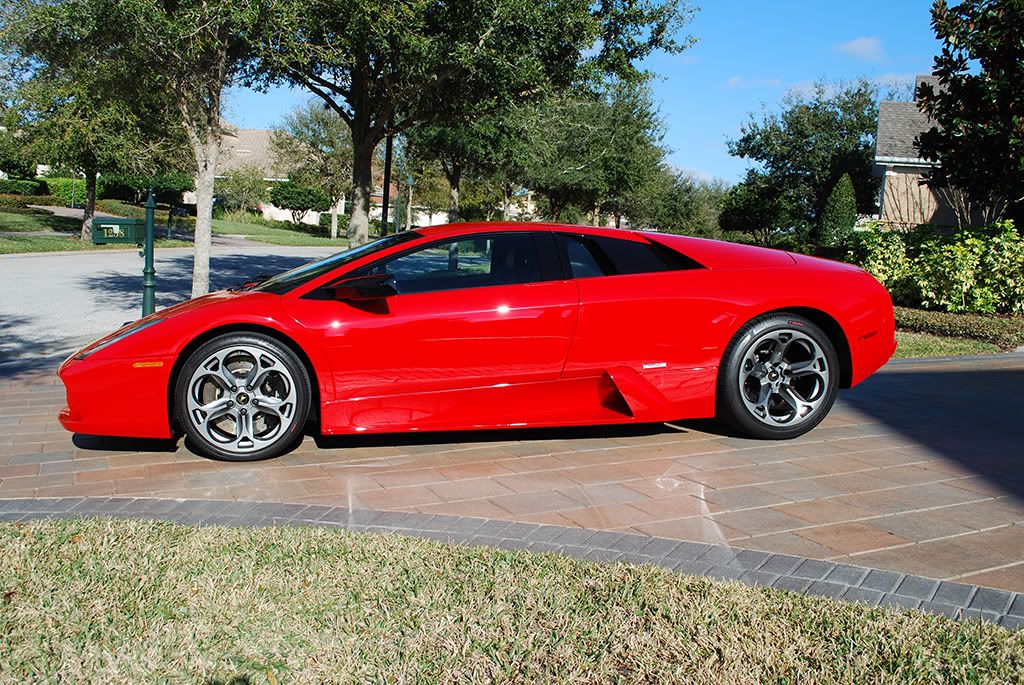
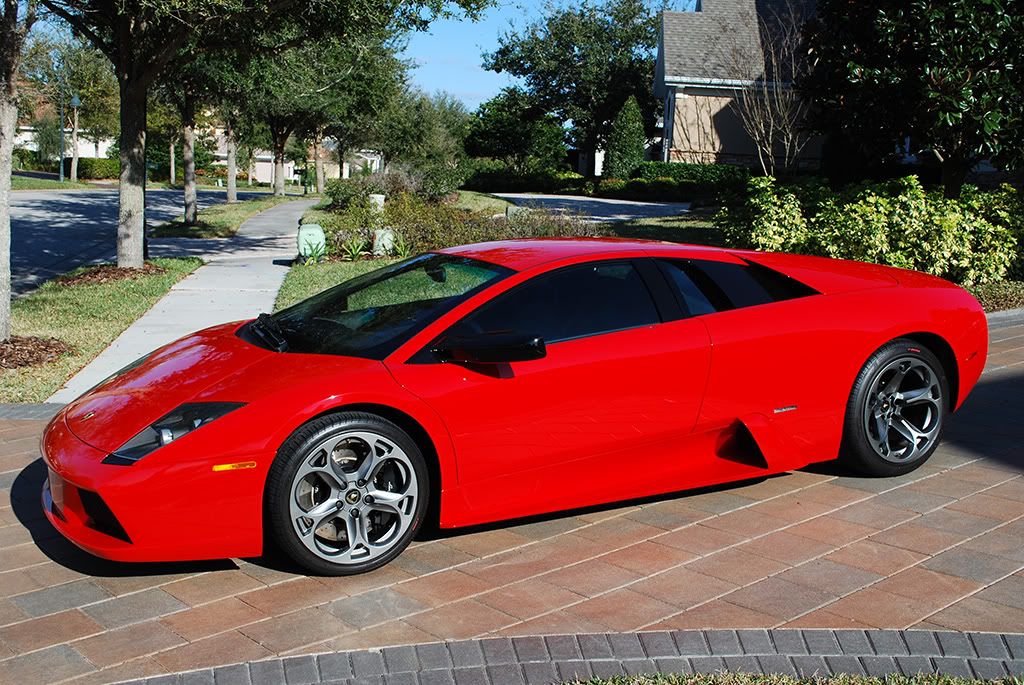
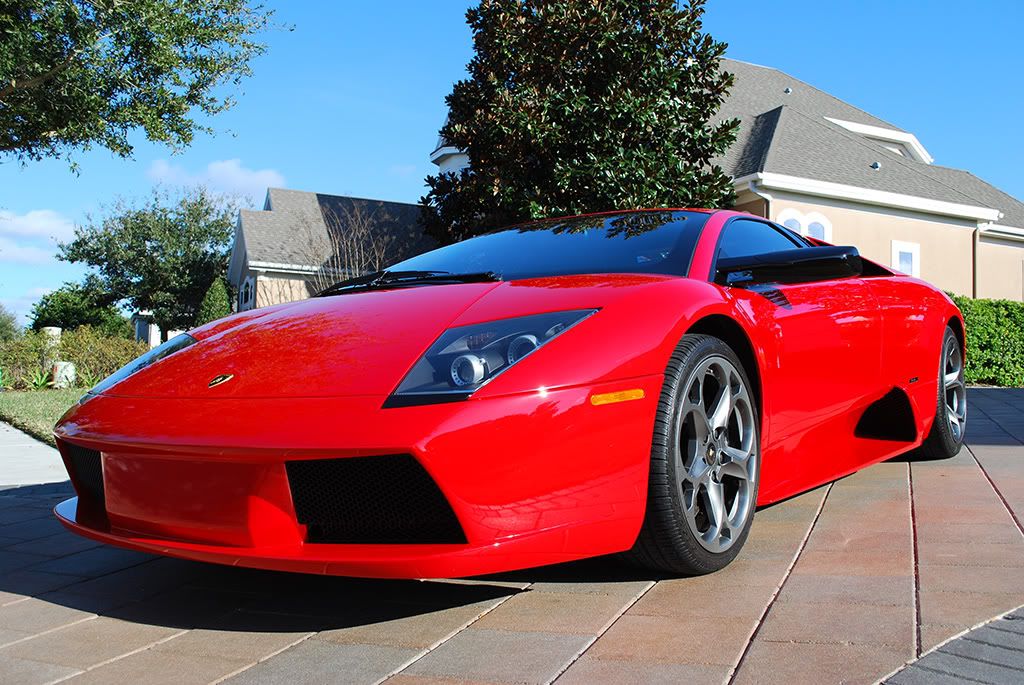
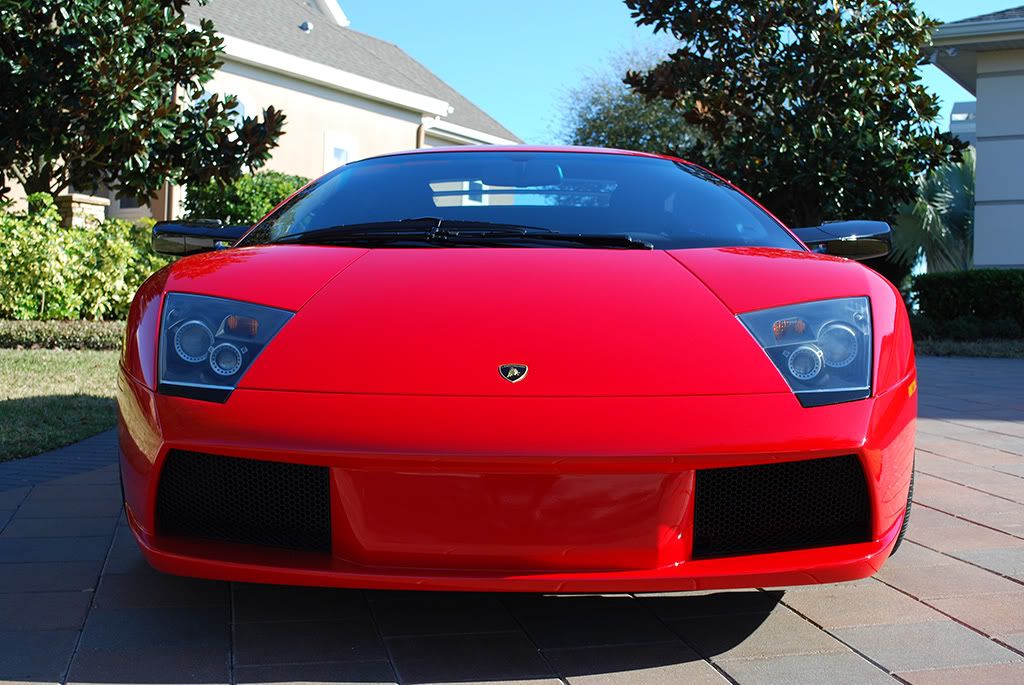
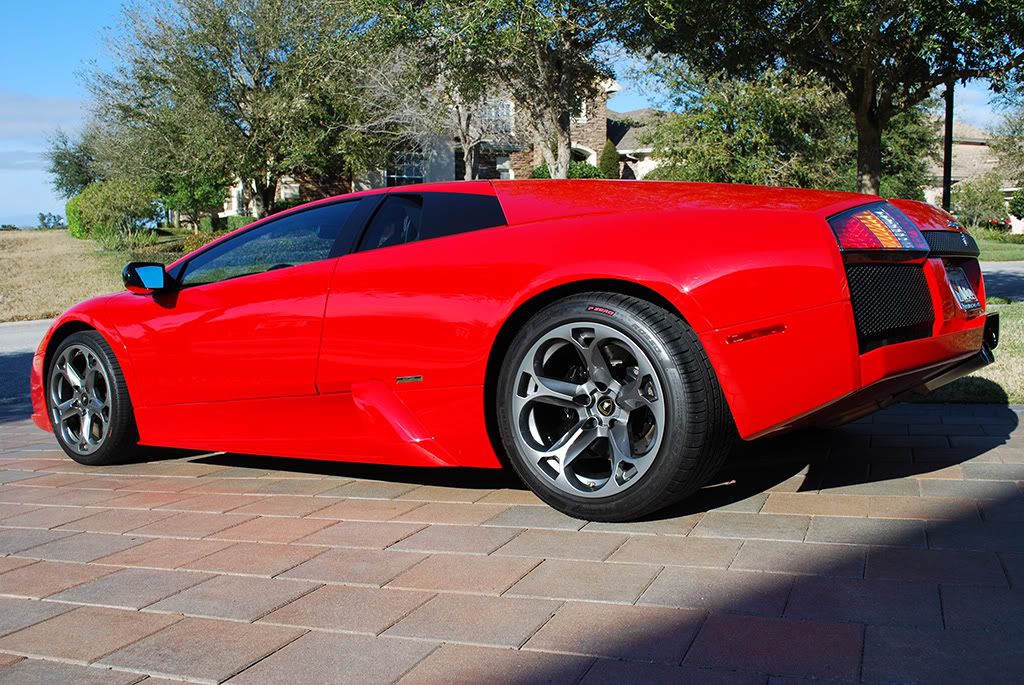
A bull named Murciélago had his life spared after a fierce fight in the Cordoba arena on Oct. 5th, 1879. This honor rarely happened and was reserved only for bulls that showed exceptional courage and spirit in the arena. Murciélago proved his worthiness and was given to the breeder Don Antonio Miura. He fathered a fine line of fighting bulls that extends down to current day. The bull is the symbol for Lamborghini whose founder Ferruccio Lamborghini was born under the sign of Taurus. The symbol was selected as a powerful response to the Ferrari prancing horse, and the two Italian sports car manufacturers have competed for decades since. The management at Automobili Lamborghini have decided to baptize the latest car in the noble line with the name of a fighting bull like so many before it such as Miura, Jslero, Urraco, Bravo, Jalpa and Espada.
The 6.2ltr V12 engine made entirely from aluminum alloy produces 580 hp and 480 lb-ft of torque. To maximize torque delivery over a broad rpm range, a variable-geometry intake system (VIS), and variable valve timing (VVT) on both inlet and exhaust camshafts was utilized. This, coupled with the all wheel drive system, accelerates the car to 60 mph in 3.6 seconds on it’s way to a top speed of 205 mph. All of the external bodywork panels are made from carbon fiber, with the exception of the steel roof and door panels.
Process:
Clean wheels with S100 gel wheel cleaner, the EZ detail brush, the Swissvax wheel brush and a wash mitt. Wash the car with CG Citrus Wash & Clear. 2oz per gallon to strip the surface of all existing wax and contaminates.
Clay the car with Clay Magic blue clay and lube. The surface was fairly clean and only had minimal contamination.
I had corrected the front of the car previously, before the owner had the clear bra installed, so I had already experimented with what combinations worked best for the paint and gave me the results that I wanted. The paint on Murcies is very hard and doesn’t like to correct easily. A few problem areas required a pass or two of M105 with a PFW pad. The whole car received SIP with a green German foam pad, 106FF with a white LC pad and 85RD with a blue LC pad. Prep-All was used prior to polishing and after to ensure proper working of the polishes and true correction. All of these combos were used with the Makita 9227 rotary.
The LSP used was Ultima Paint Guard Plus. The tires received PB’s Bold-n-Bright. All of the plastic lenses and the clear bra were treated with Plexus. The windows were cleaned with SIG. The exhaust tips were polished with Wenol blue.
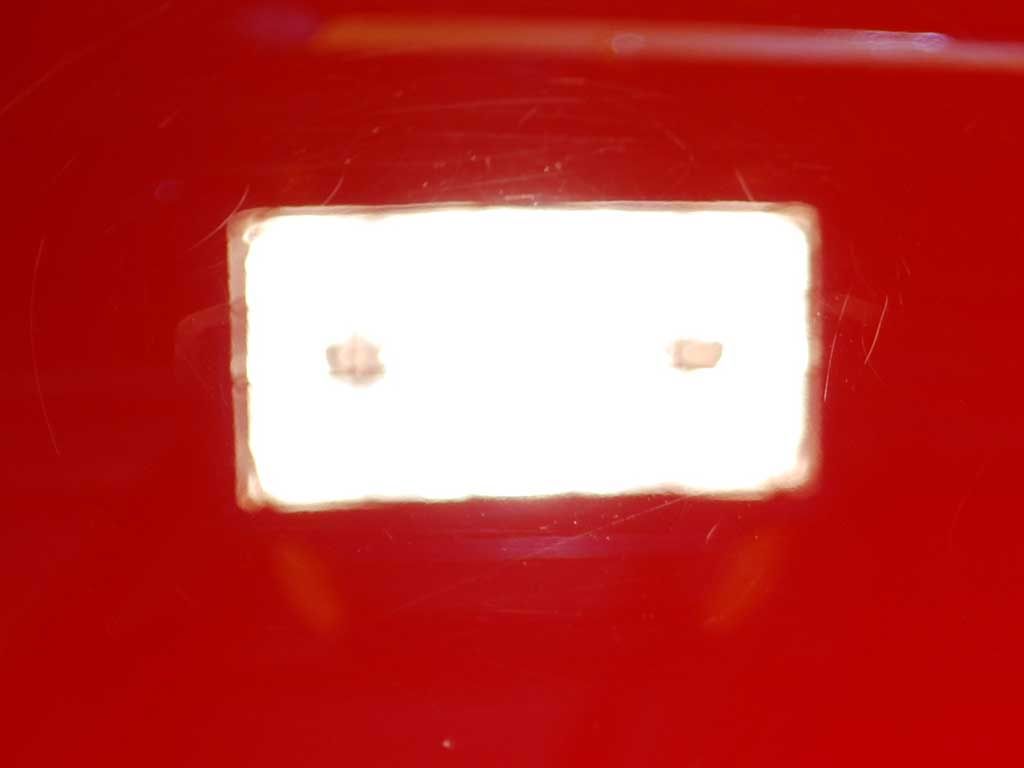
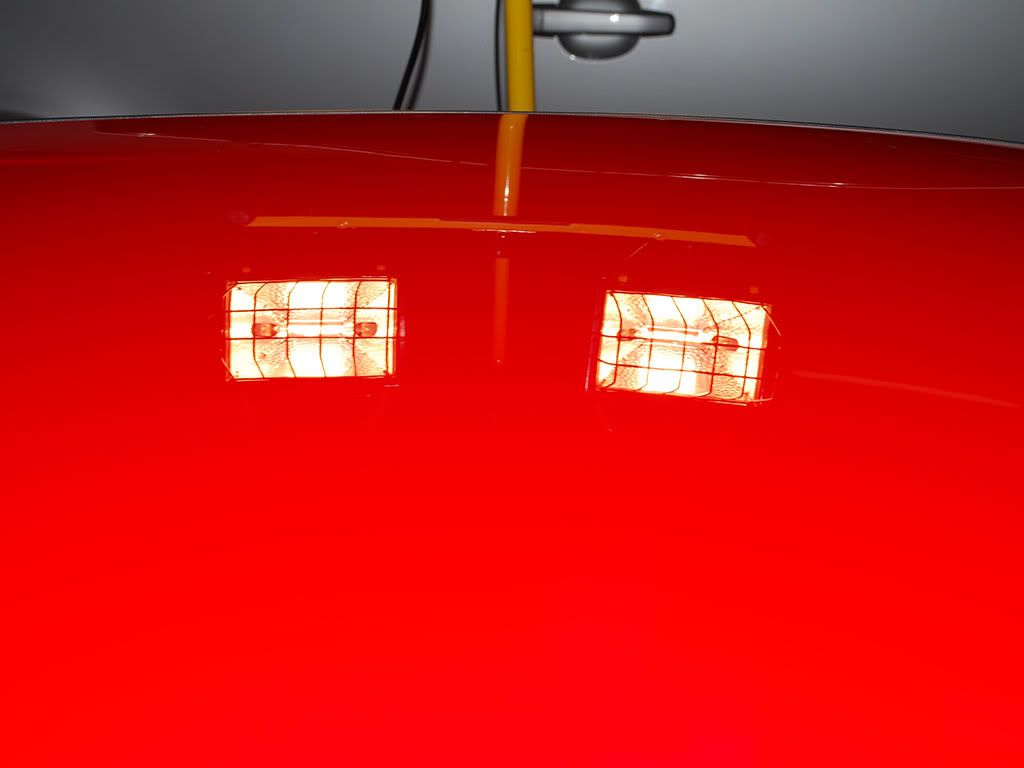
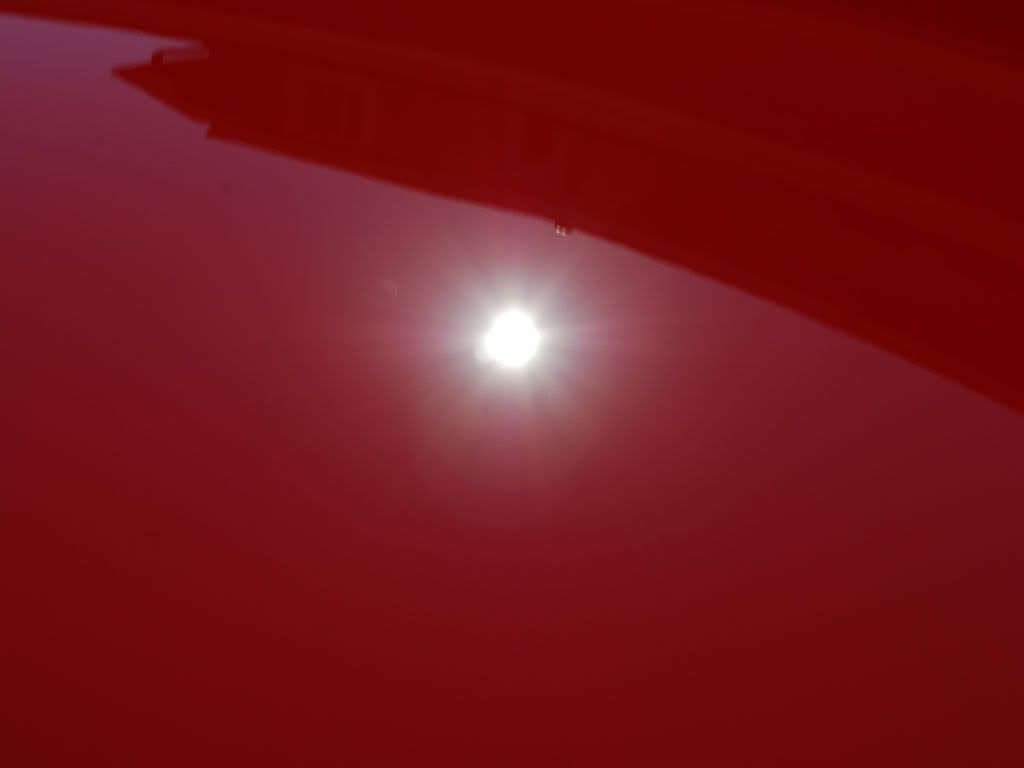
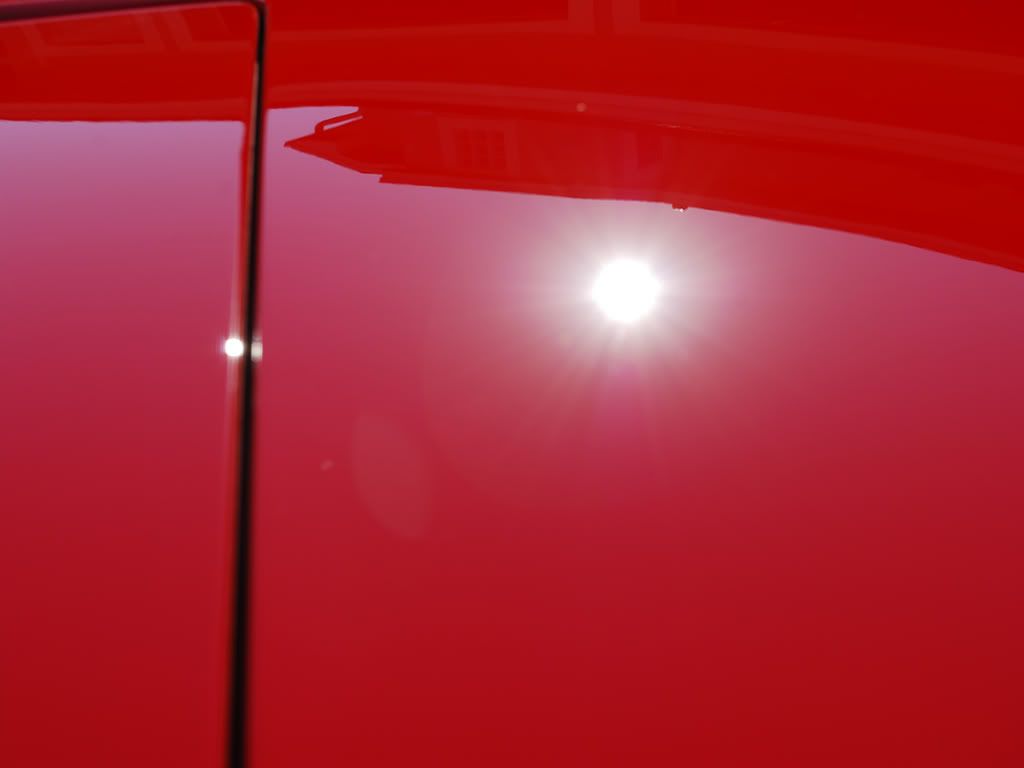
Apparently, I need to learn how to use my new camera, as the before pics that I took, hardly show the defects at all. I have since consulted a friend of mine that told me that red is difficult to catch the flaws on and gave me some pointers in how to do so in the future. I managed to find a couple of pics (out of the bunch that I took!) that showed them.
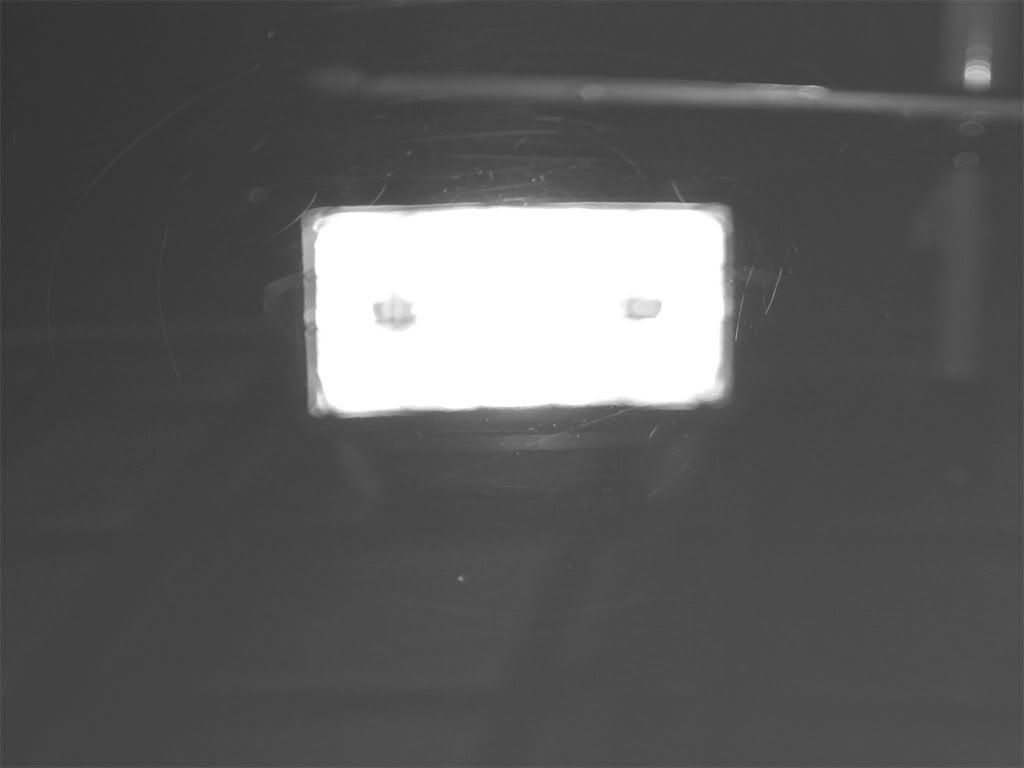
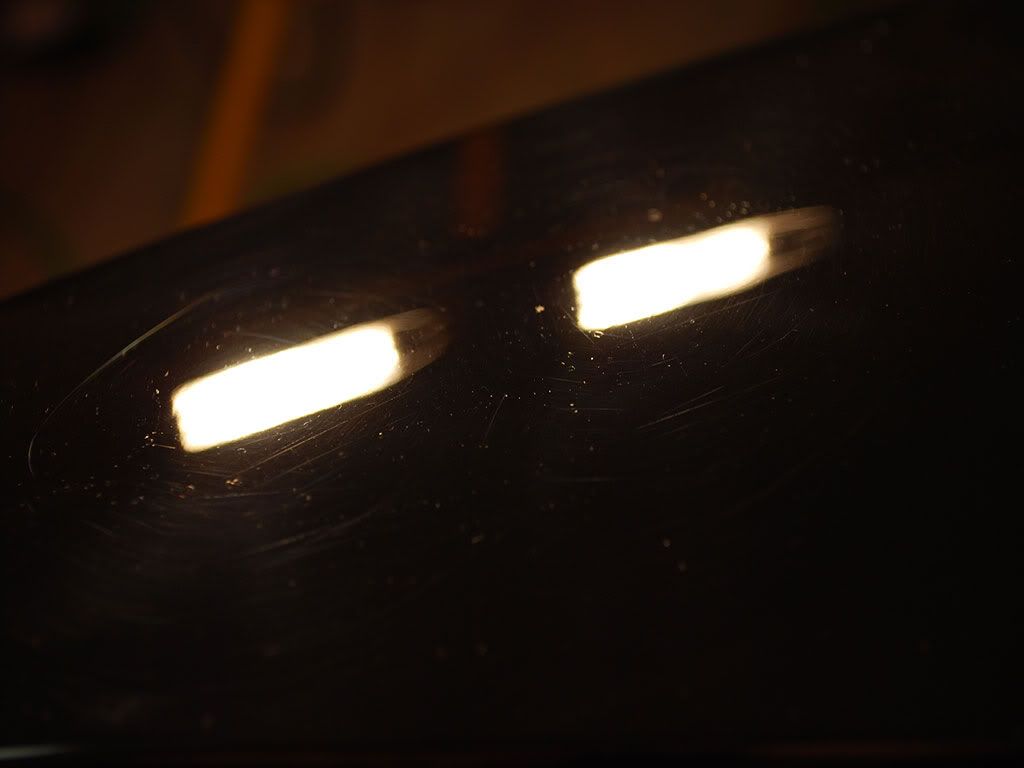
I switched these to black and white to highlight the defects better.
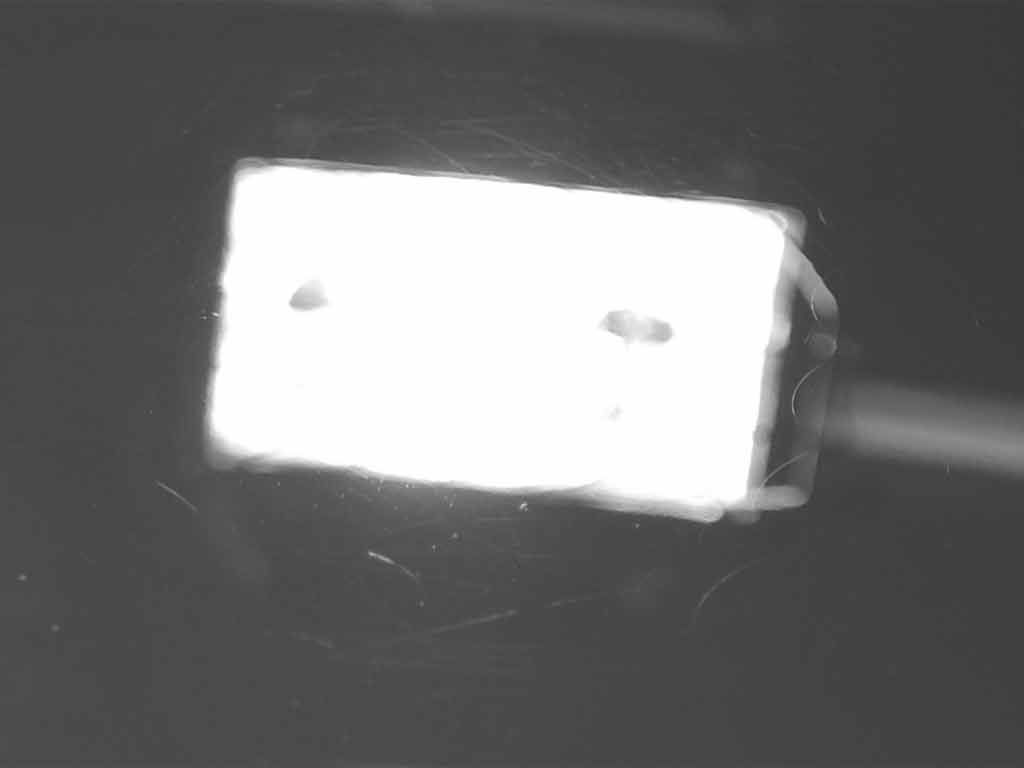
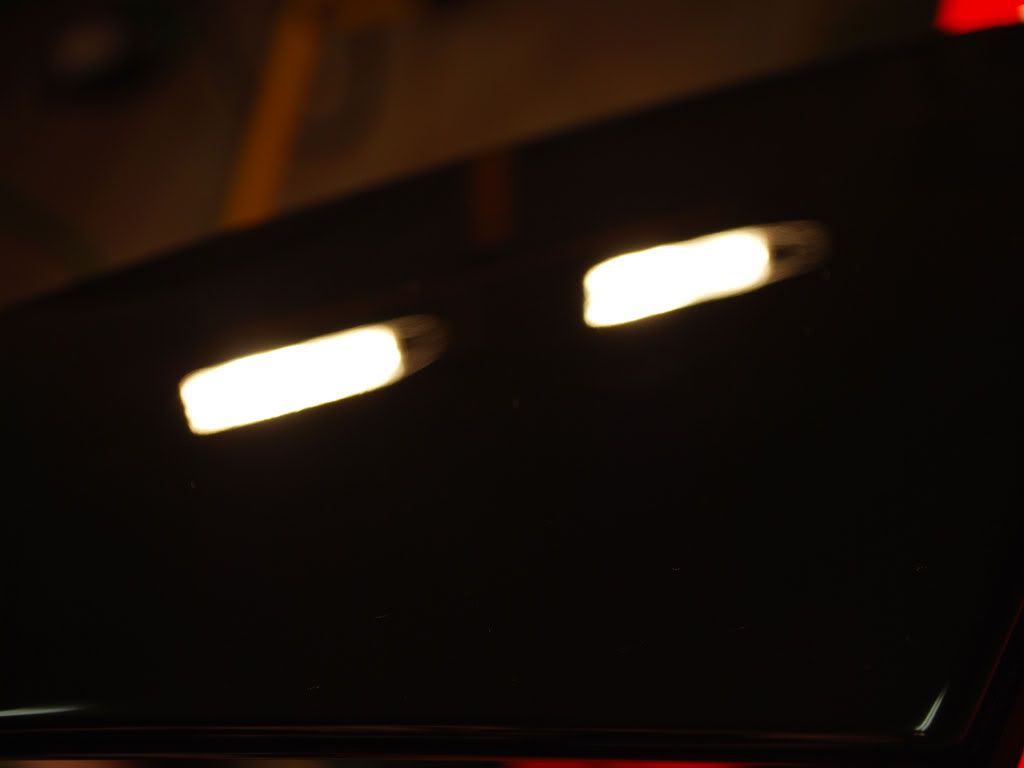
Corrected.
These are pics of the side mirror. With these being black, it made it much easier to capture the defects. The whole car looked this way. I manually focused the camera on the surface of the paint to highlight the defects. When you auto focus the camera, it will focus on the light and not the actual paint surface. It will focus “through” the paint surface and on to the light. If you notice, the lights are out of focus. This is what I tried to do with the paint on the car as well, with not so great results.
In this after photo, I kept the same focus, to make sure that I was capturing the same surface that was pictured before.
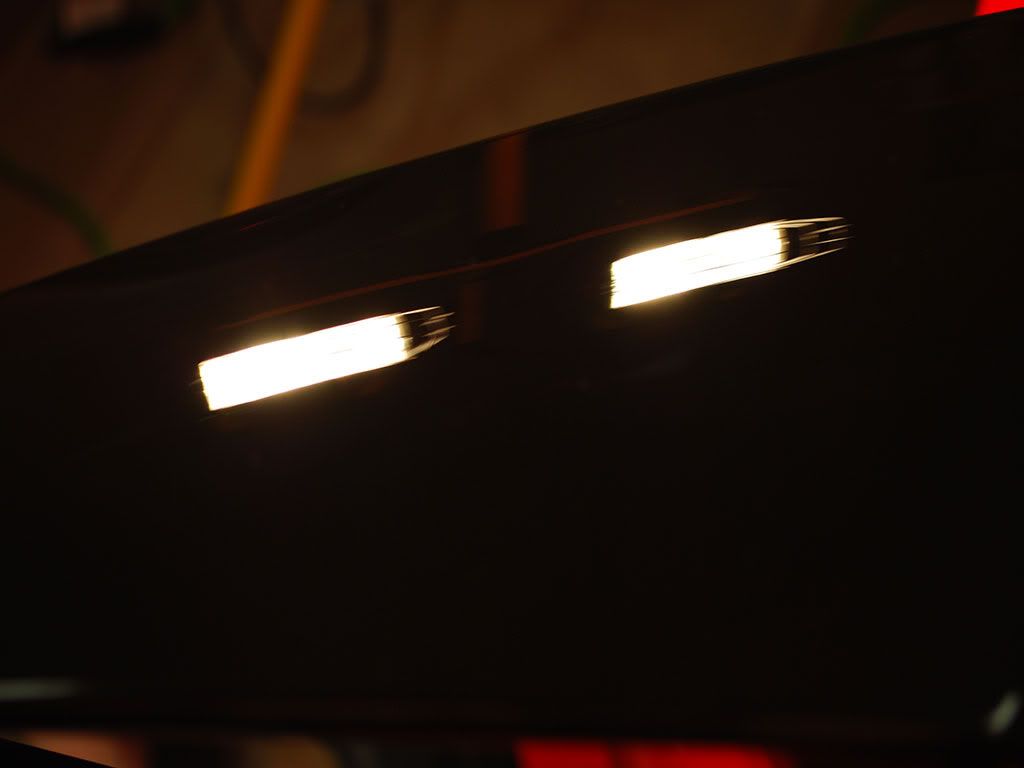
This is the same surface with the lights more “in focus” for those that think that is a “true” assessment of the paint.
Corrected sun shots.
After garage pic. It was late in the day when I finished, so we couldn’t get any good outdoor photos.
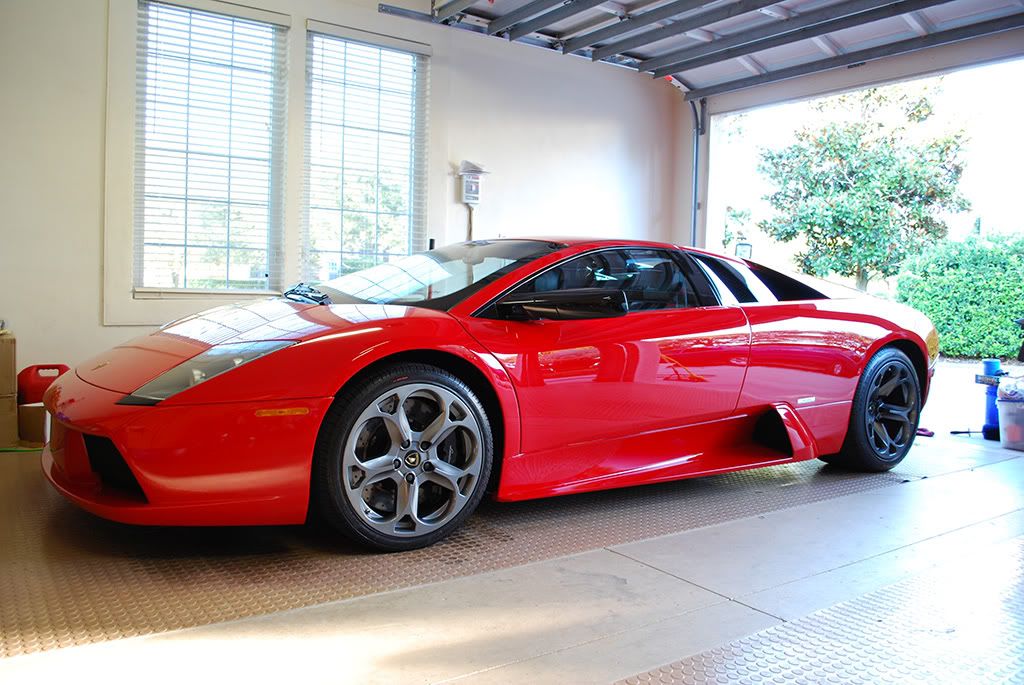
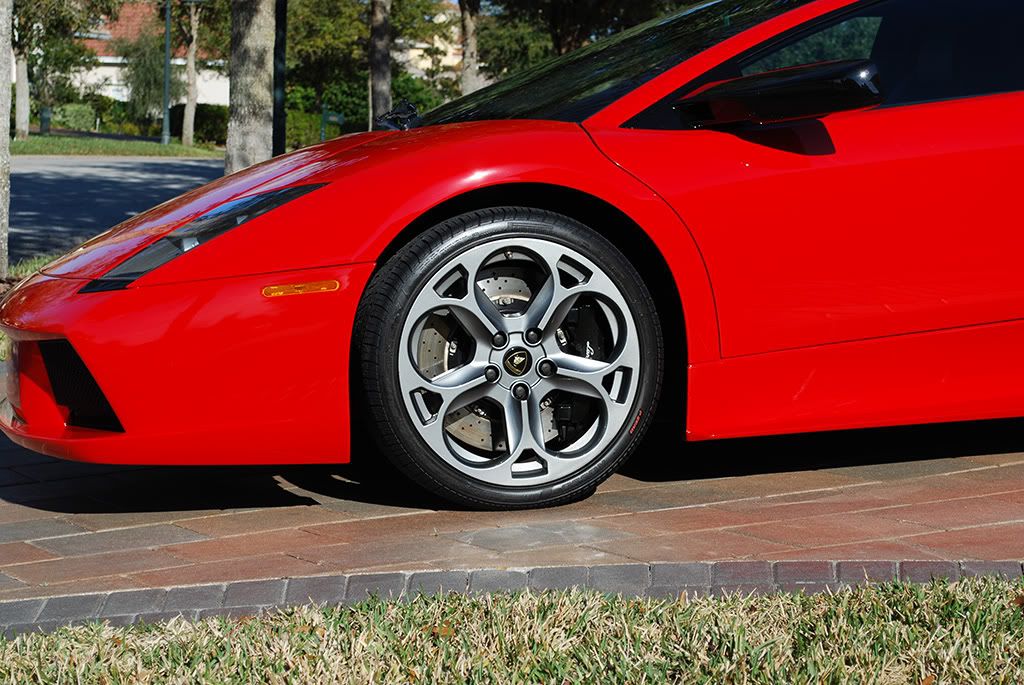
The owner was gracious enough to allow me to return and take some outdoor sun photos.
Thanks for looking!
")