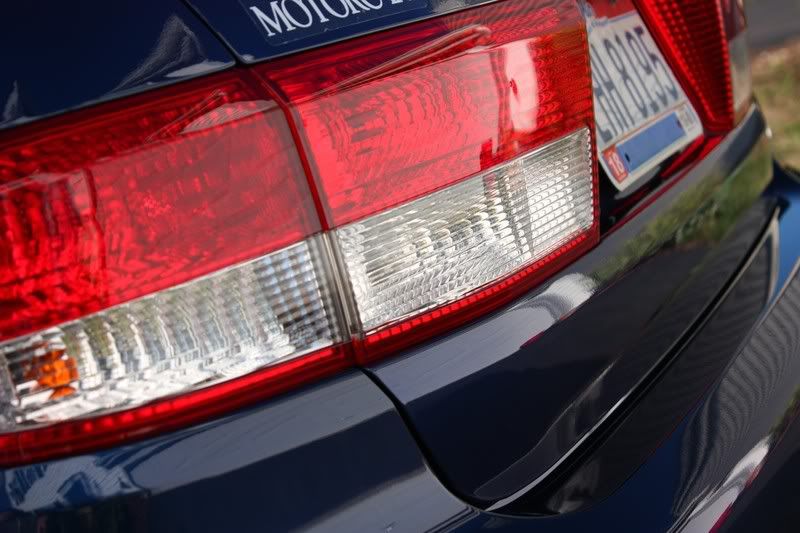
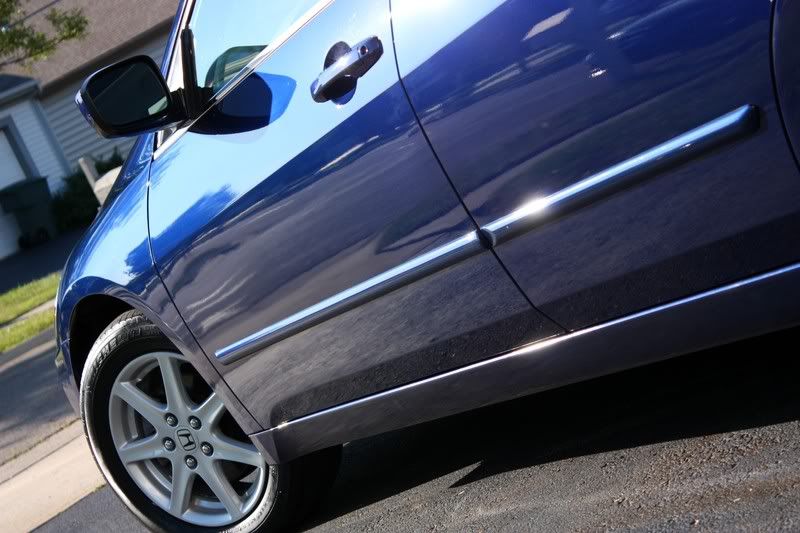
For a 2004, this car was in really bad shape. The owner just recently purchased this used car, and wanted to have me correct it to near showroom condition. I detailed the interior, engine bay, and performed a full-correction job on the exterior. The exterior was extremely dirty, and needed a lot of cleaning before polishing could even begin. After thoroughly washing, I could run my fingers across the paint and feel all of the imbedded contaminants...claybar is required to remove all of this to properly prep the surface for polishing.
Fortunately, the paint on Japanese cars is pretty soft and therefore is easy to correct (relatively speaking).
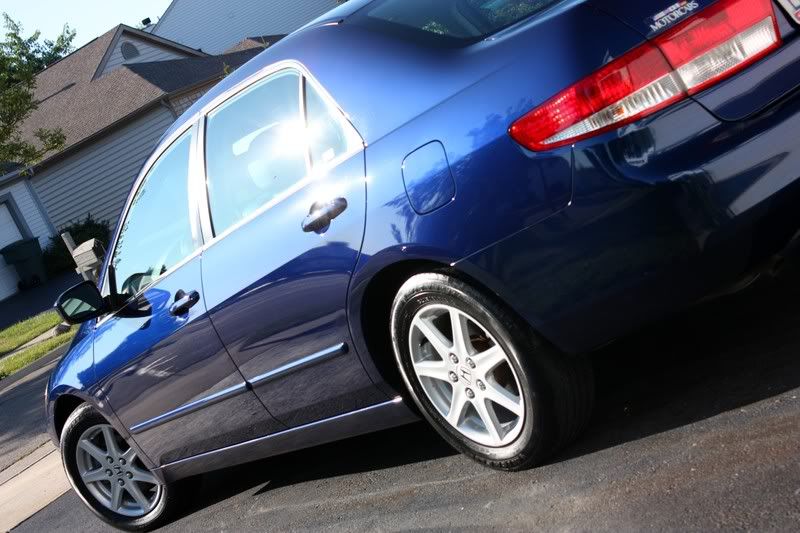
The owner was expecting the car to look good when it was done, but he was astonished at the turnaround when he came to pick it up. He could hardly believe that it was the same car. Another happy customer!
Total time = 9 hours
Process:
Wash with NXT
Clay all exterior surfaces
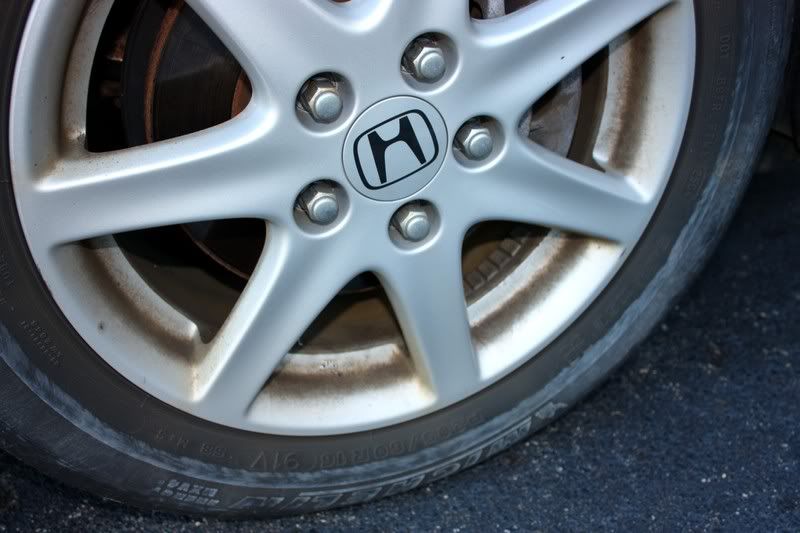
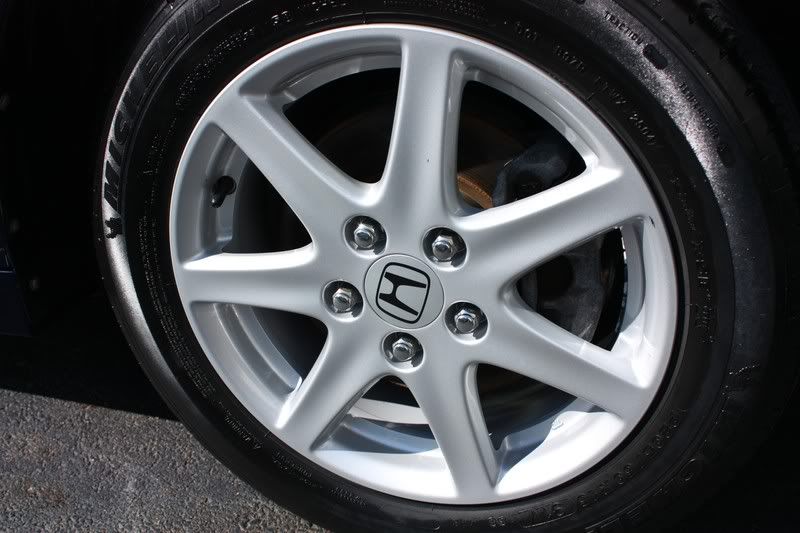
Wheels cleaned with Megs Wheel Brightener 4:1
Wheel wells cleaned with Megs APC+ 4:1
Wheels dressed with Sonus Tire Gel
Wheel wells dressed with Stoner's Trim Dressing
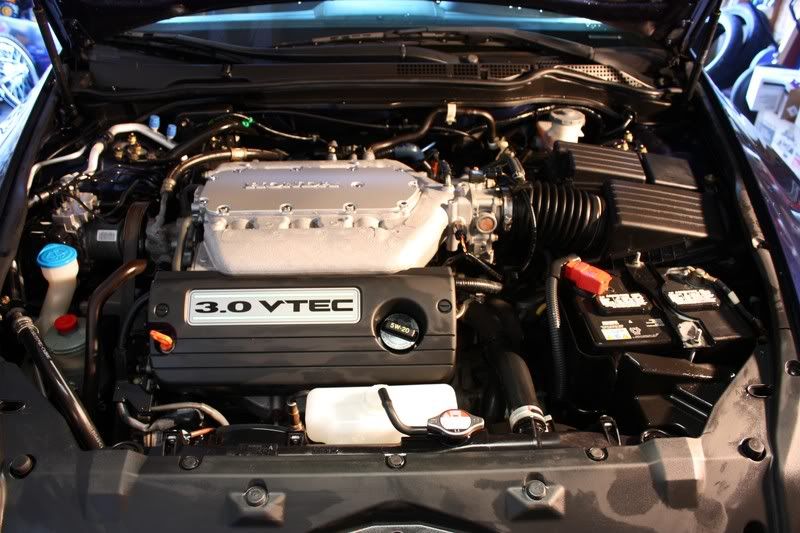
Engine bay cleaned with Megs APC+ 4:1
"" dressed with Stoner's Trim Dressing
All interior surfaces cleaned with Woolite/water 10:1
Console treated with Megs Interior Detailer
Leather & vinyl surfaces treated with Optimum Protectant Plus
Spots treated with Folex
Windows cleaned with Stoner's Invisible Glass
Purple Foamed Wool with Megs 95 on heavy scratches
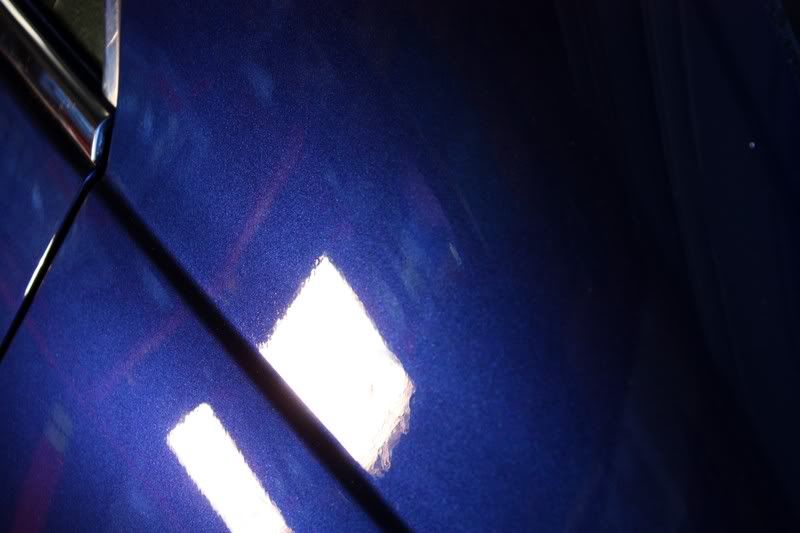
Menzerna SIP with LC orange pad for swirl removal
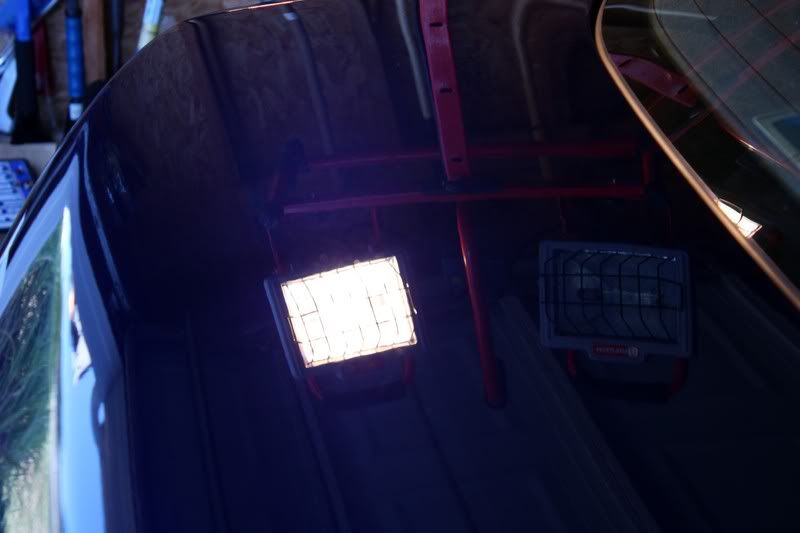
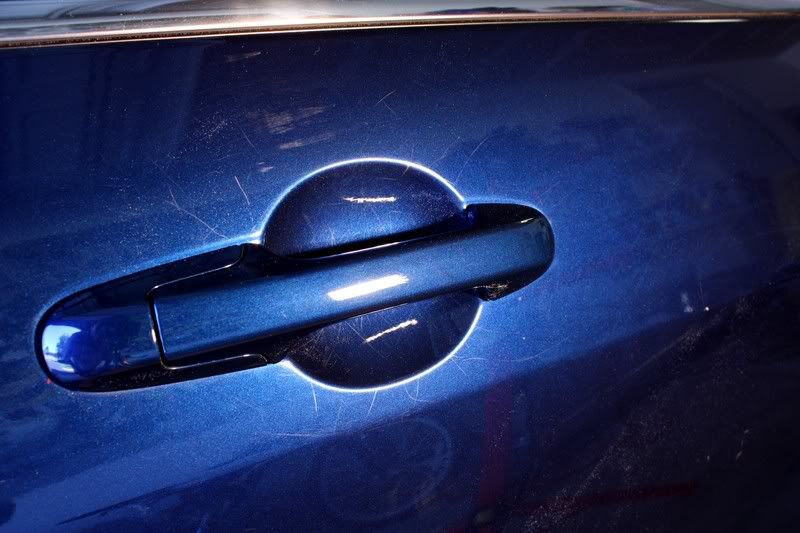
Megs 105 by hand under door handles (see photos!)
Optimum PoliSeal with green pad for finish polish/seal
Optimum Car Wax by hand
Tools used:
Makita 9227c Rotary polisher w/Megs W66 backing plate
Porter Cable random orbital dual action polisher
Canon Rebel XSi w/18-55mm lense
I didn't get any full before photos because it was so early in the morning.
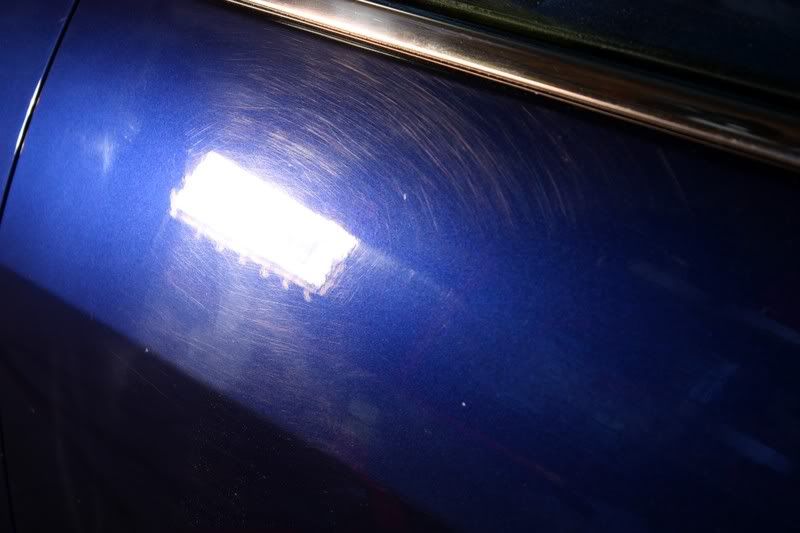
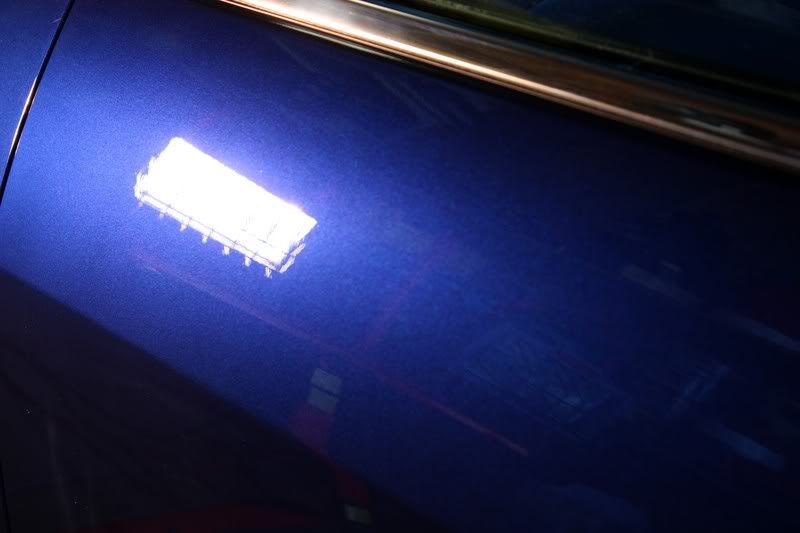
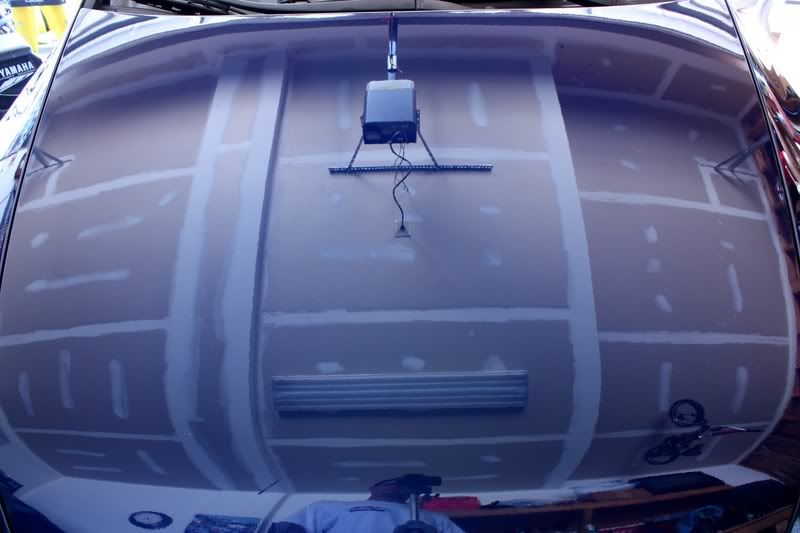
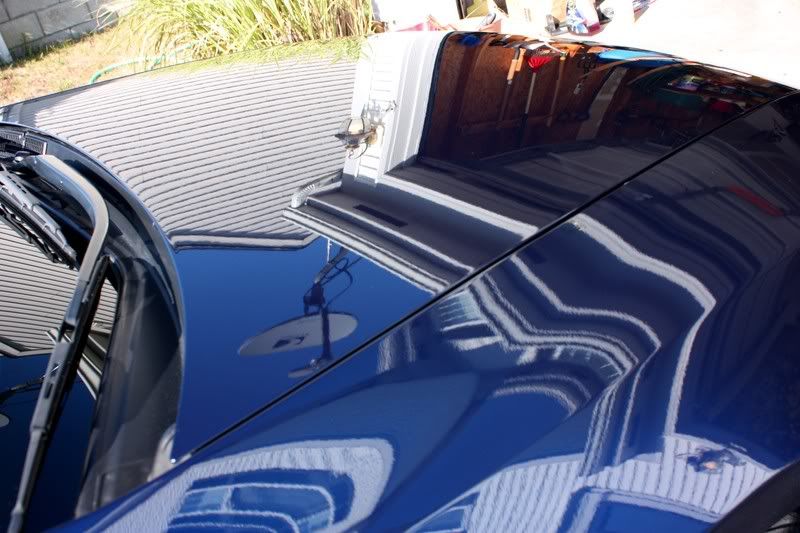
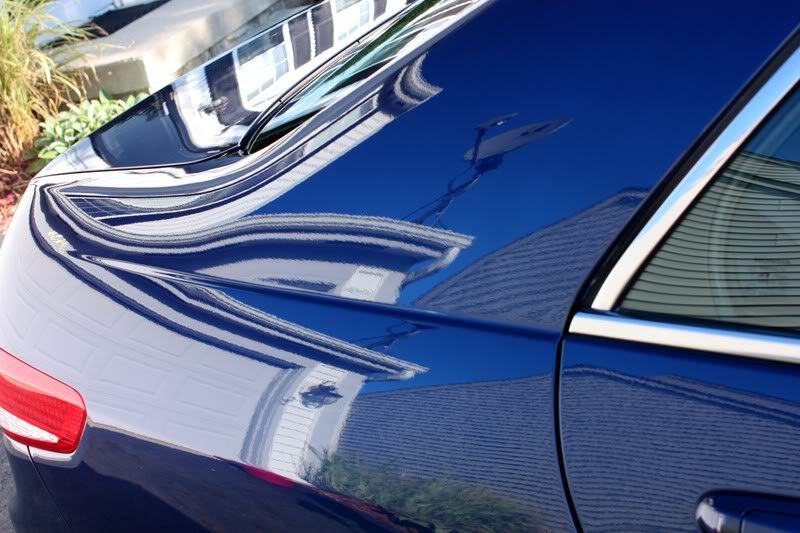
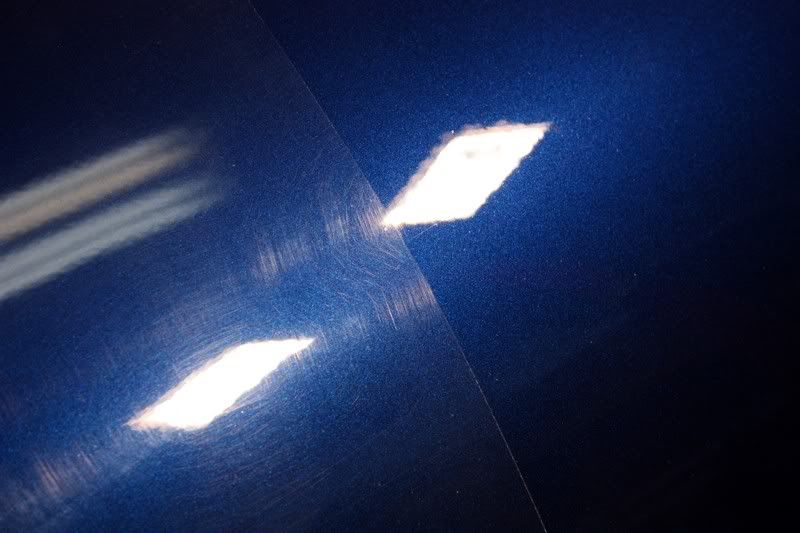
As you can see, there are a lot of severe swirls and RIDS (random isolated deep scratches).
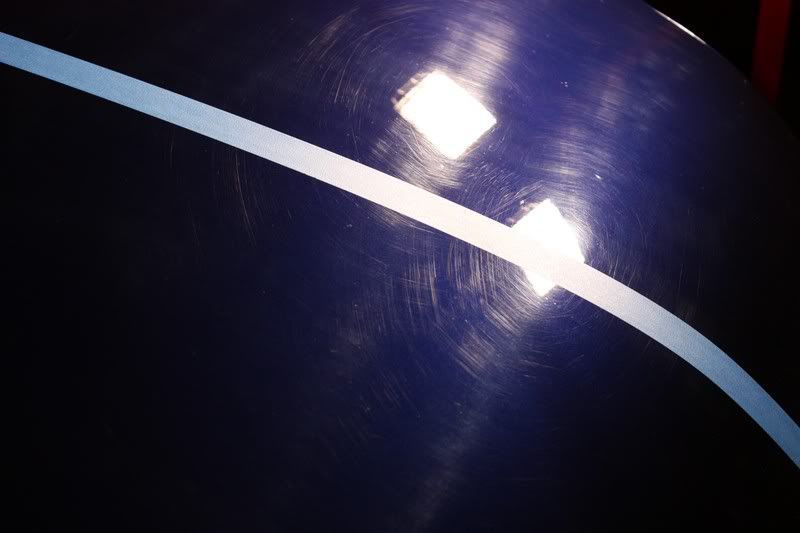
Before:
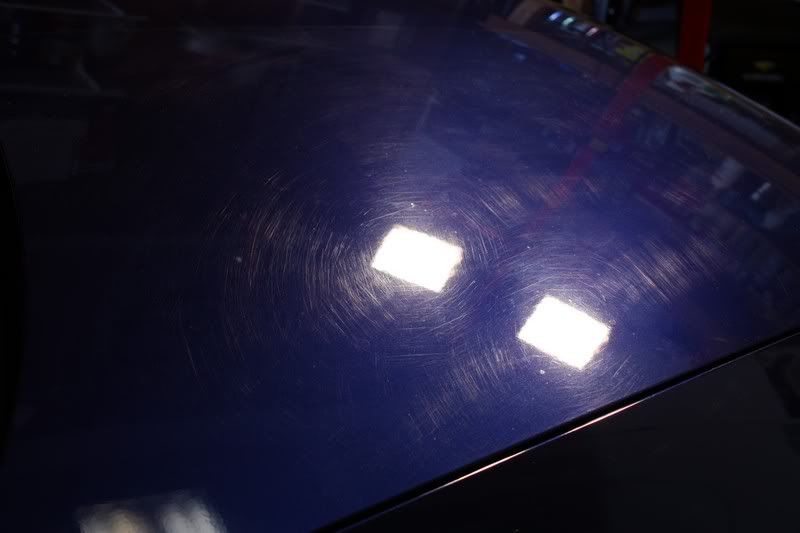
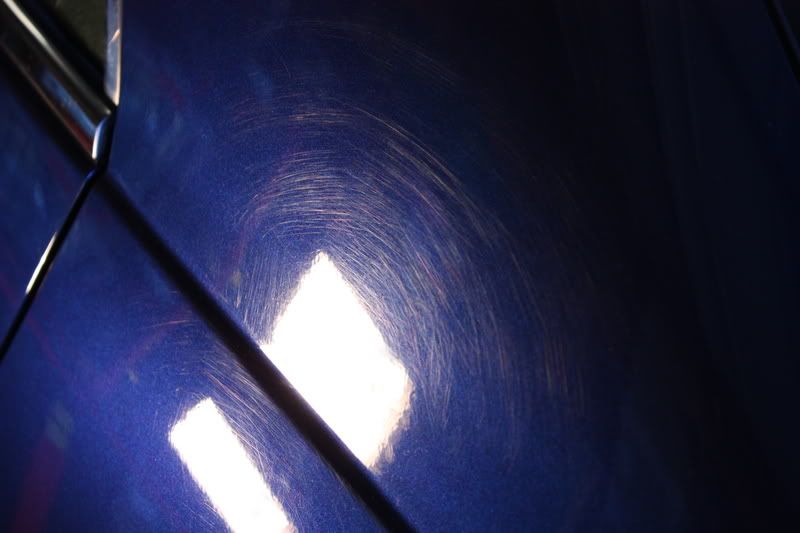
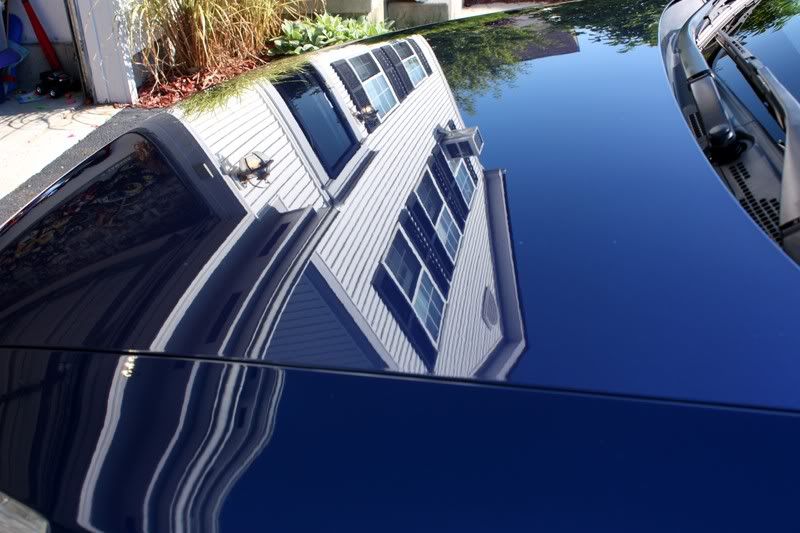
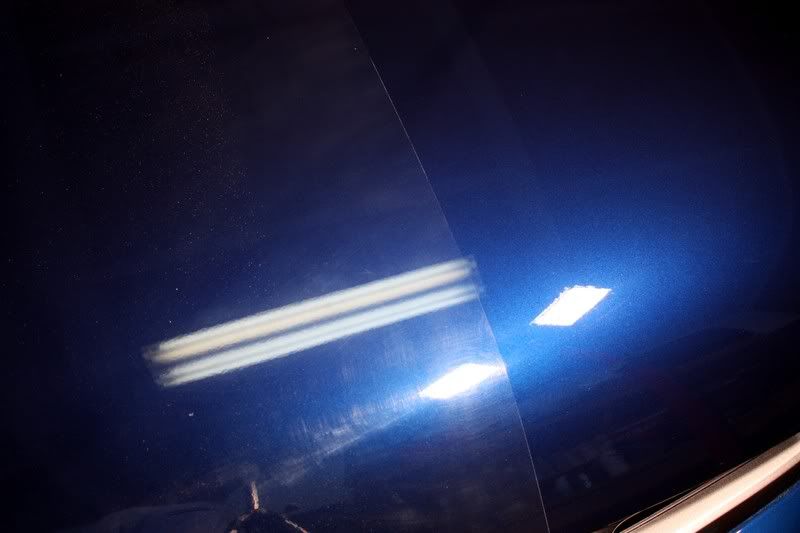
After 1 pass with SIP (much better, even before the final polish):
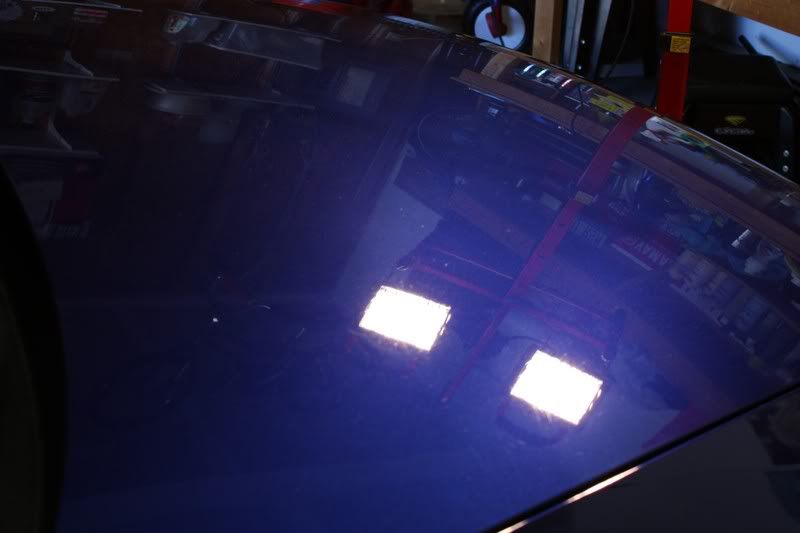
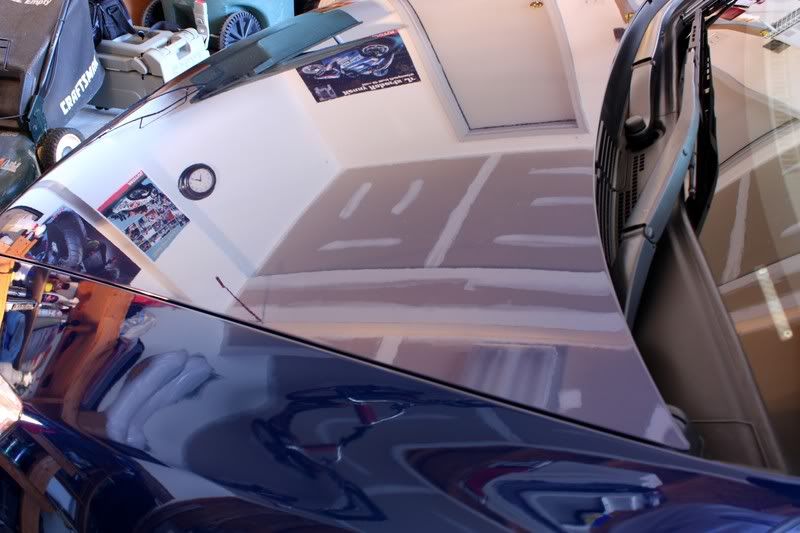
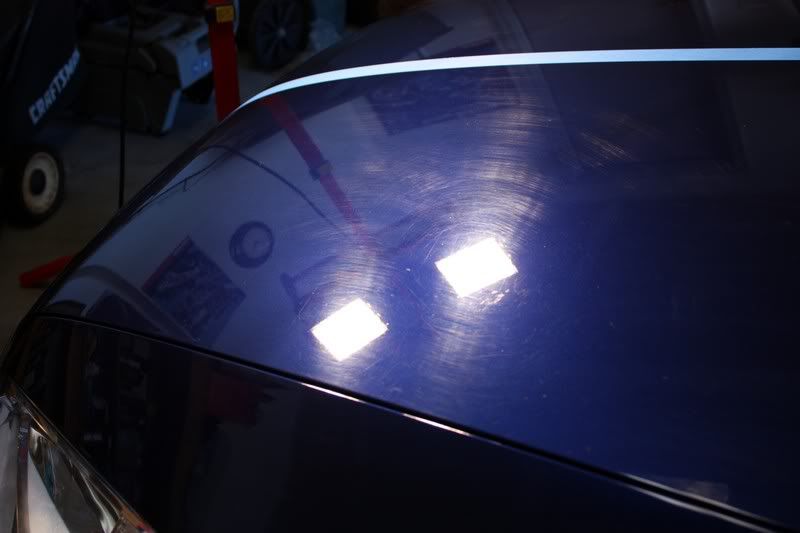
50/50 shots of the hood after SIP:

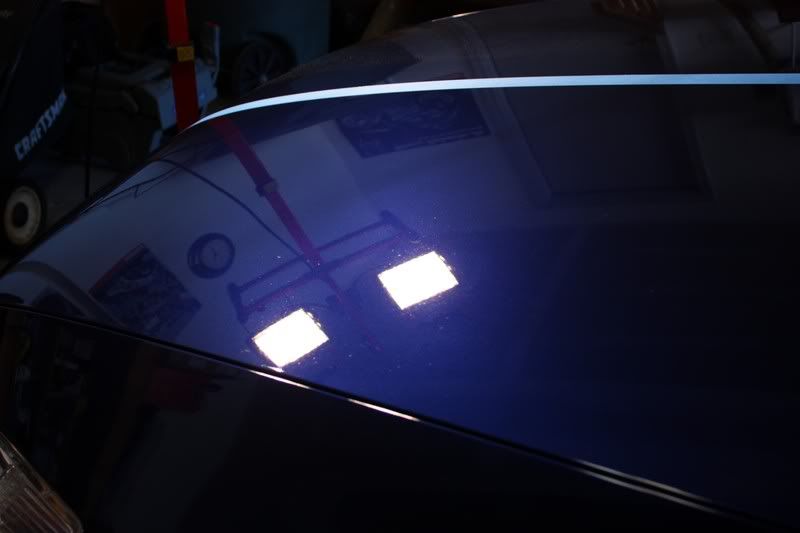
In this shot, look at the dramatic difference of the overall look of the paint. The polished side on the right really brings out the color! Big difference.
Before:
After:
Fortunately, the paint on Japanese cars is pretty soft and therefore is easy to correct (relatively speaking).
The owner was expecting the car to look good when it was done, but he was astonished at the turnaround when he came to pick it up. He could hardly believe that it was the same car. Another happy customer!
Total time = 9 hours
Process:
Wash with NXT
Clay all exterior surfaces
Wheels cleaned with Megs Wheel Brightener 4:1
Wheel wells cleaned with Megs APC+ 4:1
Wheels dressed with Sonus Tire Gel
Wheel wells dressed with Stoner's Trim Dressing
Engine bay cleaned with Megs APC+ 4:1
"" dressed with Stoner's Trim Dressing
All interior surfaces cleaned with Woolite/water 10:1
Console treated with Megs Interior Detailer
Leather & vinyl surfaces treated with Optimum Protectant Plus
Spots treated with Folex
Windows cleaned with Stoner's Invisible Glass
Purple Foamed Wool with Megs 95 on heavy scratches
Menzerna SIP with LC orange pad for swirl removal
Megs 105 by hand under door handles (see photos!)
Optimum PoliSeal with green pad for finish polish/seal
Optimum Car Wax by hand
Tools used:
Makita 9227c Rotary polisher w/Megs W66 backing plate
Porter Cable random orbital dual action polisher
Canon Rebel XSi w/18-55mm lense
I didn't get any full before photos because it was so early in the morning.
As you can see, there are a lot of severe swirls and RIDS (random isolated deep scratches).
Before:
After 1 pass with SIP (much better, even before the final polish):
50/50 shots of the hood after SIP:
In this shot, look at the dramatic difference of the overall look of the paint. The polished side on the right really brings out the color! Big difference.
Before:
After: